Deploy Checklist App to Netlify
Reading Time: 5.44 minutes
Introduction
From the previous chapter, we've completed the implementation of database capability of our checklist app (Adding Database Capability to Checklist App) using the Firebase Firestore database. In that chapter, we've discussed the following database operations:
- Read (read all)
- Create
- Update
In this chapter, we are going to see how we can deploy our app to the internet so that it can be accessed anywhere with an internet connection. Either through phone or computer with modern web browser.
Netlify
In order to put our codes in the cloud, we are gonna need to upload it to a server. The old days of doing this is to upload your whole site using technologies like FTP (File Transfer Protocol) applications.
Today, this is faster and easier.
The method that we are going to use in this lesson is just by uploading the files directly into a web service called Netlify from https://netlify.com.
The following are the steps we are going to take.
- Register to Netlify to get an account
- Create a new site in Netlify
- Upload our codes
And that's it! Just three steps.
Register to Netlify
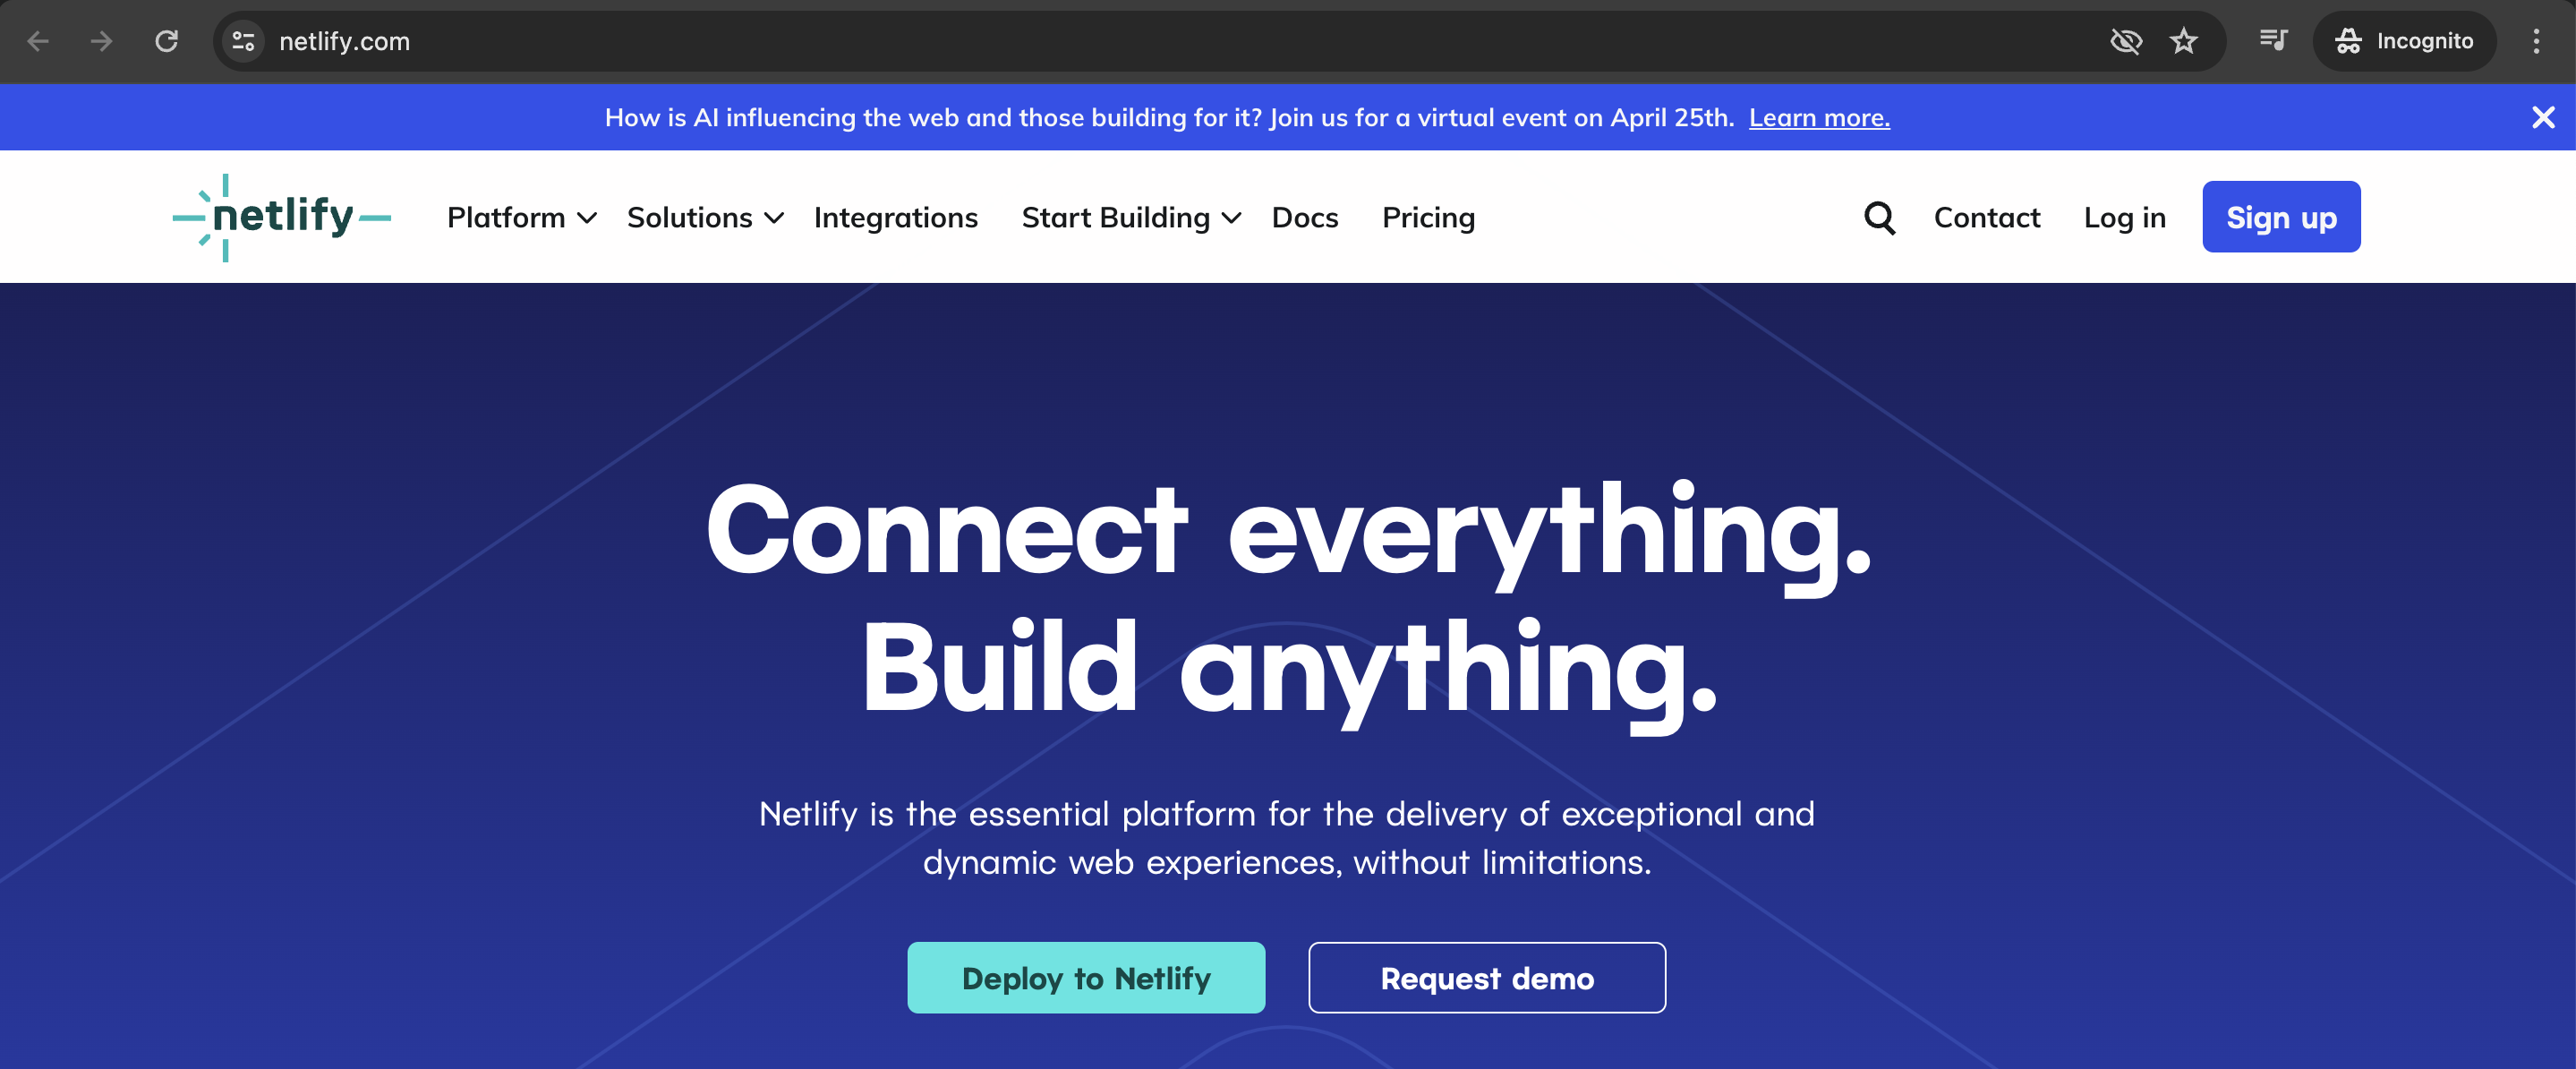
1. Let's get over to https://netlify.com to register an account.
Click on the "Sign up" button to go to the sign up form.
2. On the next page, we will be presented with the different ways and accounts we can sign up with.
If you have an account in any of the first 3 options or want to create one, go ahead and select any one of them. The account creation is pretty straight forward.
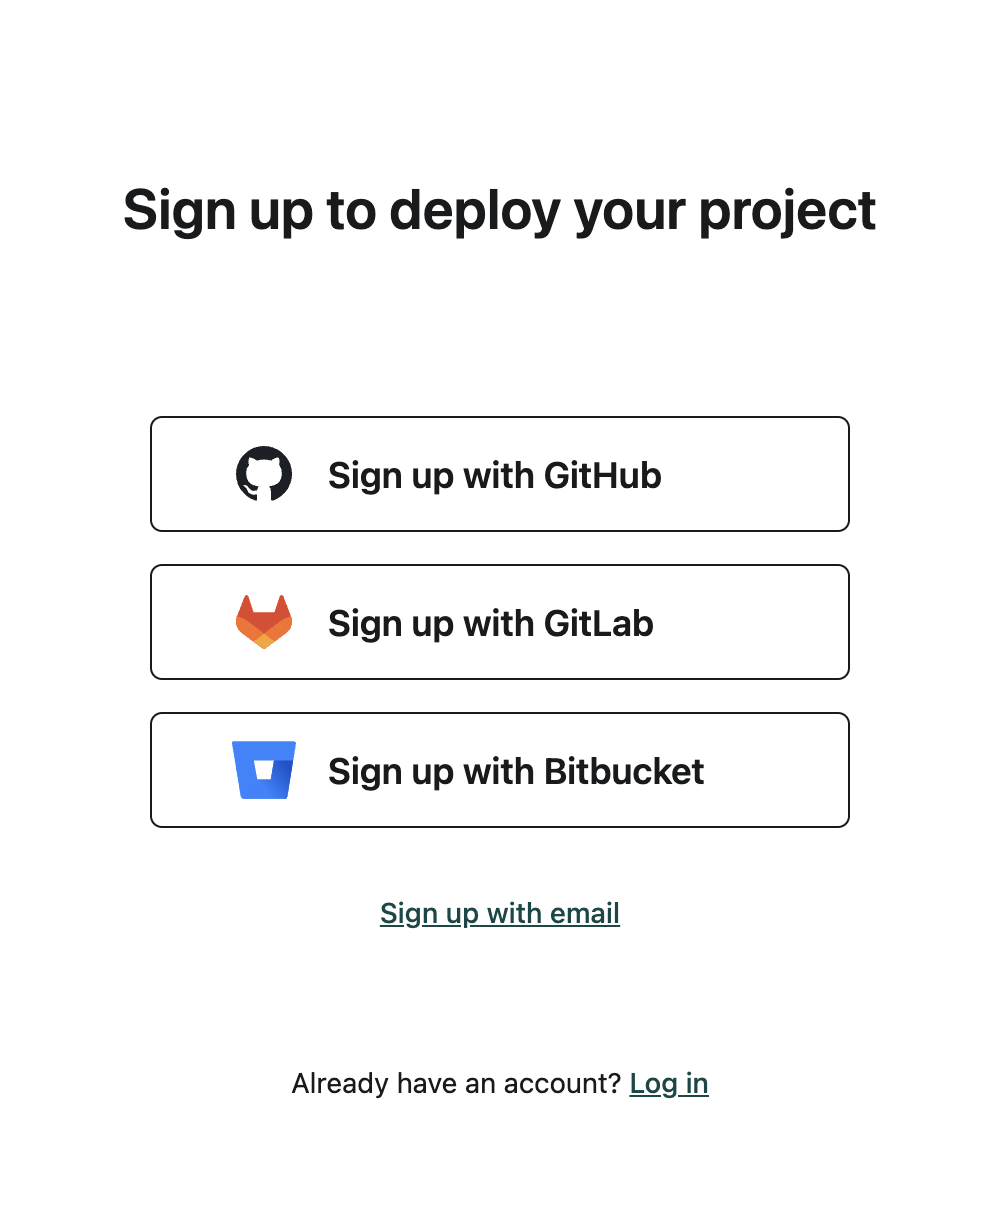
3. I selected the last option which is "Sign up with email" so I get this page.
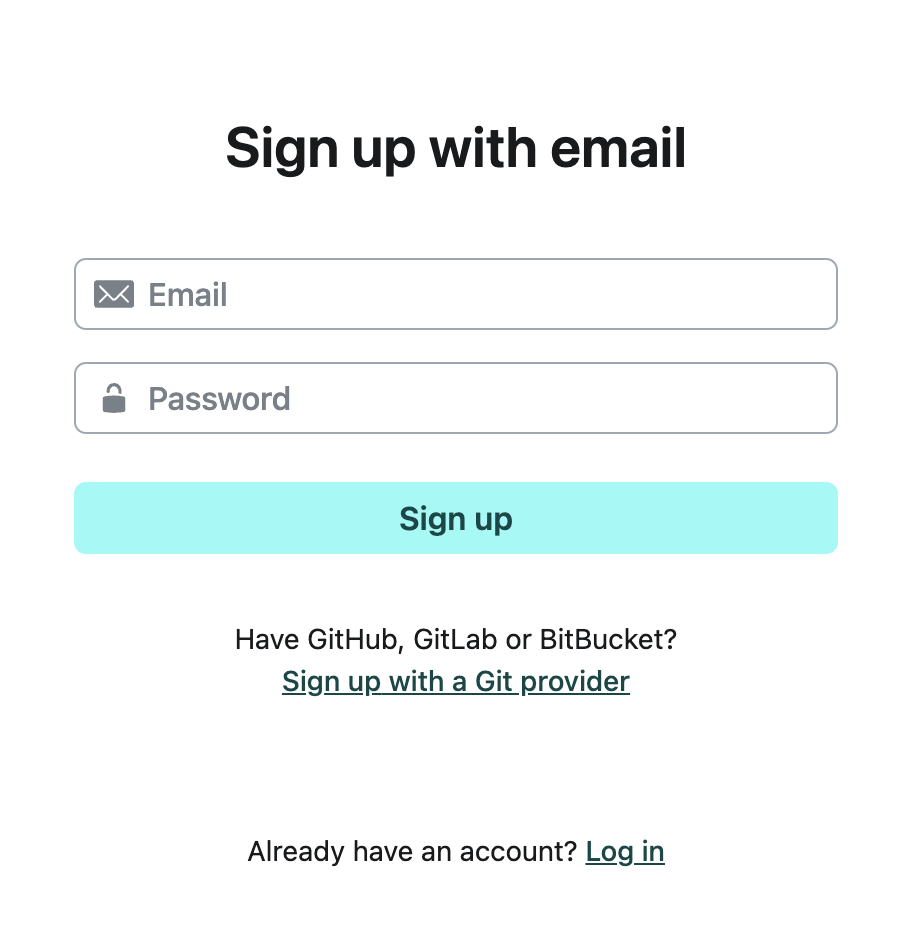
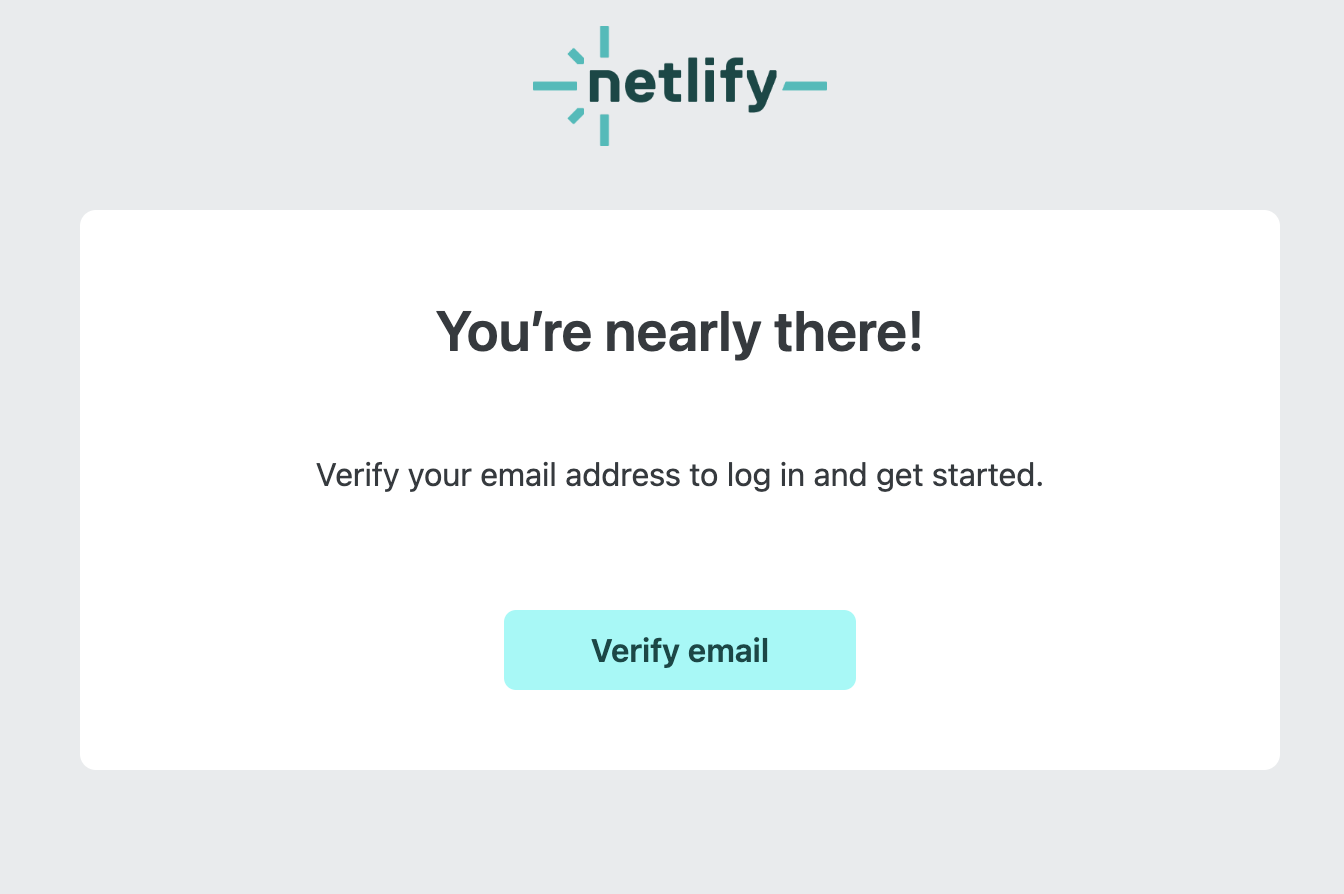
4. Upon clicking the Sign up button, a notice will be displayed saying that I have to check my email to verify my account.
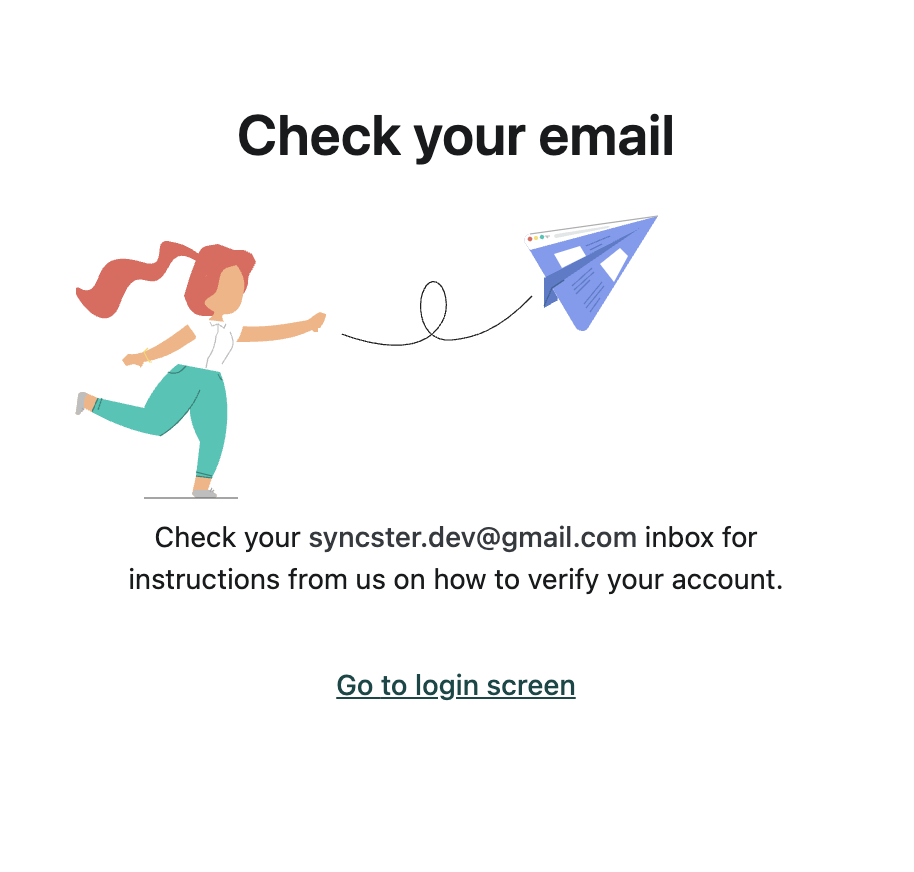
5. On the received email confirmation, click on "Verify email" to activate the account.
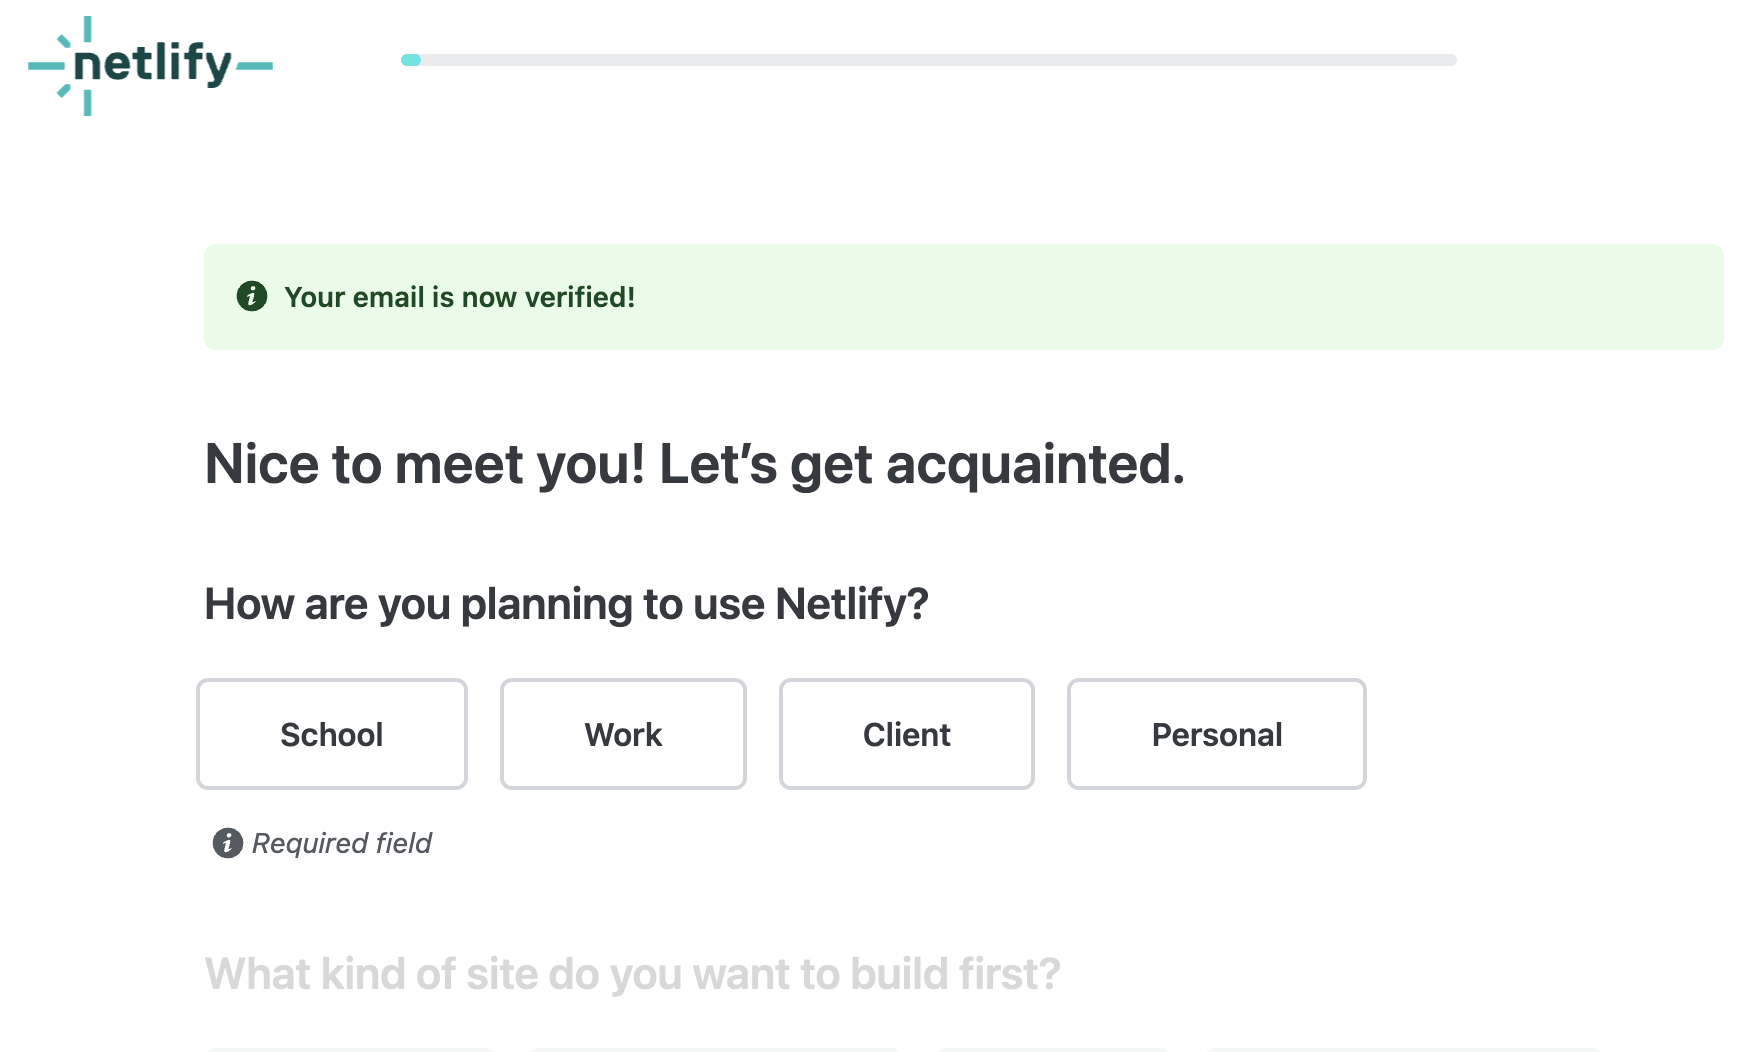
6. On the email verified page, click on "Personal". On the next options, click on the cards that best describes your purpose.
7. I just selected "Web app" on the first site to build and "Hobby developer" on the role.
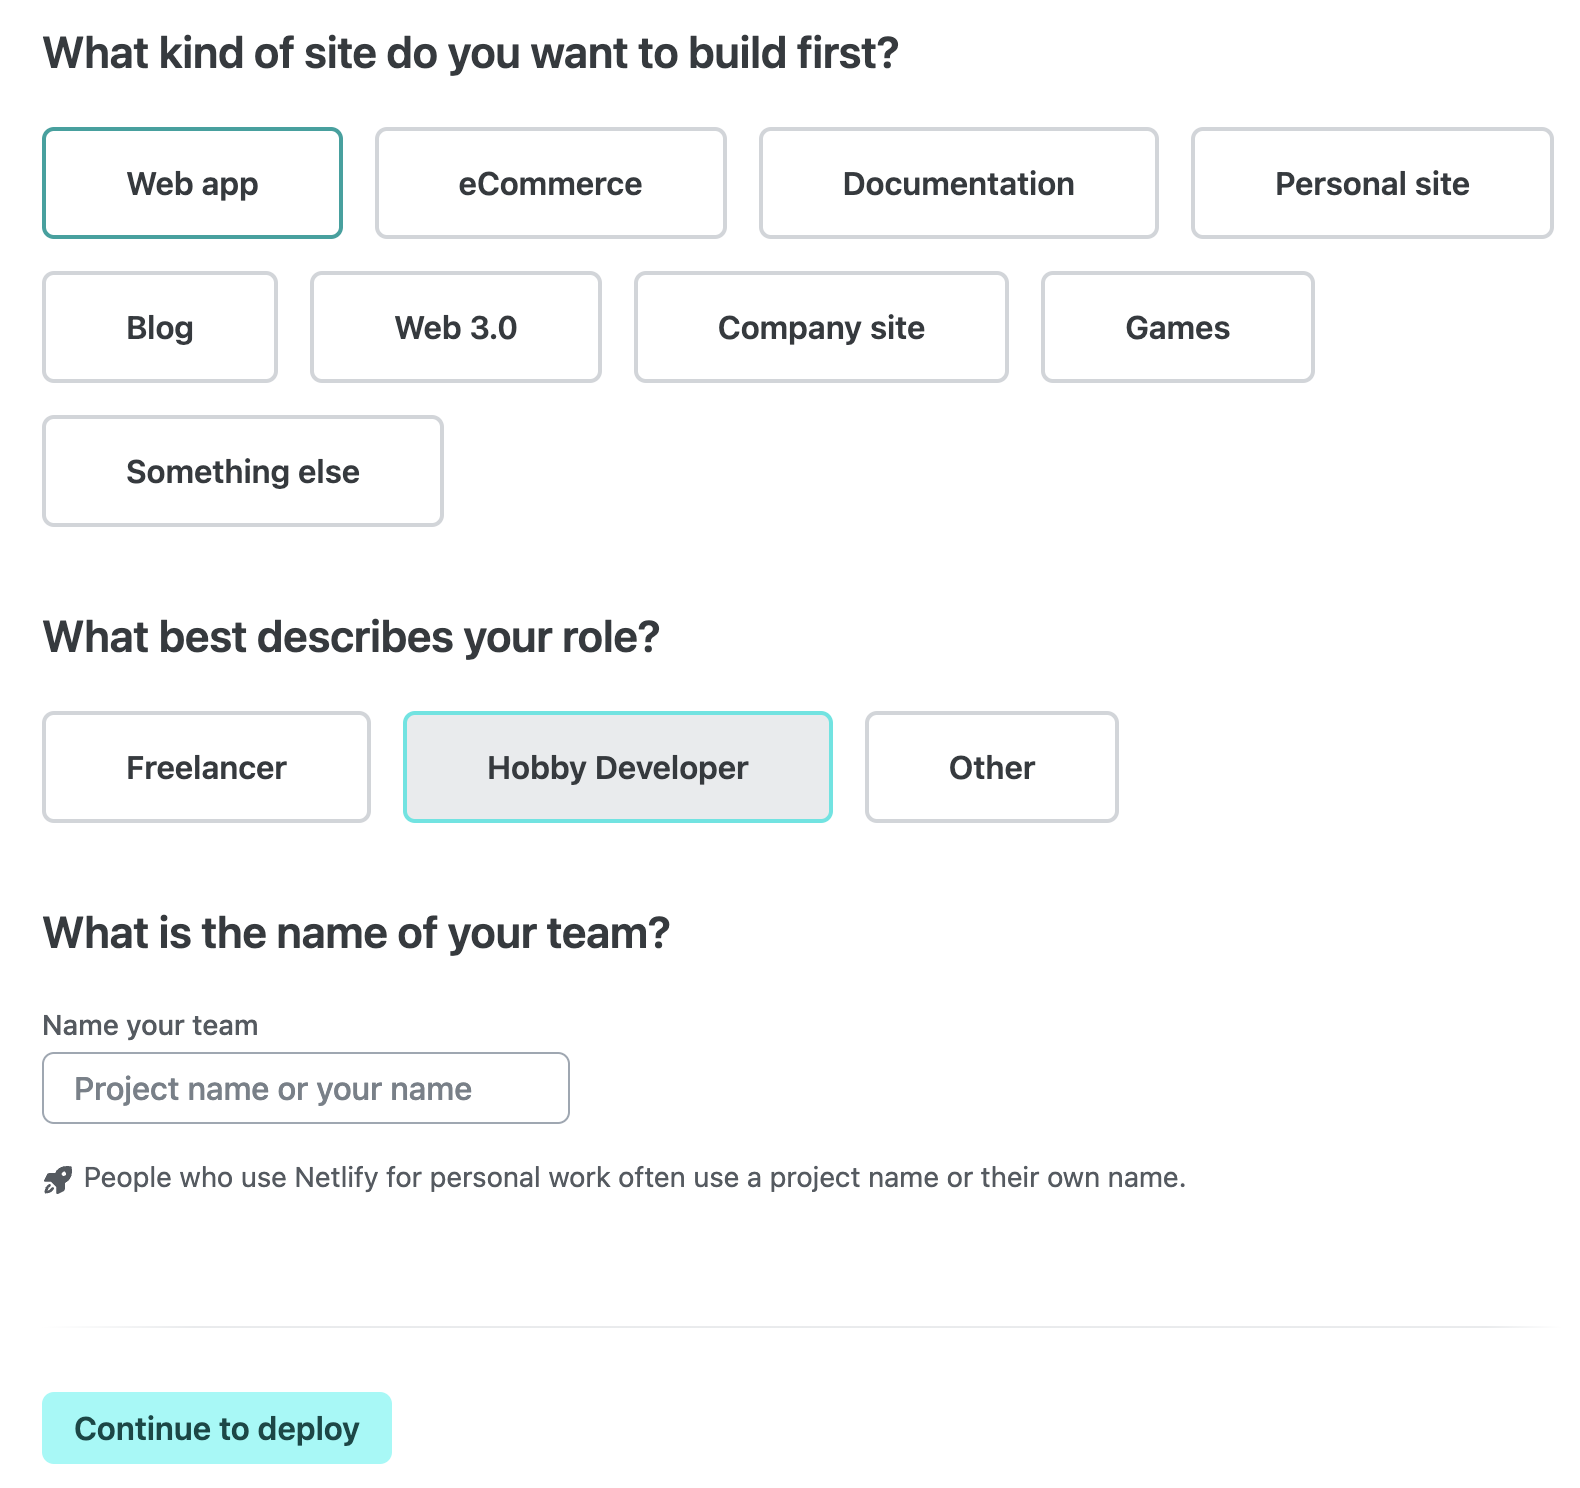
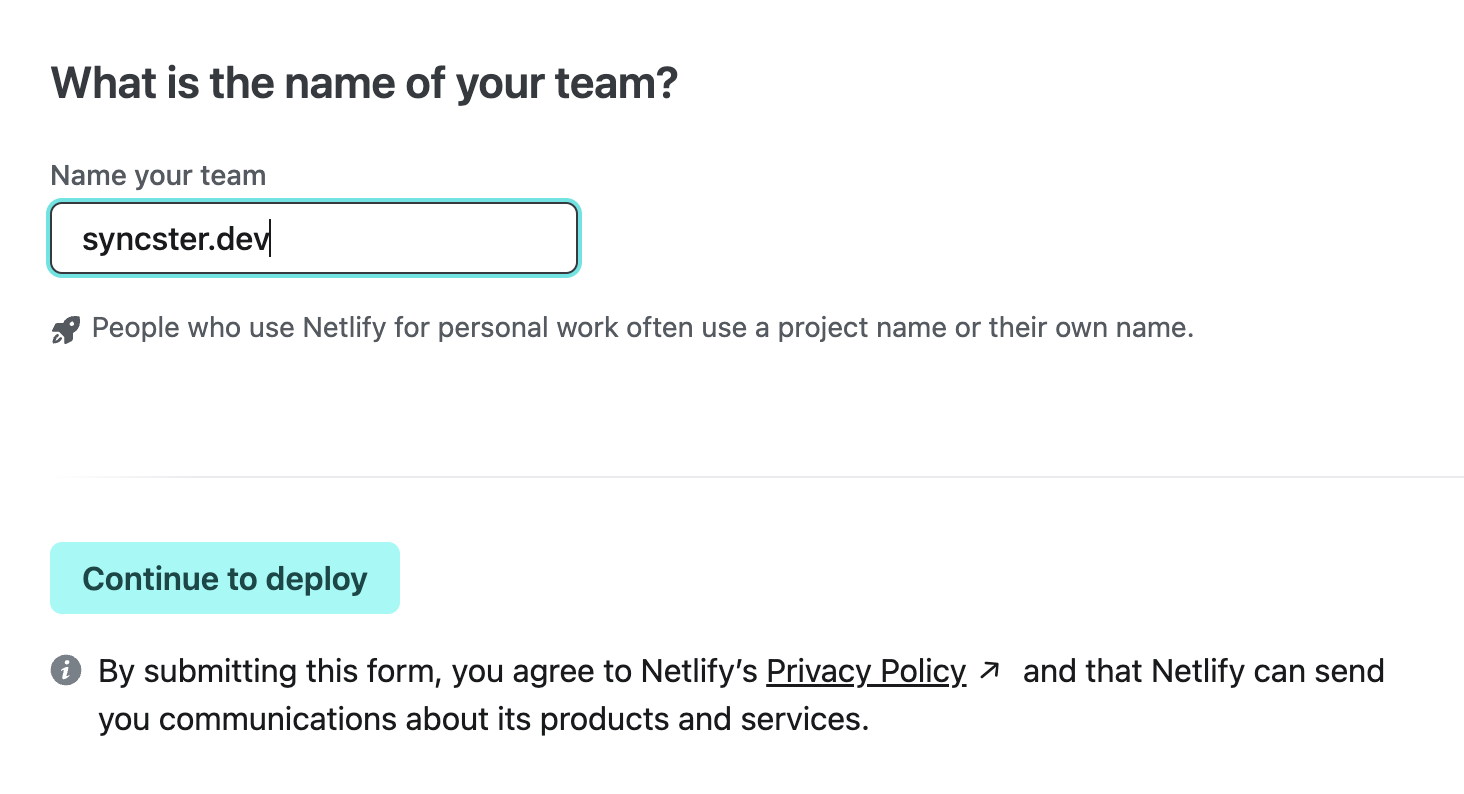
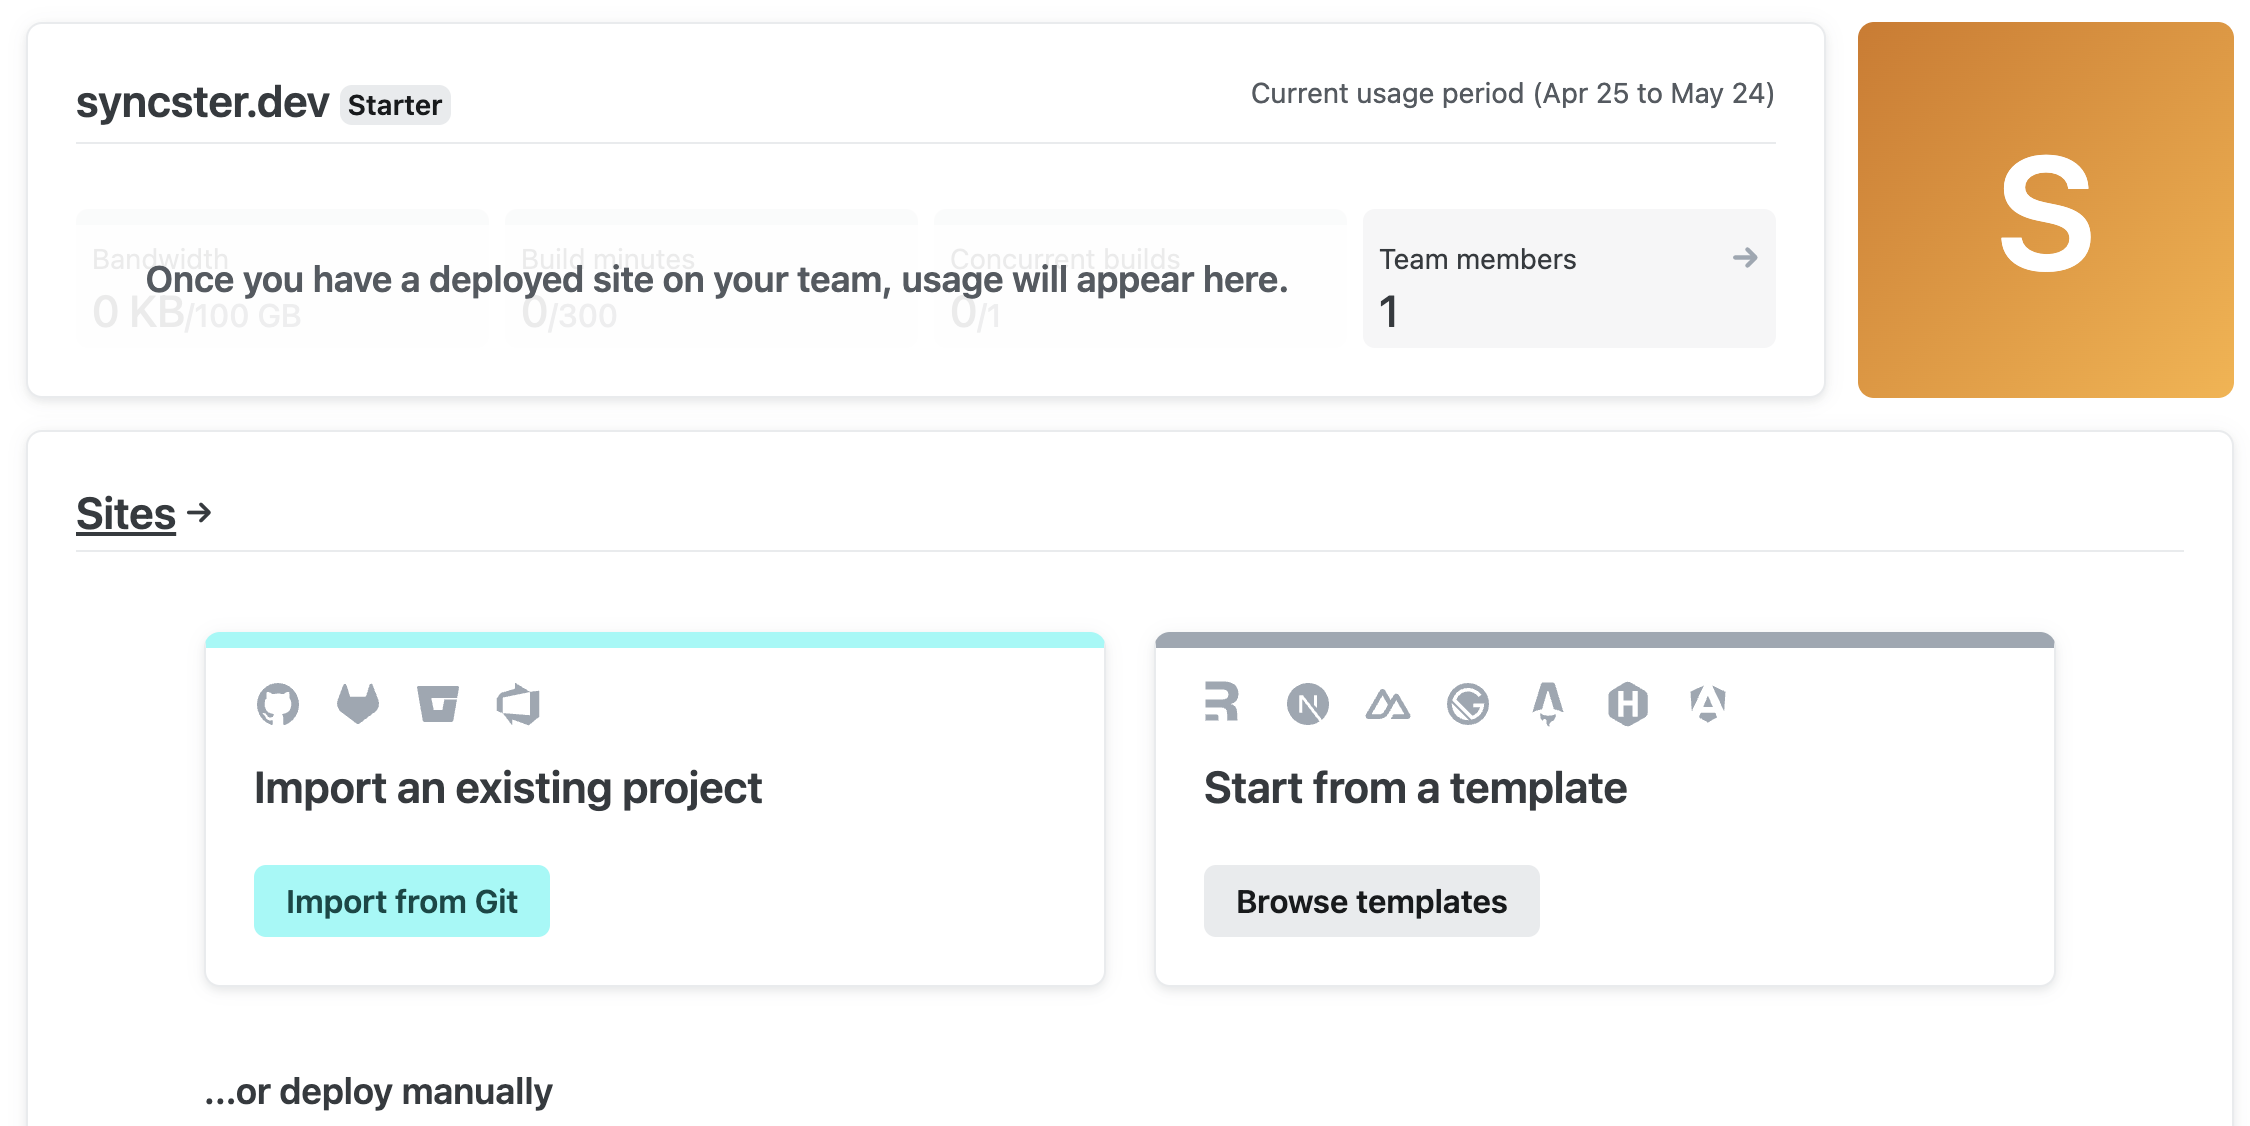
8. On the team name, I selected "syncster.dev". After that, select "Continue to deploy".
9. Now on the deploy page, click on "Skip this step for now". We will create a new site on the next step.

Create a new Site
Now it is time to create a site.
10. On the sites page, click on "Sites" link.
Upload the codes
Let us now upload our site.
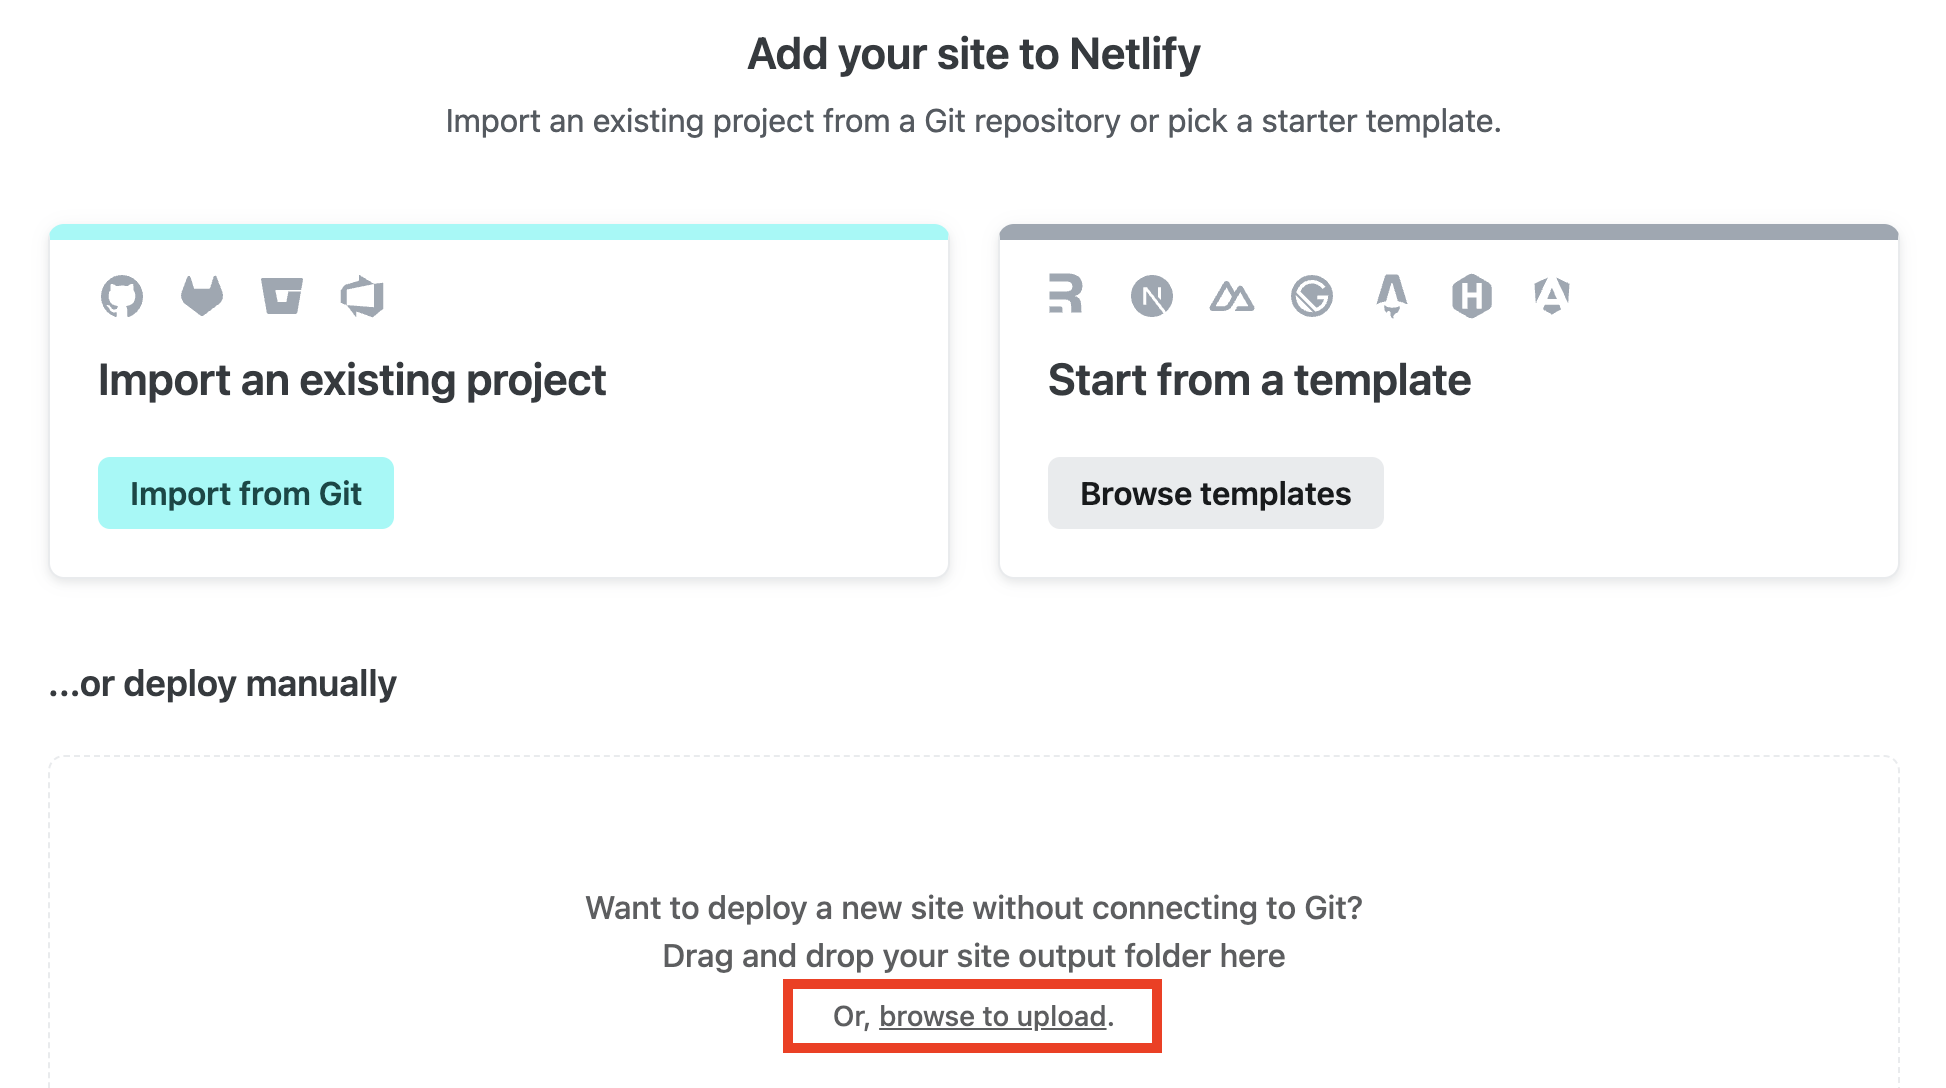
11. On the "Add site to Netlify" page, on the bottom, under "..or deply manually", click "browse to upload" link.
Here select the folder containing the codes of your site to upload and upload it.
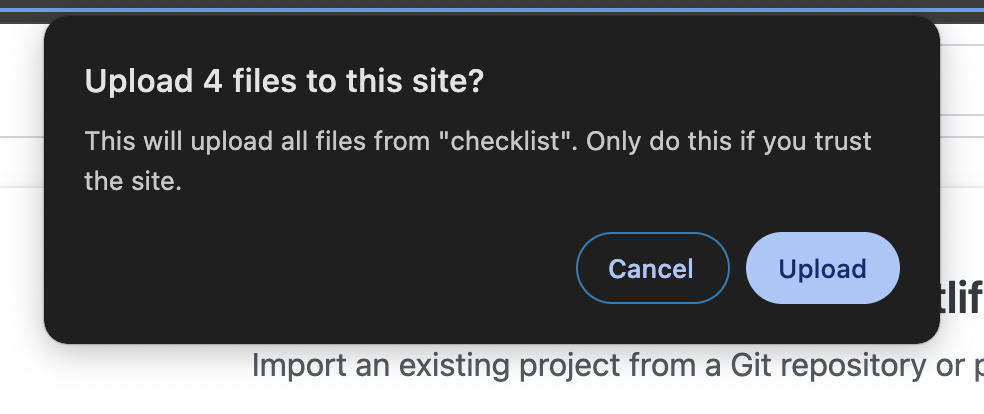
12. After that, an alert box will appear asking you to confirm the upload. Just click on "Upload".
This will upload our site and automatically deploy it.
13. On the left menu, click "Site overview".
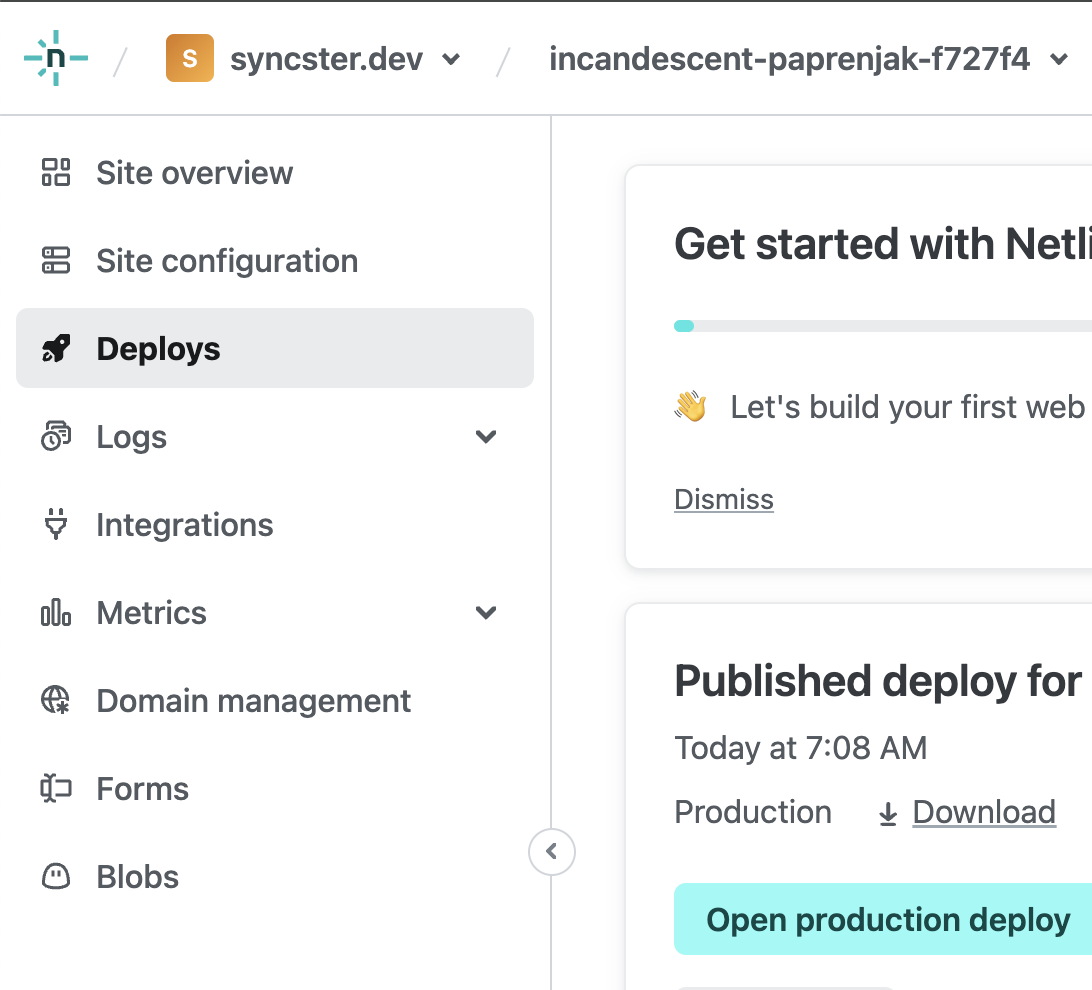
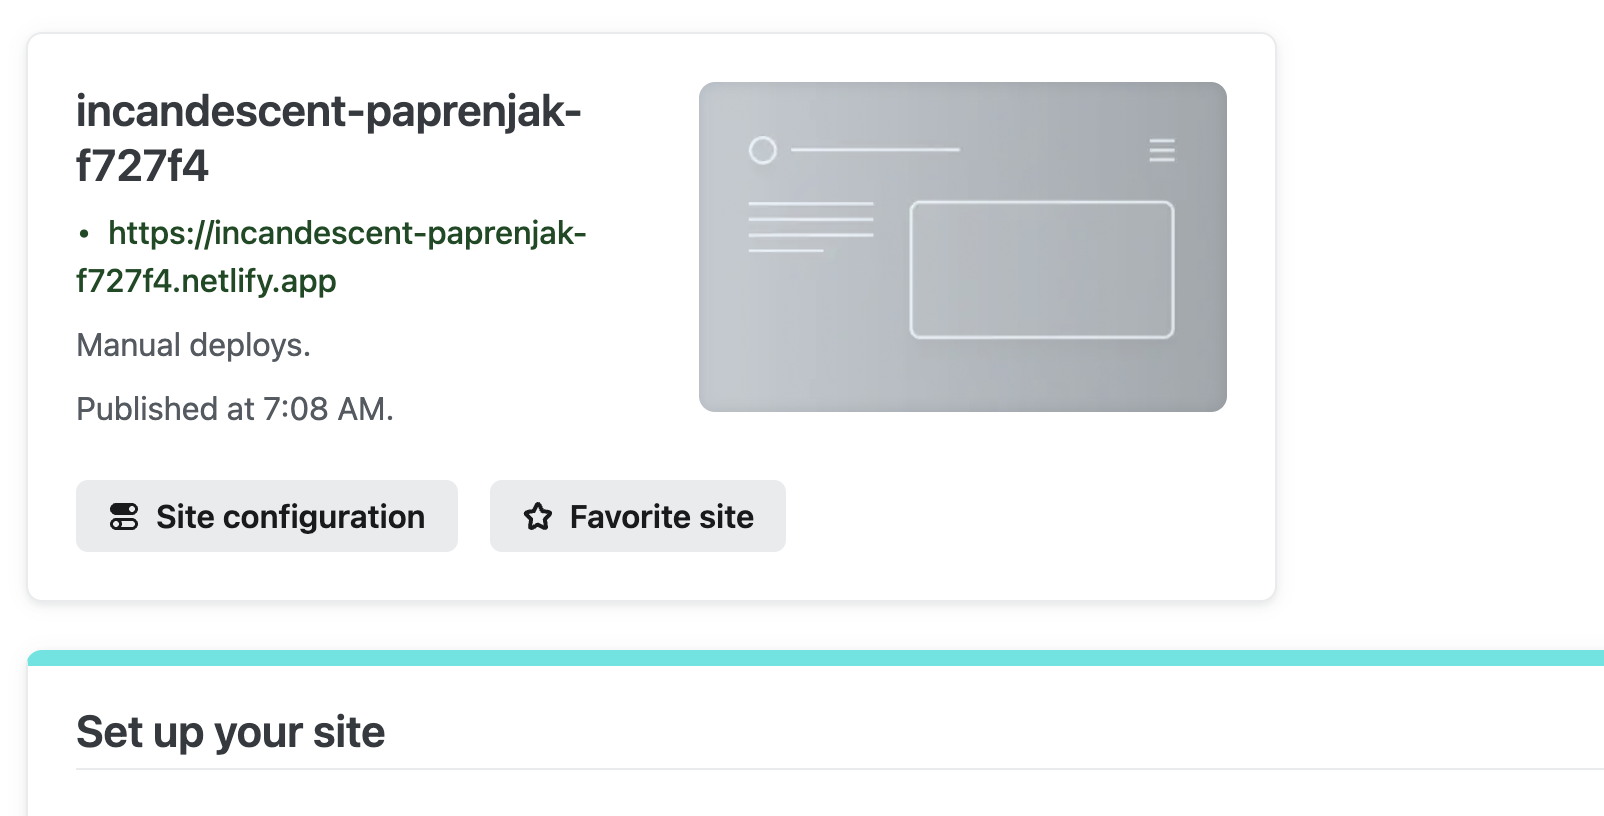
14. This will bring us to the site overview page.
Netlify automatically chooses a random name for our website. In my case, it is "incandescent-paprenjak-f727f4"
It is a little bit long and random and we will change it. Click on the "Site configuration"
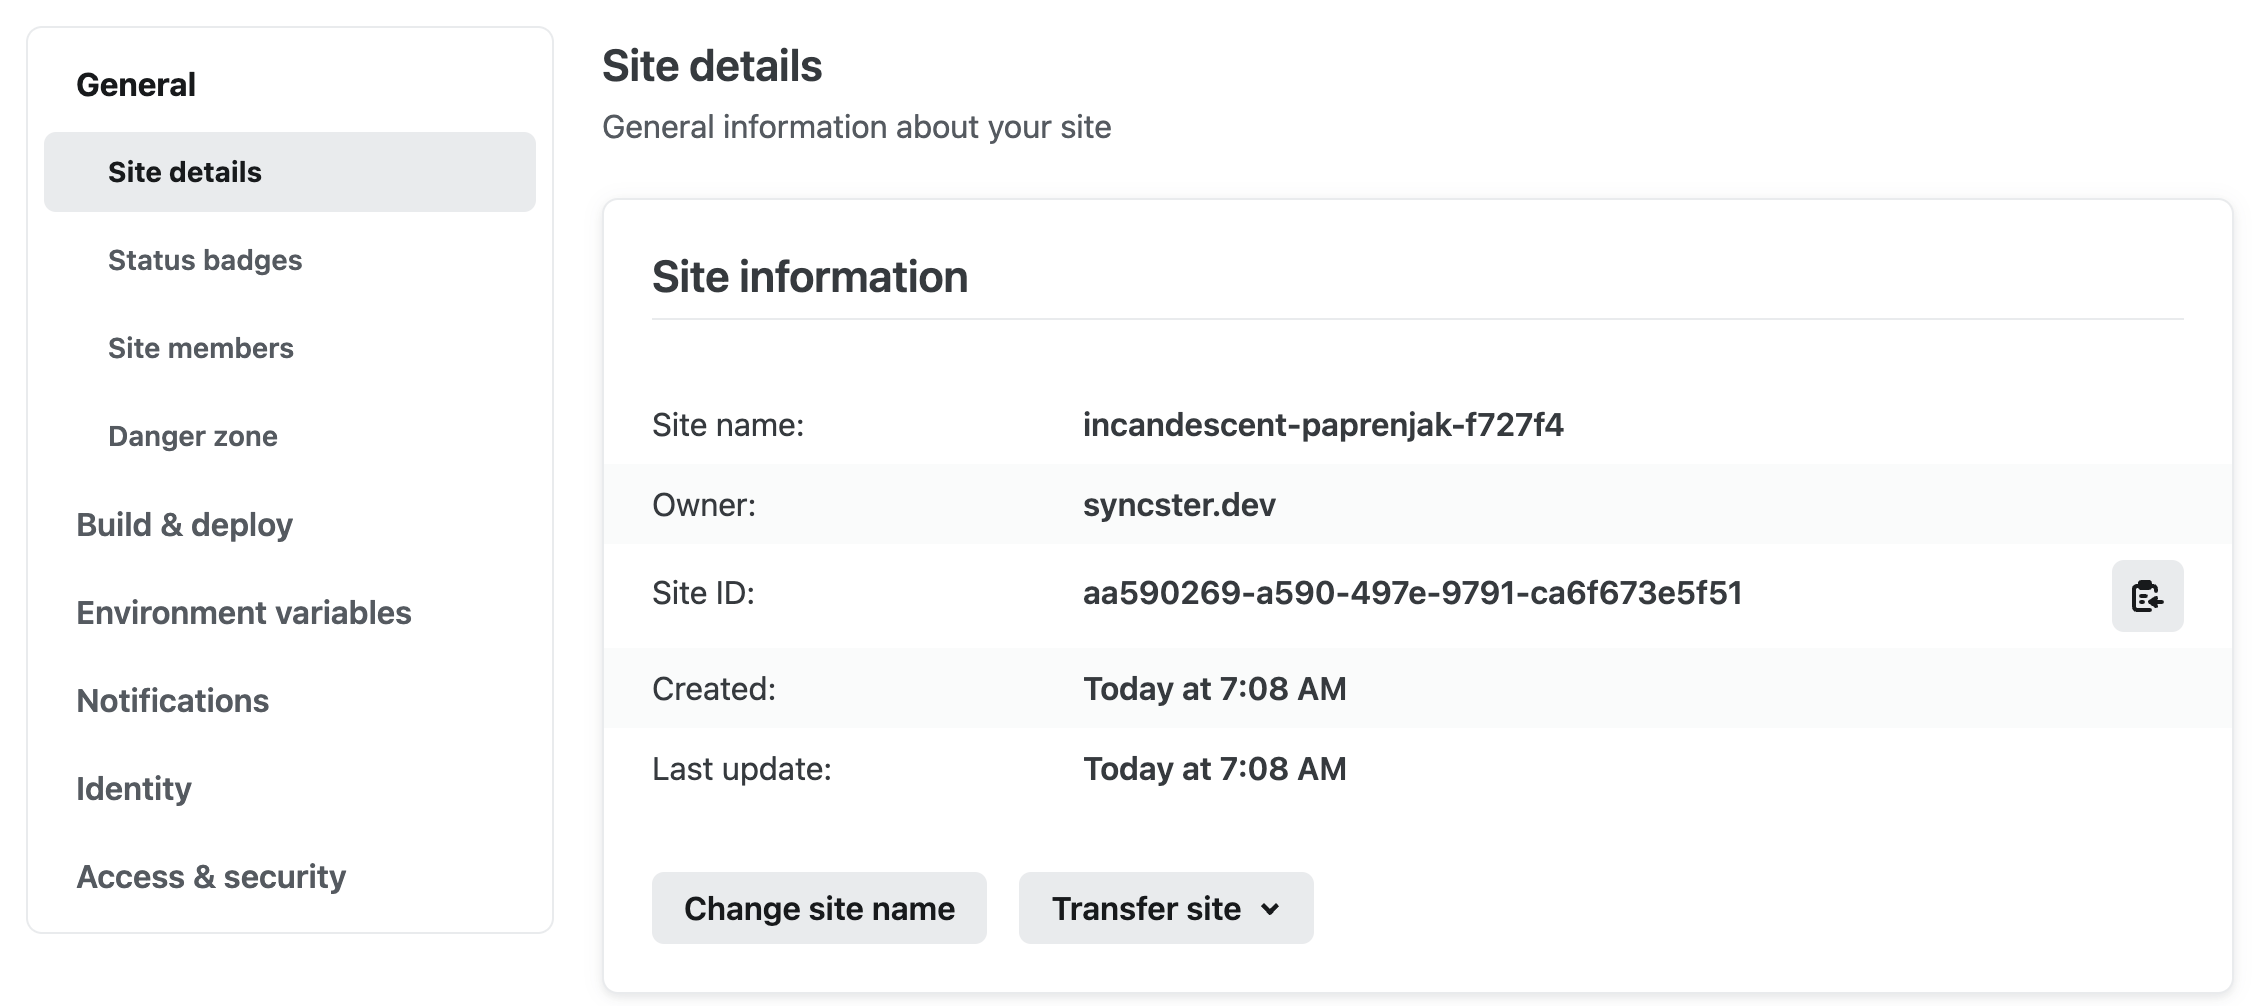
15. On the site details, click "Change site name". Then let us name our site whatever we want. A meaningful name because this will appear on the site url.
I will name mine "checklist-sample". If successful, this will give me a site name checklist-sample.netlify.app
And there you have it! You should now see the url for your site at the top of site configuration page.

You can now click on it to preview your site!
Info
Congratulations on your new web site!