Adding Database Capability to Checklist App
Reading Time: 13.27 minutes
Hey guys and welcome to the next part of this course!
This is the continuation of the Checklist App from the previous lessons.
The previous posts guides you through the creation of a web application. But the data in that application get's erased everytime the user refreshes the browser.
In this part, we will add a storage capability for the app. We can do this using the storage of the browser so that the data resides in the client's device or computer even they refreshes it, but I chose a cloud solution so that we carry our data even if we close the browser. What more is that we will be using this type of solution in future lessons.
For now, we will use the Firebase Firestore. It's a product of google and the free tier provides us enough room to create complex databases enough for small apps such as we have.
With all that. let's get started.
NoSQL Database
Firebase Firestore is one of what we call the NoSQL databases. These type of databases don't use the SQL. SQL or Structured Query Language is a programming language used to store and process information to and from a relational database. Relational databases are data stores that holds the data in a table-like form. Some examples are:
- MySQL
- PostgresQL
- MariaDB
- Oracle Database
- Microsoft SQL Server
- SQLite and other more.
NoSQL databases on the other hand uses other query language depending on their data structure. The data on a nosql database has no strict structure. That means you can toss anything in it. That's the flexibility of the storage and you can then create a flexible queries to it so that you get to harness its flexibility.
Creating a Project
Now before we use the Firestore, we need to have an account in Google. So let's open up the website at https://firebase.google.com.
This is the website for firebase. You can use your google account to sign in here. If you don't have one yet, create one now.
On the upper right corner of the page, click on the Go to console button. This will bring us to the firebase console. In this page, all our projects will be displayed.

To start, click on the Add project button. We will create a firebase project for our checklist app.
You can name the app whatever you want as long as it is still available in the whole firebase list of apps. For me I'll name it to alex-checklist.
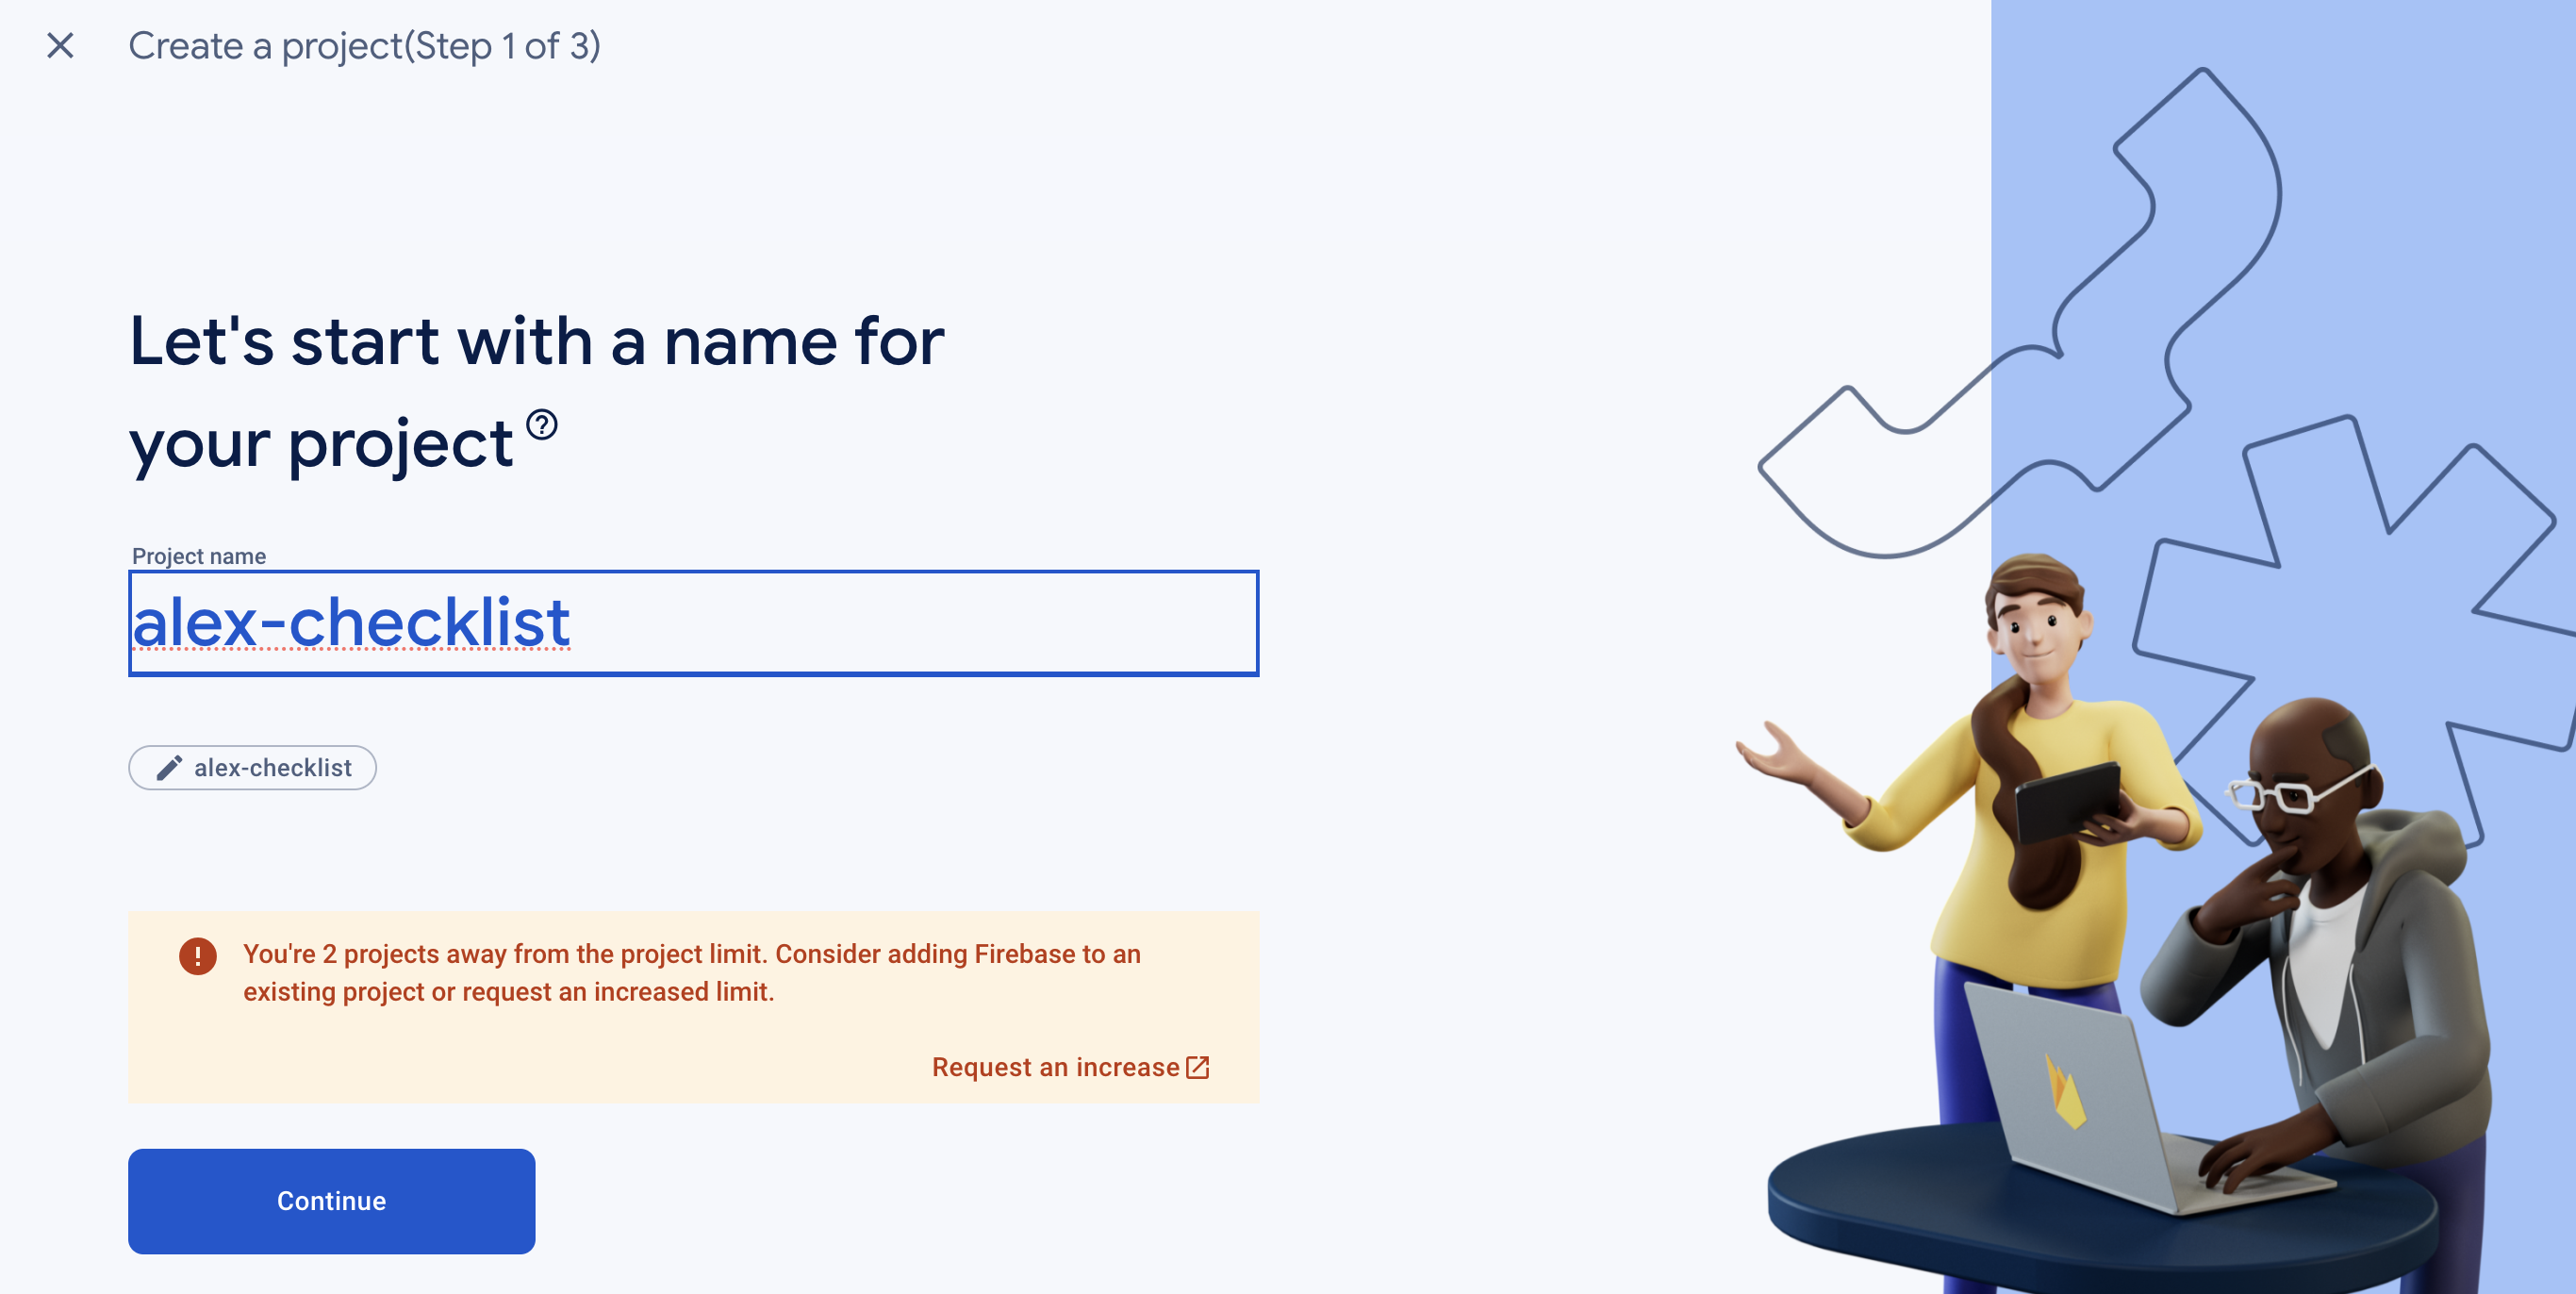
Make sure to put no spaces in the name. Click on Continue button after. You will then go to the next step page, just leave everything as default. The google analytics option will connect your app to google analytics so that you can track the usage of it.
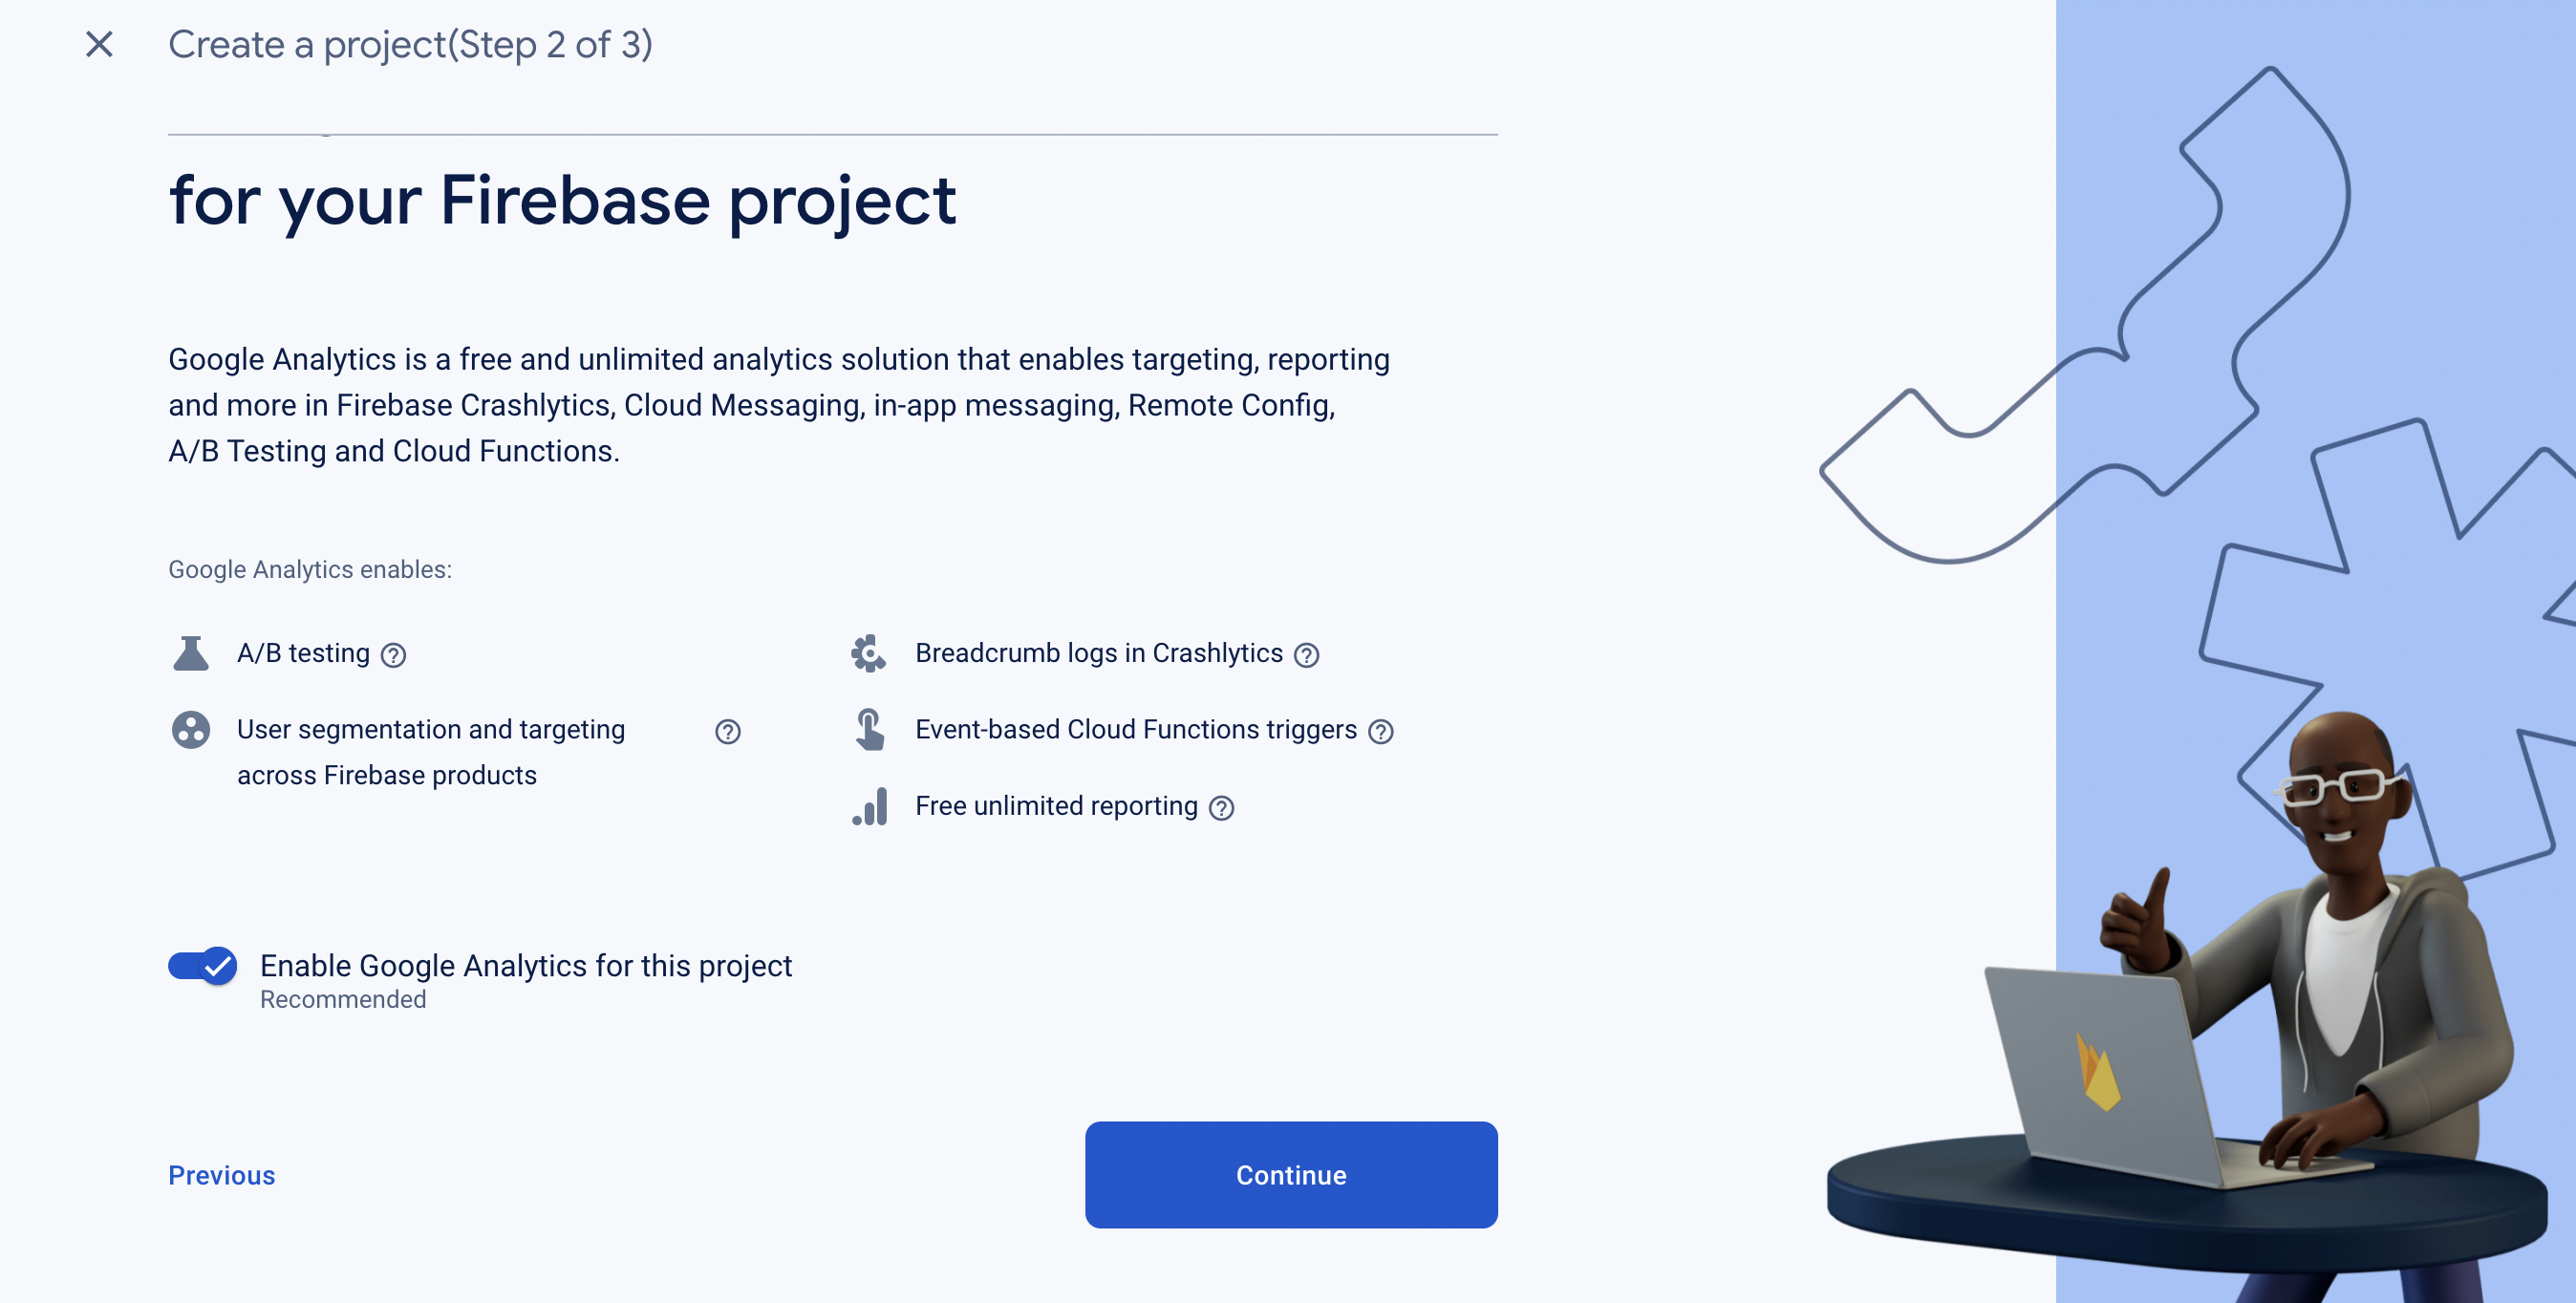
Just click on Continue. If you leave the Google analytics checked, you will be presented this
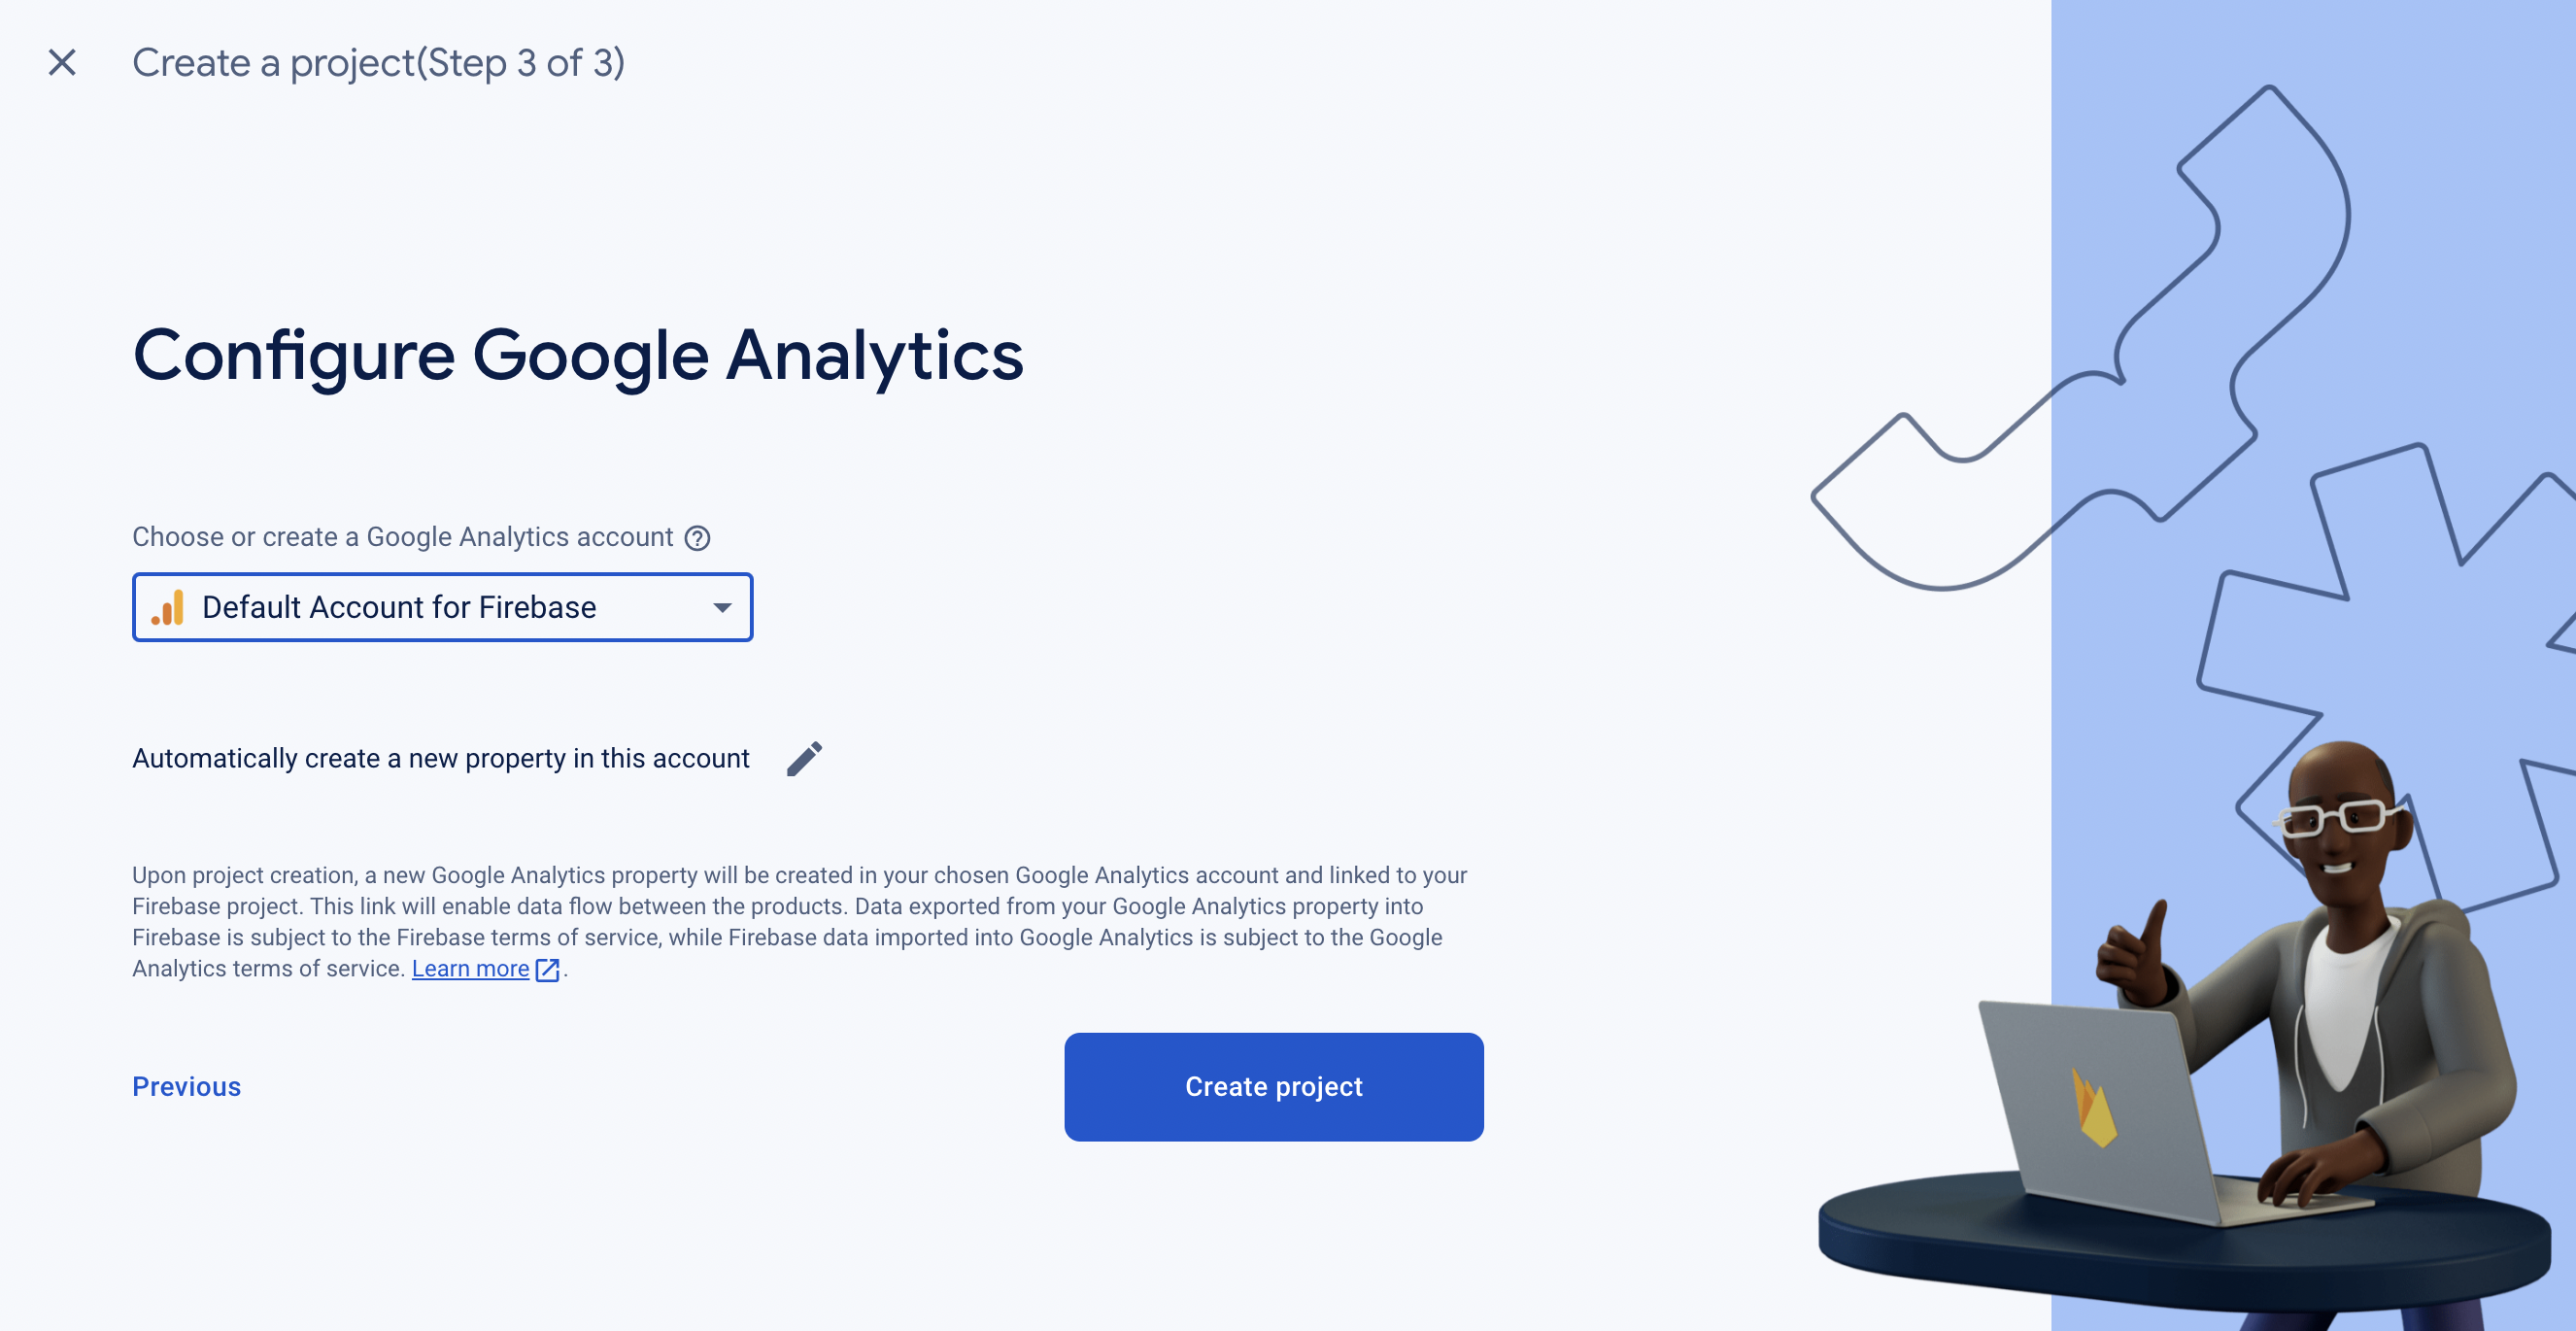
Don't bother much about this, just choose the Default Account for Firebase option from the dropdown list and click Create project button. This will now trigger the provisioning of your project.
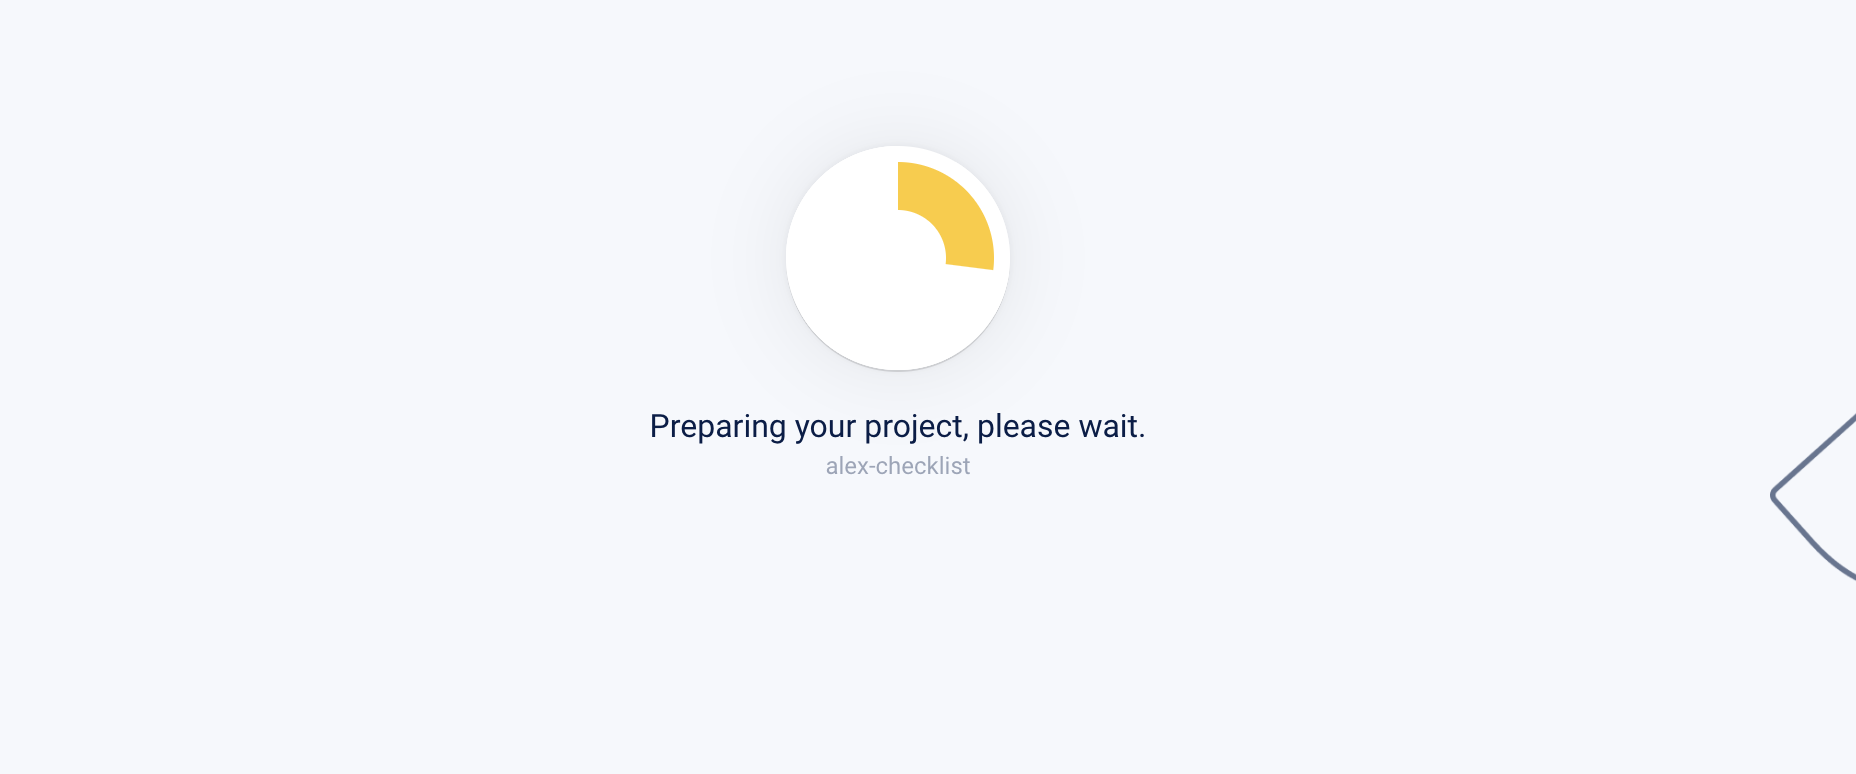
Just wait for it to complete.
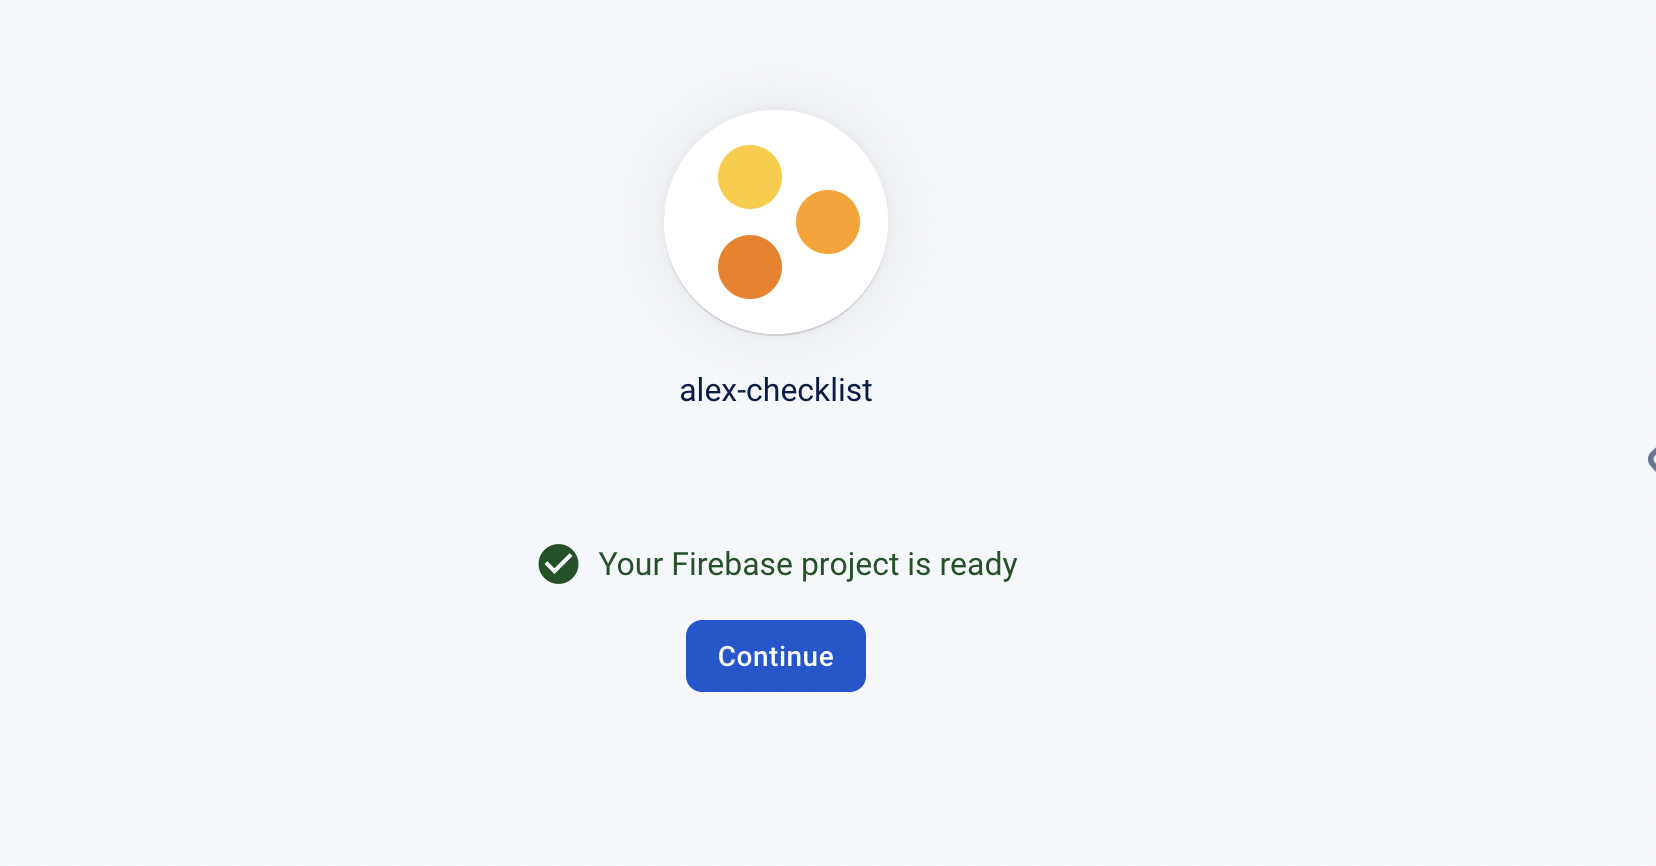
Just click continue to go on to our project dashboard.
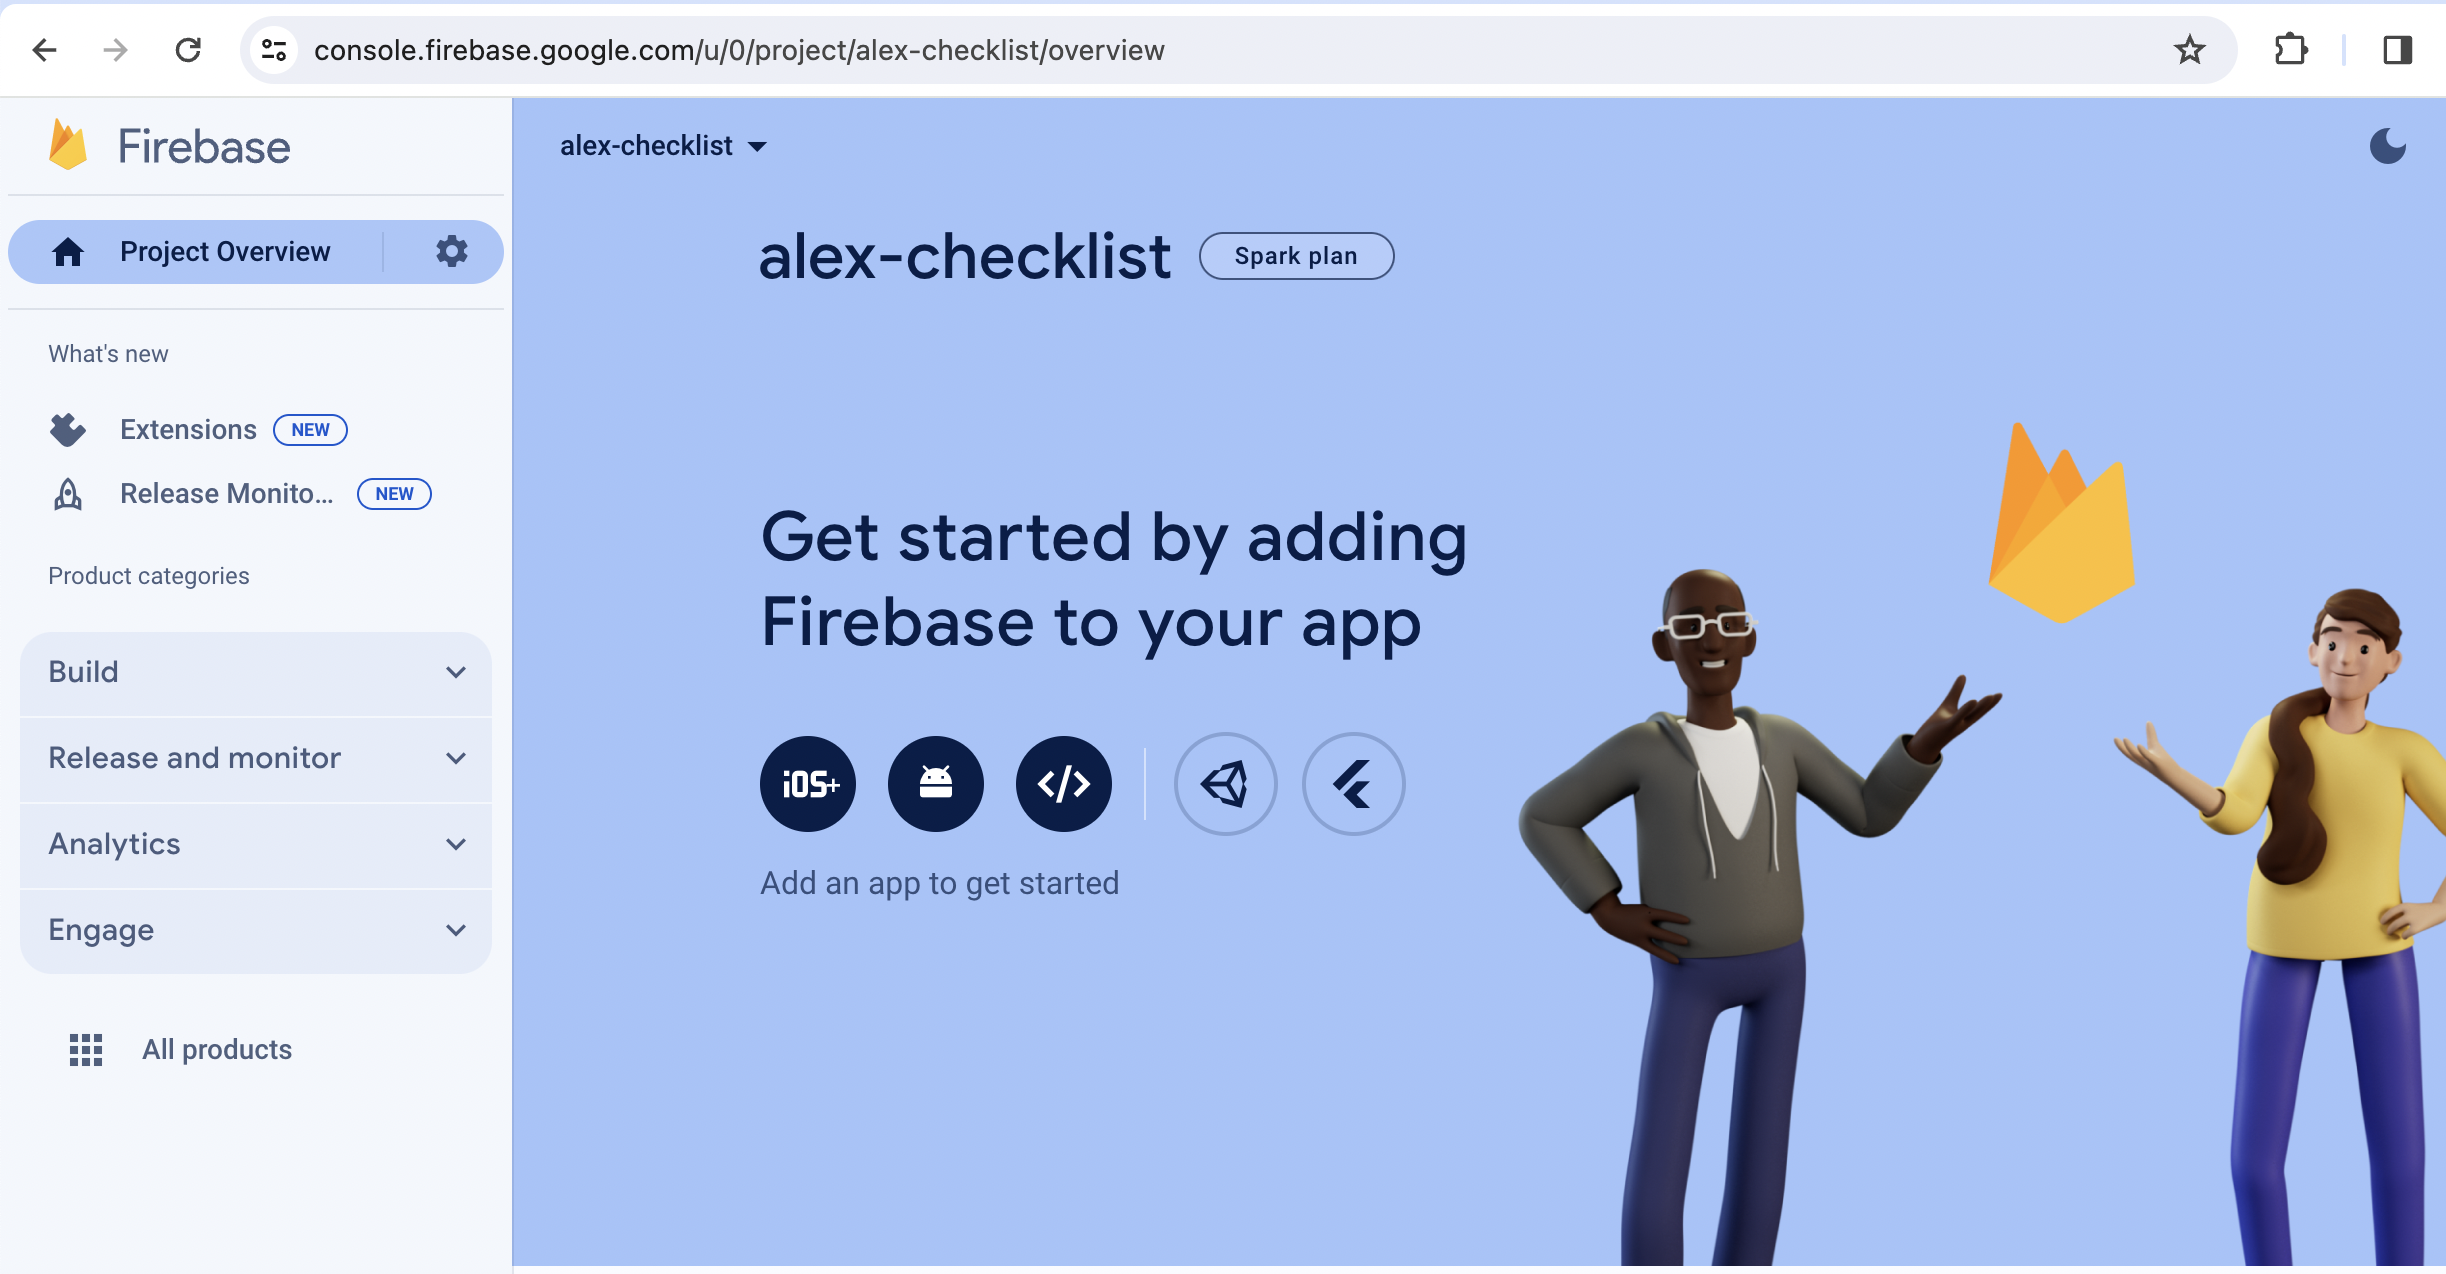
Now it is time to create an app.
Firebase App
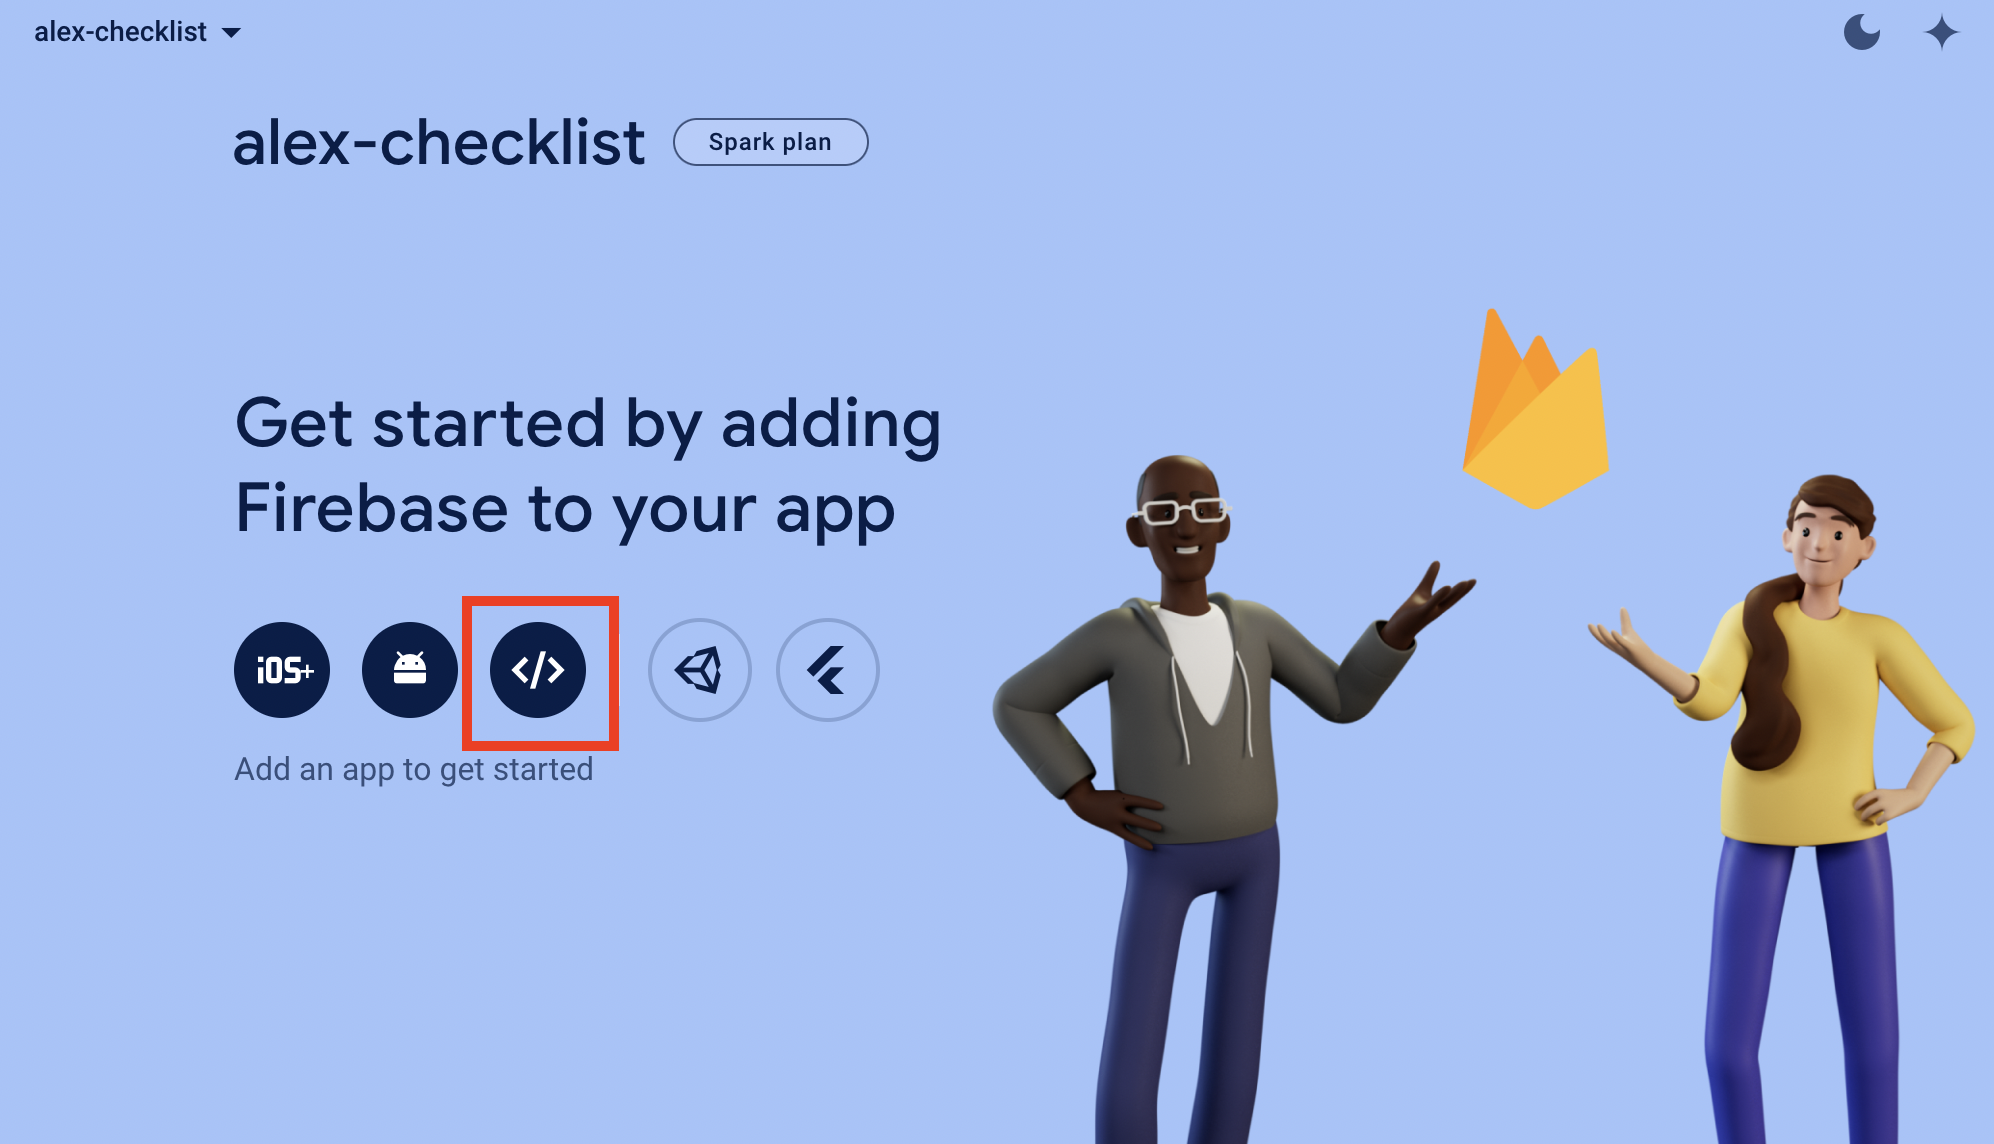
In order for use to connect firebase to our app, we need to create an app for it inside the firebase. In this instance, we will create a web app. So click on the web app button like below
Now we will get the firebase development kit so that we can connect our app to firebase.

Let's make sure that you do not check the Firebase Hosting. Leave it uncheck. Now click the Register app button.
Select the Use a <script> tag option under the "Add Firebase SDK" step. The code then below it is what we are going to use in our code.
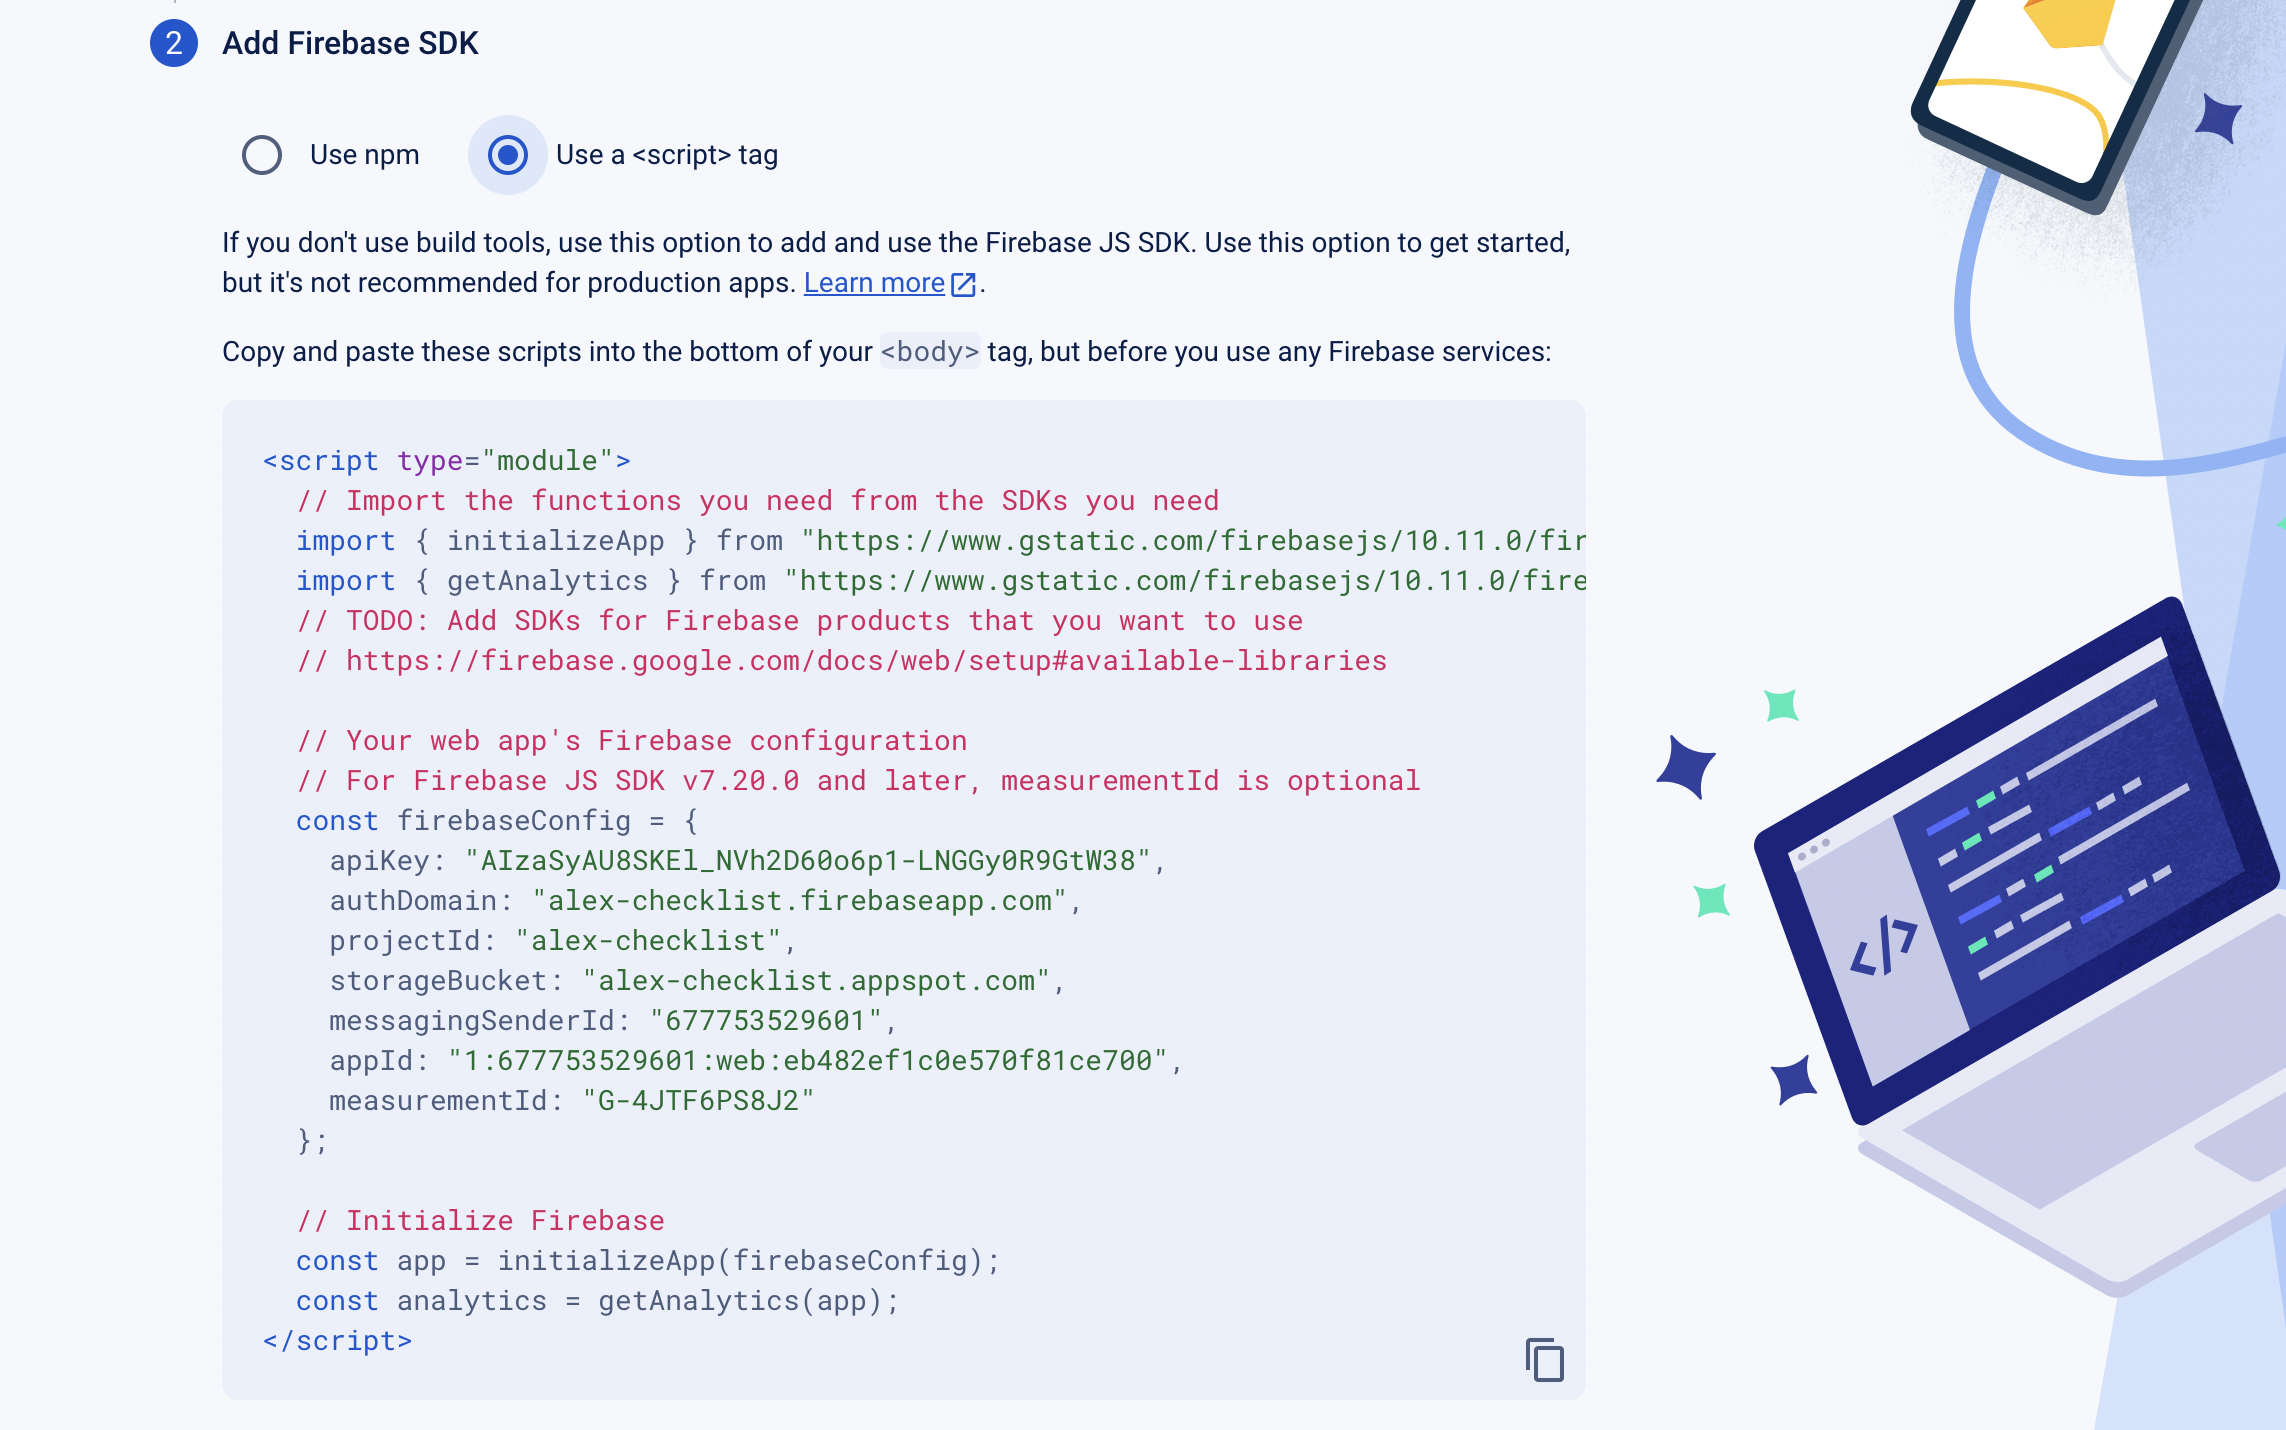
Now that is it for now. Make sure to copy the code somewhere. Let us go back to the code of our app from the previous chapters.
We will be working on our javascript file.
At the top of our code, insert the following highlighted code:
// ================================================
// Firebase setting
// Import the functions you need from the SDKs you need
import { initializeApp } from "https://www.gstatic.com/firebasejs/10.10.0/firebase-app.js";
import {
  getFirestore,
  collection,
  addDoc,
  onSnapshot,
  setDoc,
  doc,
} from "https://www.gstatic.com/firebasejs/10.10.0/firebase-firestore.js";
// TODO: Add SDKs for Firebase products that you want to use
// https://firebase.google.com/docs/web/setup#available-libraries

// Your web app's Firebase configuration
// For Firebase JS SDK v7.20.0 and later, measurementId is optional
const firebaseConfig = {
  // ... Paste the configuration from your sdk here...
};

// Initialize Firebase
const app = initializeApp(firebaseConfig);
// const analytics = getAnalytics(app);
const db = getFirestore(app);

// ================================================
// End of firebase setting

const buttonAdd = document.getElementById("add-todo");
const todoText = document.getElementById("new-todo");
// ... the rest of the code from the previous app
From your firebase sdk, paste the content of

inside the
const firebaseConfig = {
  // ... Paste the configuration code here
};
For now that's it. If successfuly, we have integrated our firebase app with our app.
Now let's create a firestore database.
Set as Module
Upon running the code, open your browser console and you will see that we have an error. The error is saying that
Uncaught SyntaxError: Cannot use import statement outside a module
That means, our javascript code should be a module type so that we can use statements such as import in our javascript code. So let's edit our html code, in the part where we import our javascript file, we will add a type attribute. So instead of
<script src="script.js"></script>
it will be
<script type="module" src="script.js"></script>
Save it and the error should now be gone.
Firebase Firestore
From the previous step, click on Continue to console button.

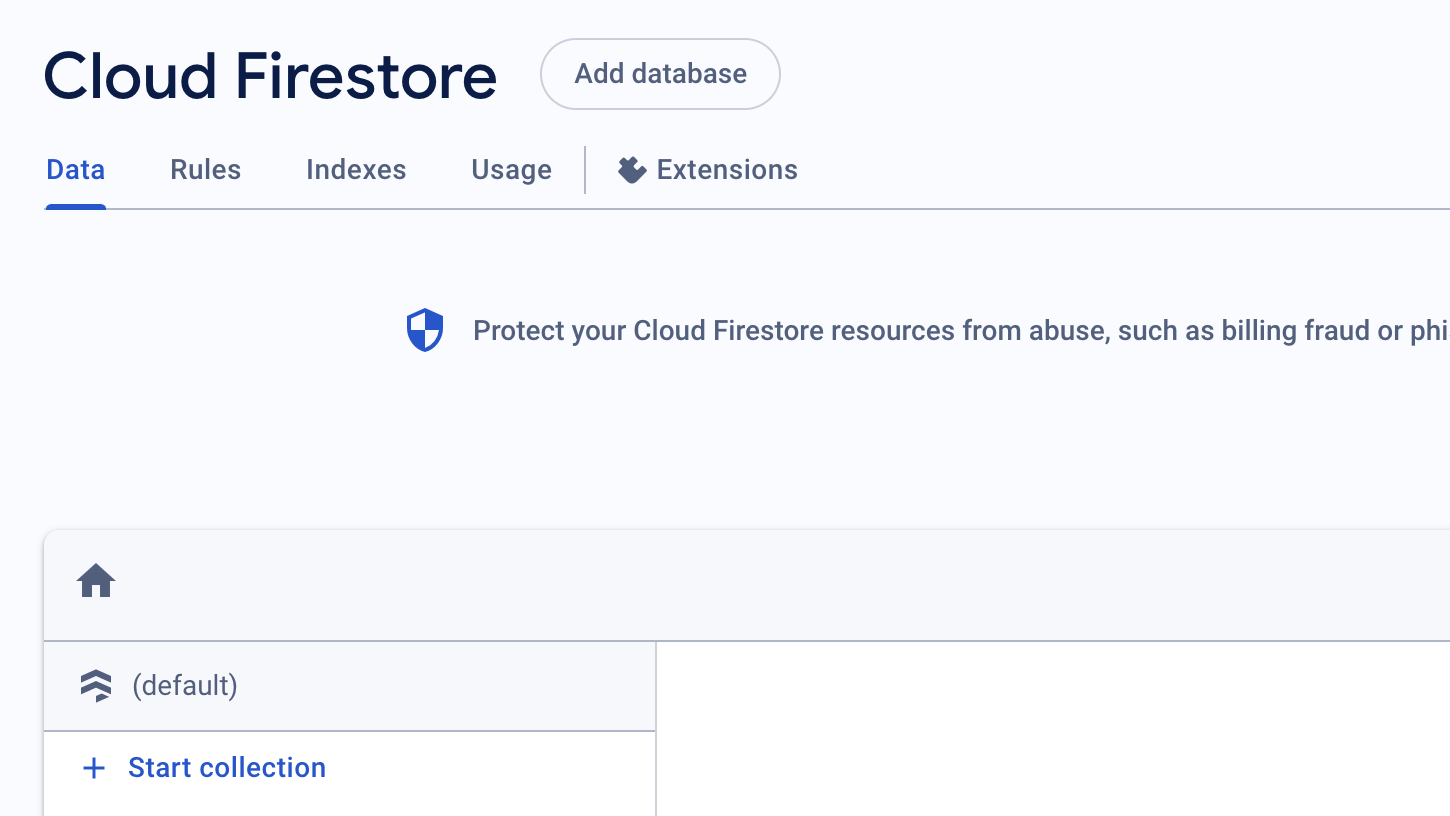
Now we will create a firestore database.
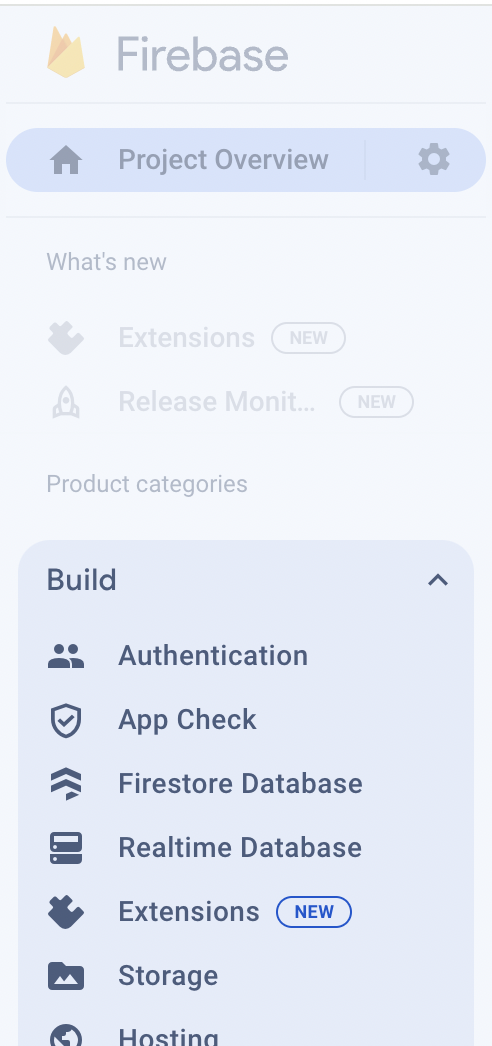
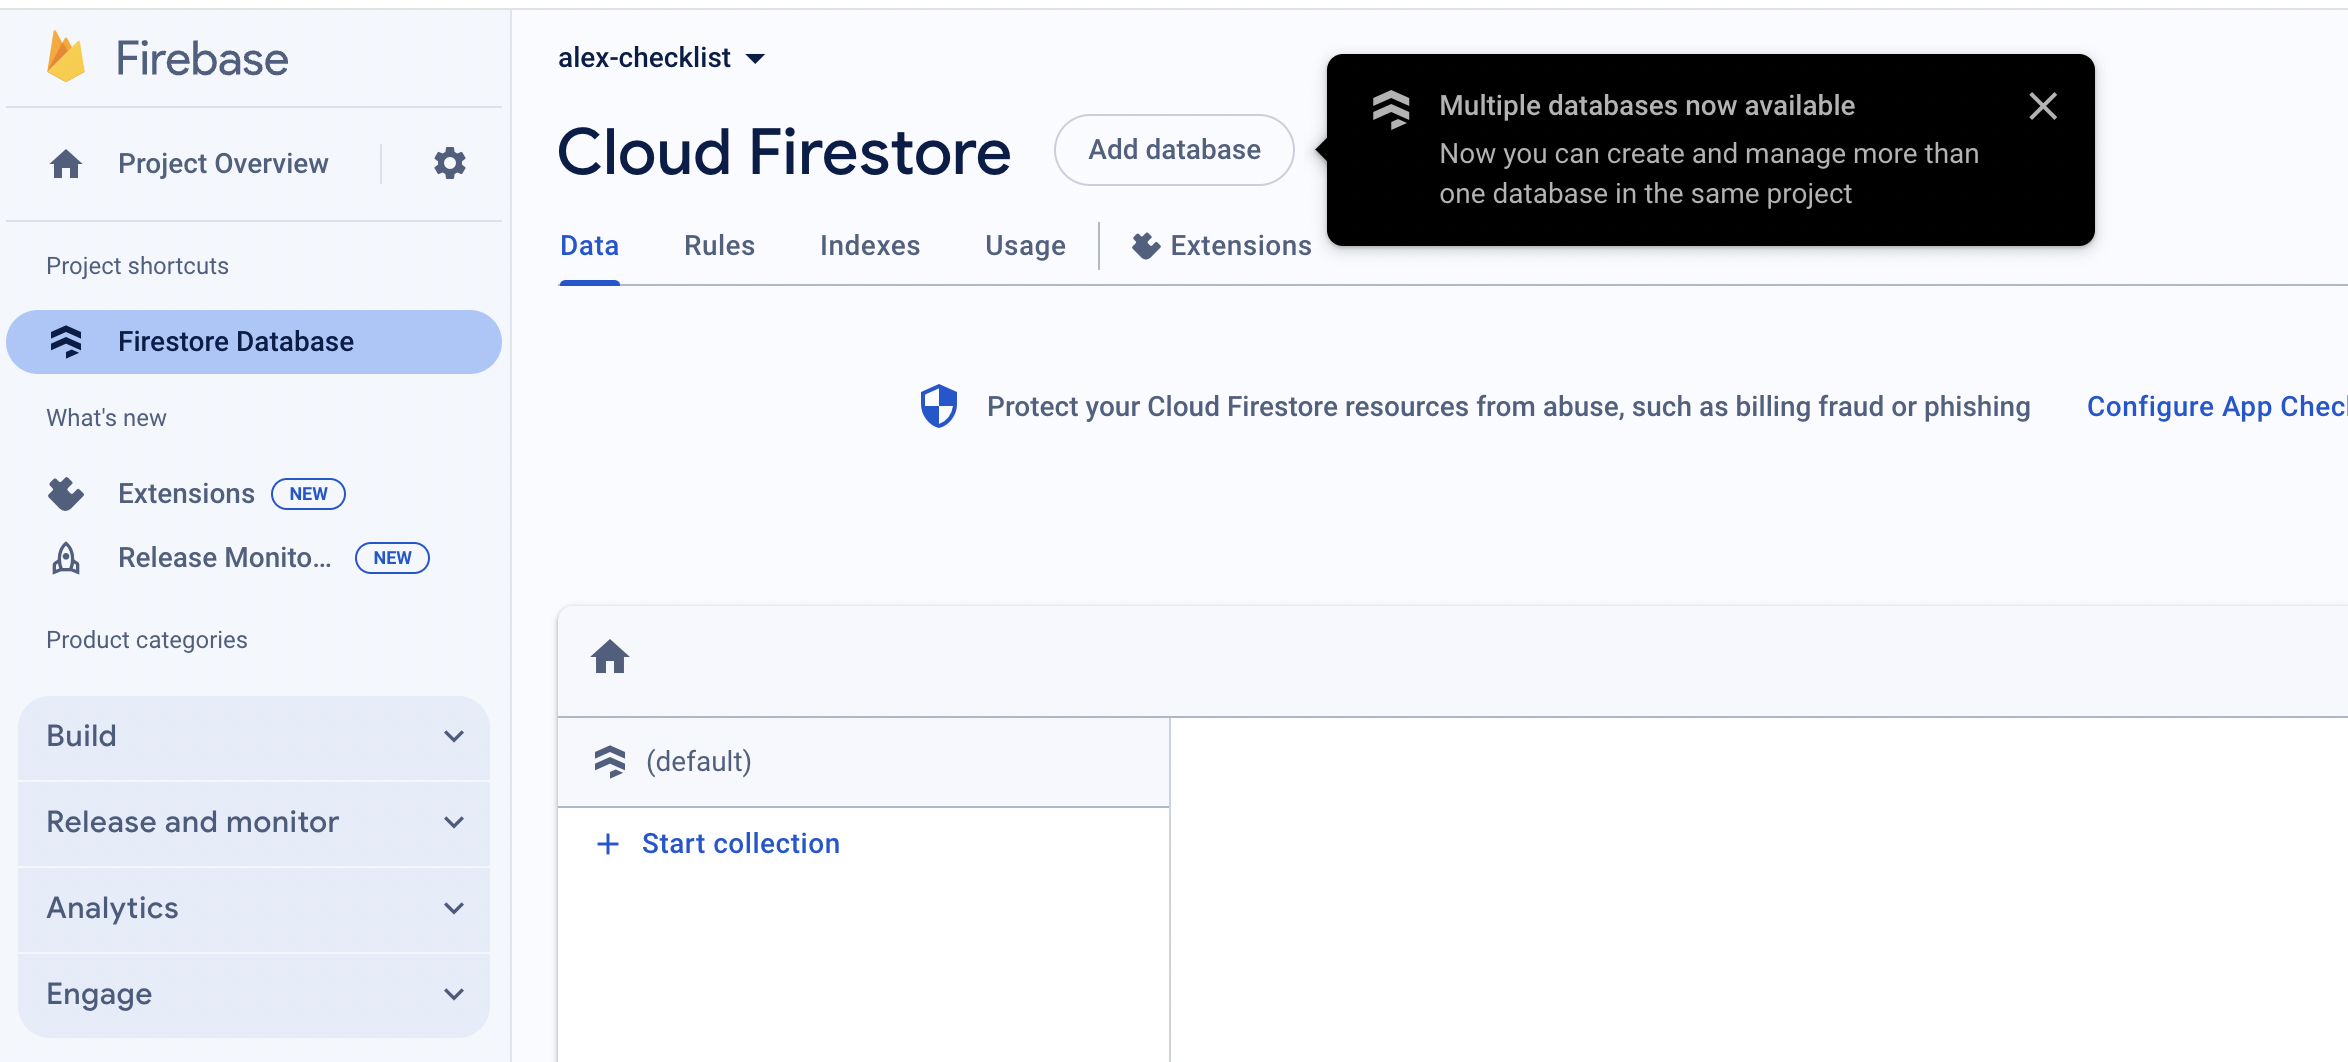
On the left side of the firebase console, you will find "Product Categories". Select the "Build" option. It will show us a bunch of things we can build with firebase. Choose "Firestore Database" from the list.
The dashboard for the firestore will be like this
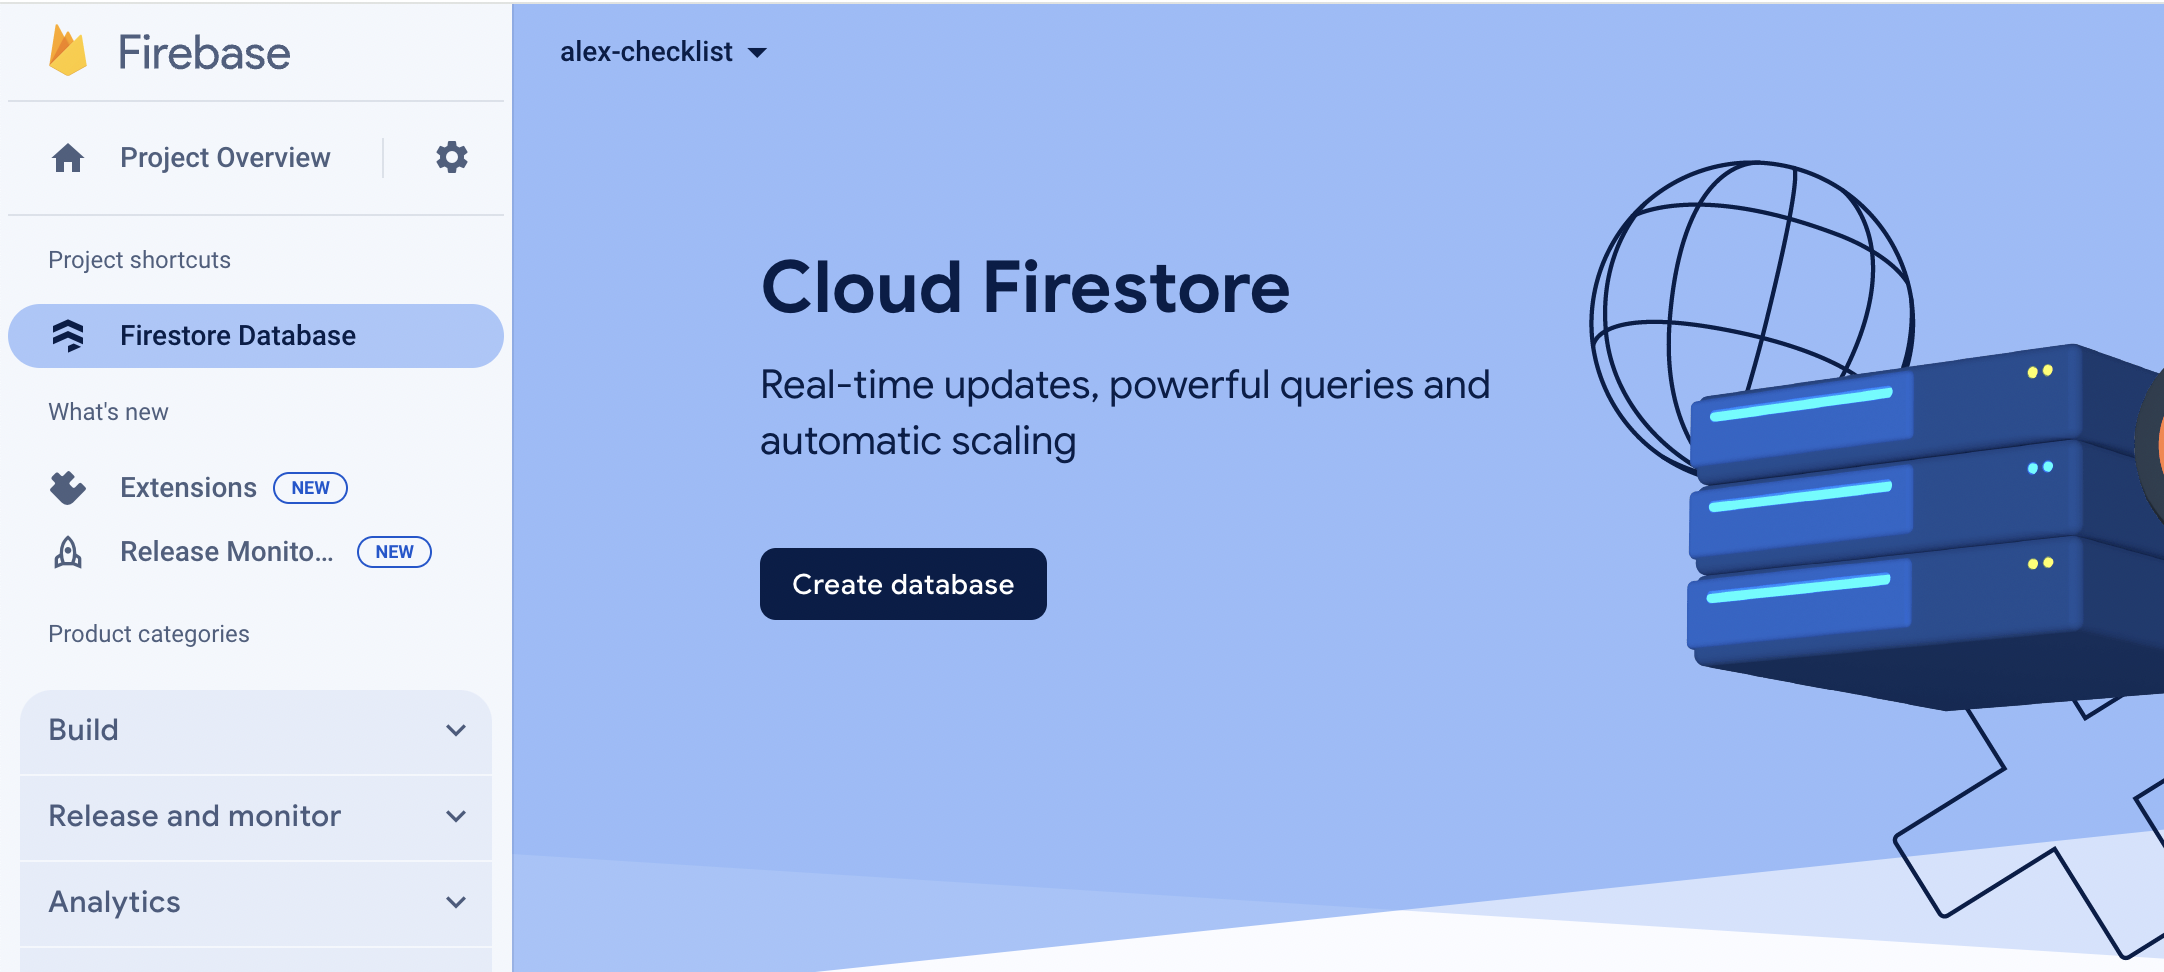
Now click on the Create database.
On the create database window, select the location nearest to you for faster connection. For me, I will choose Hongkong then click "Next".
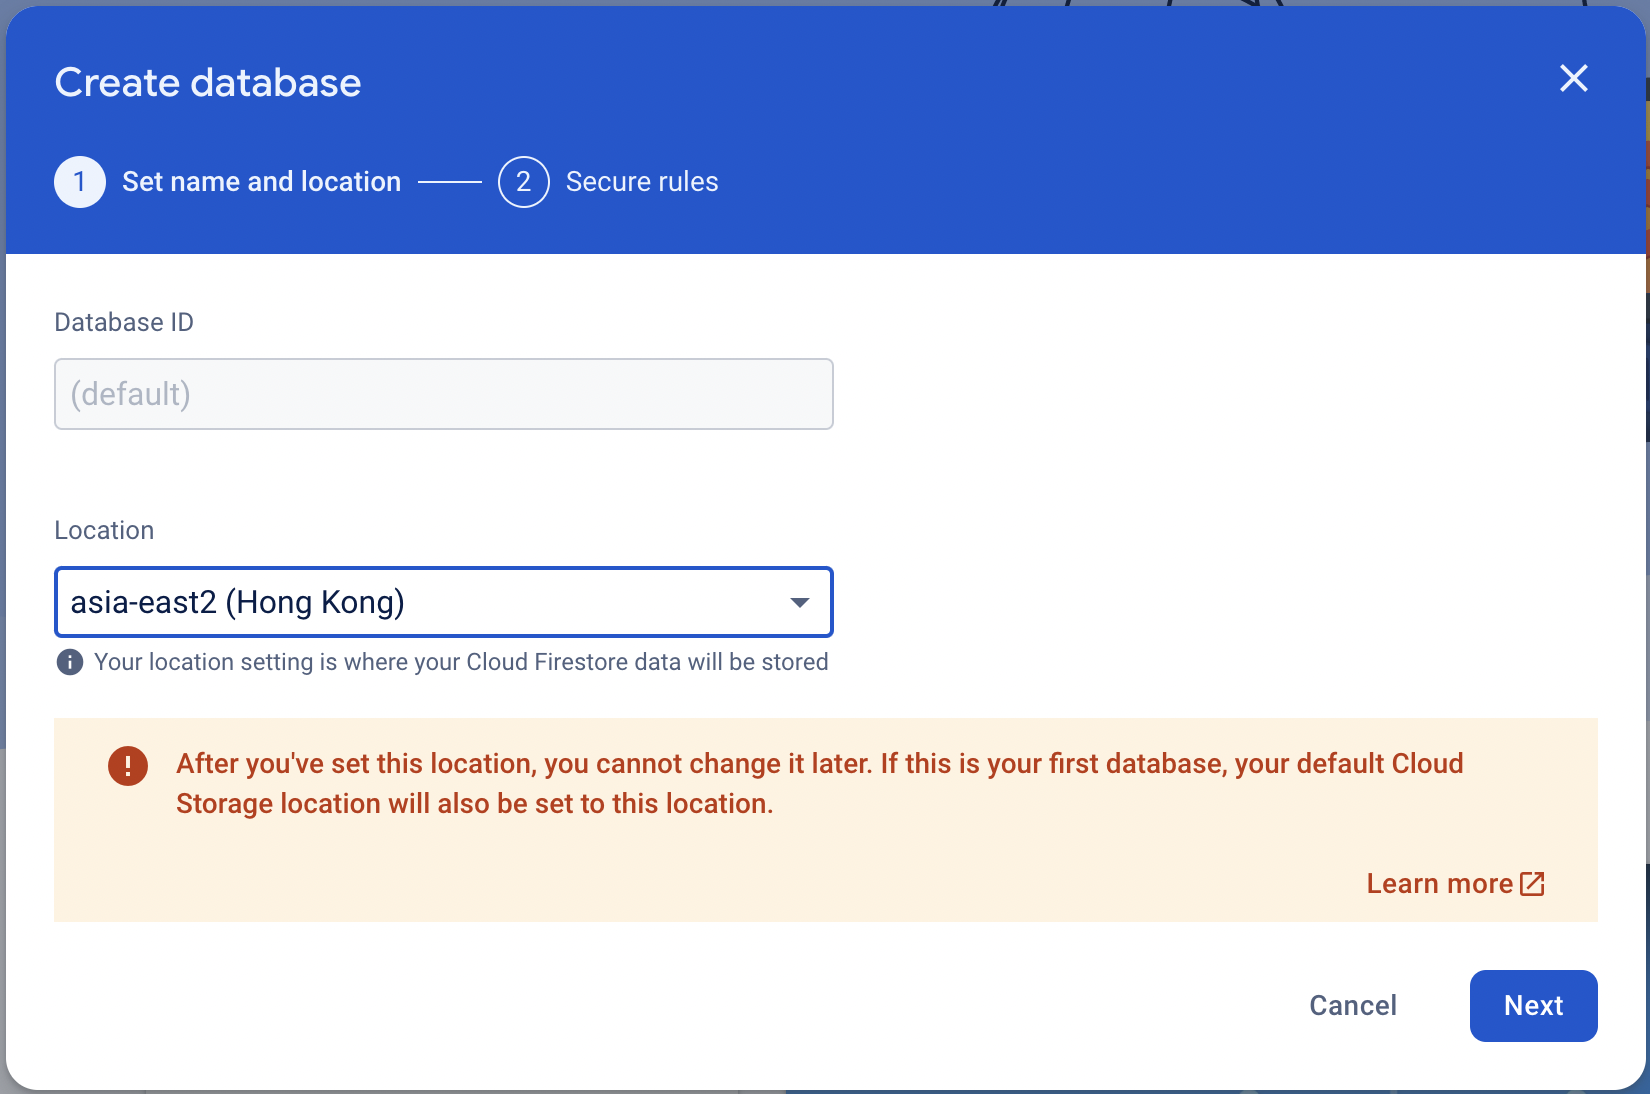
For the next screen, just choose the Production mode and hit Create.
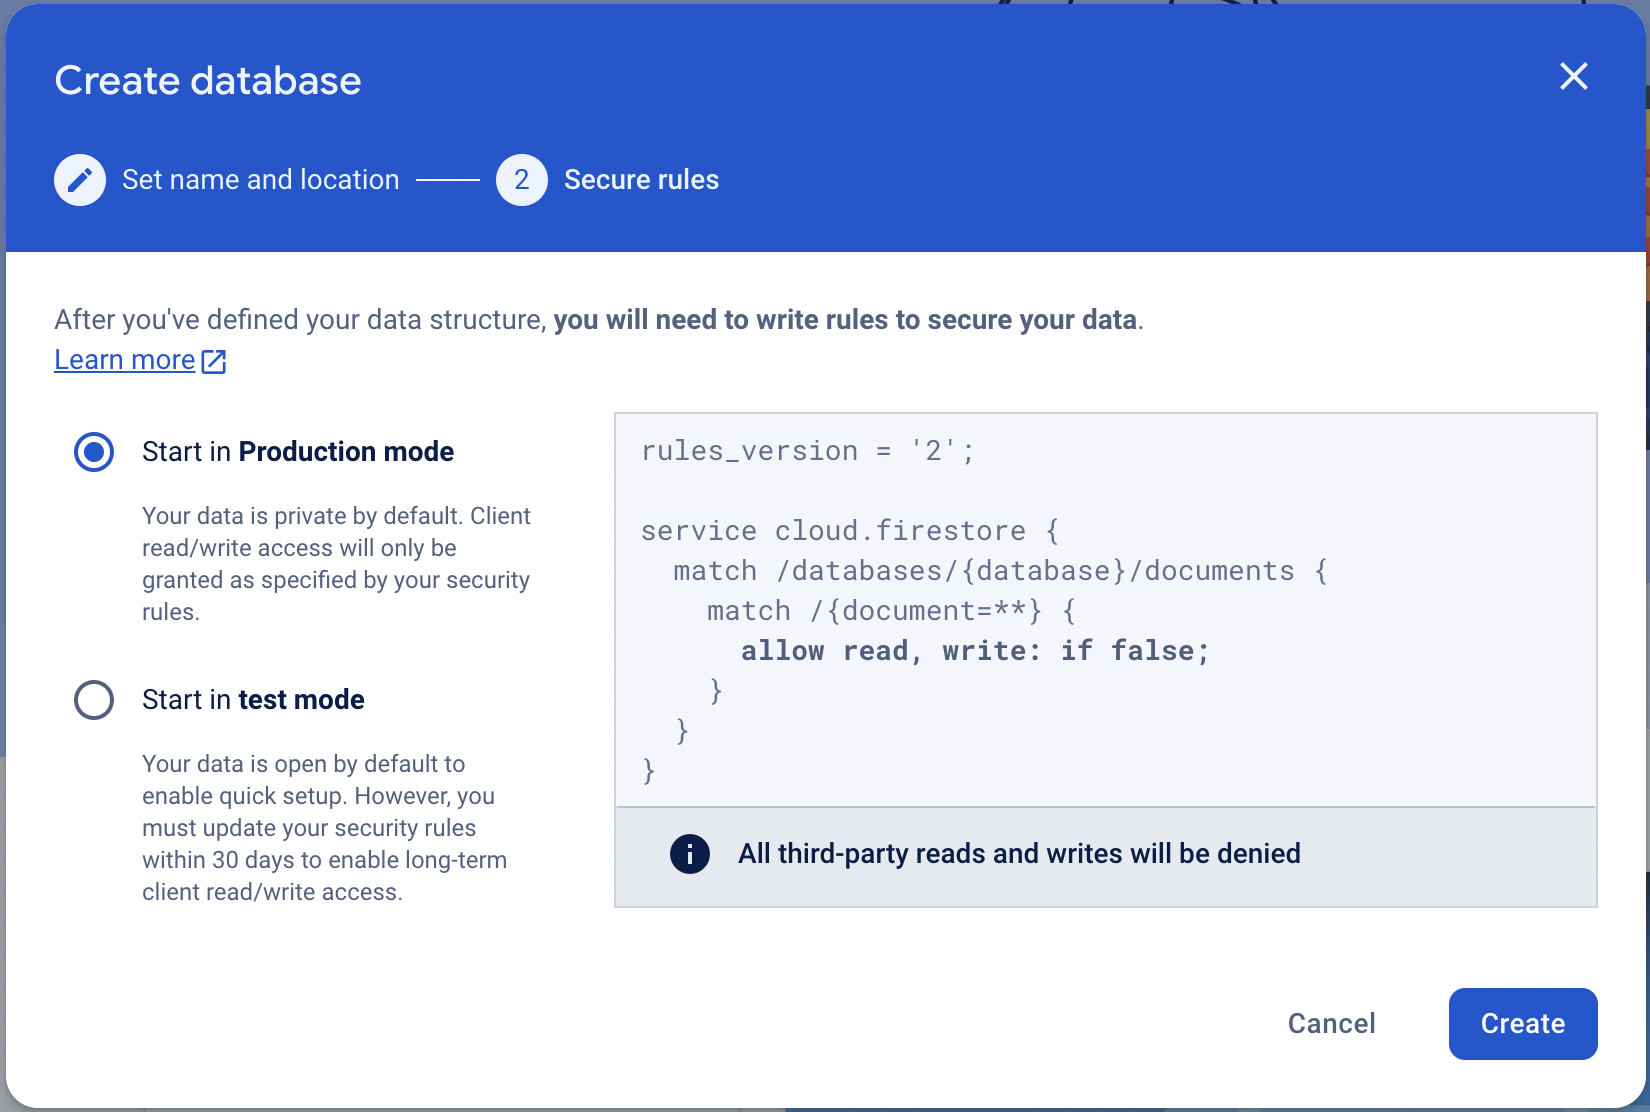
This will now provision the cloud firestore.
For now, this is it for our setting up of firestore.
We will now return to our javascript code.
Adding Data to Firestore Database
Since we have already setup the fundamental functions for our app, we have the function for the click event of our button. To get back to the function let's show it
// Function to be called when the button is clicked
function buttonClicked() {
  inputText = inputBox.value; // Put the content of input box to the variable

  // Add item to the array using Array.push method
  items.push({
    name: inputText,
    checked: false,
  });

  renderItems();
}
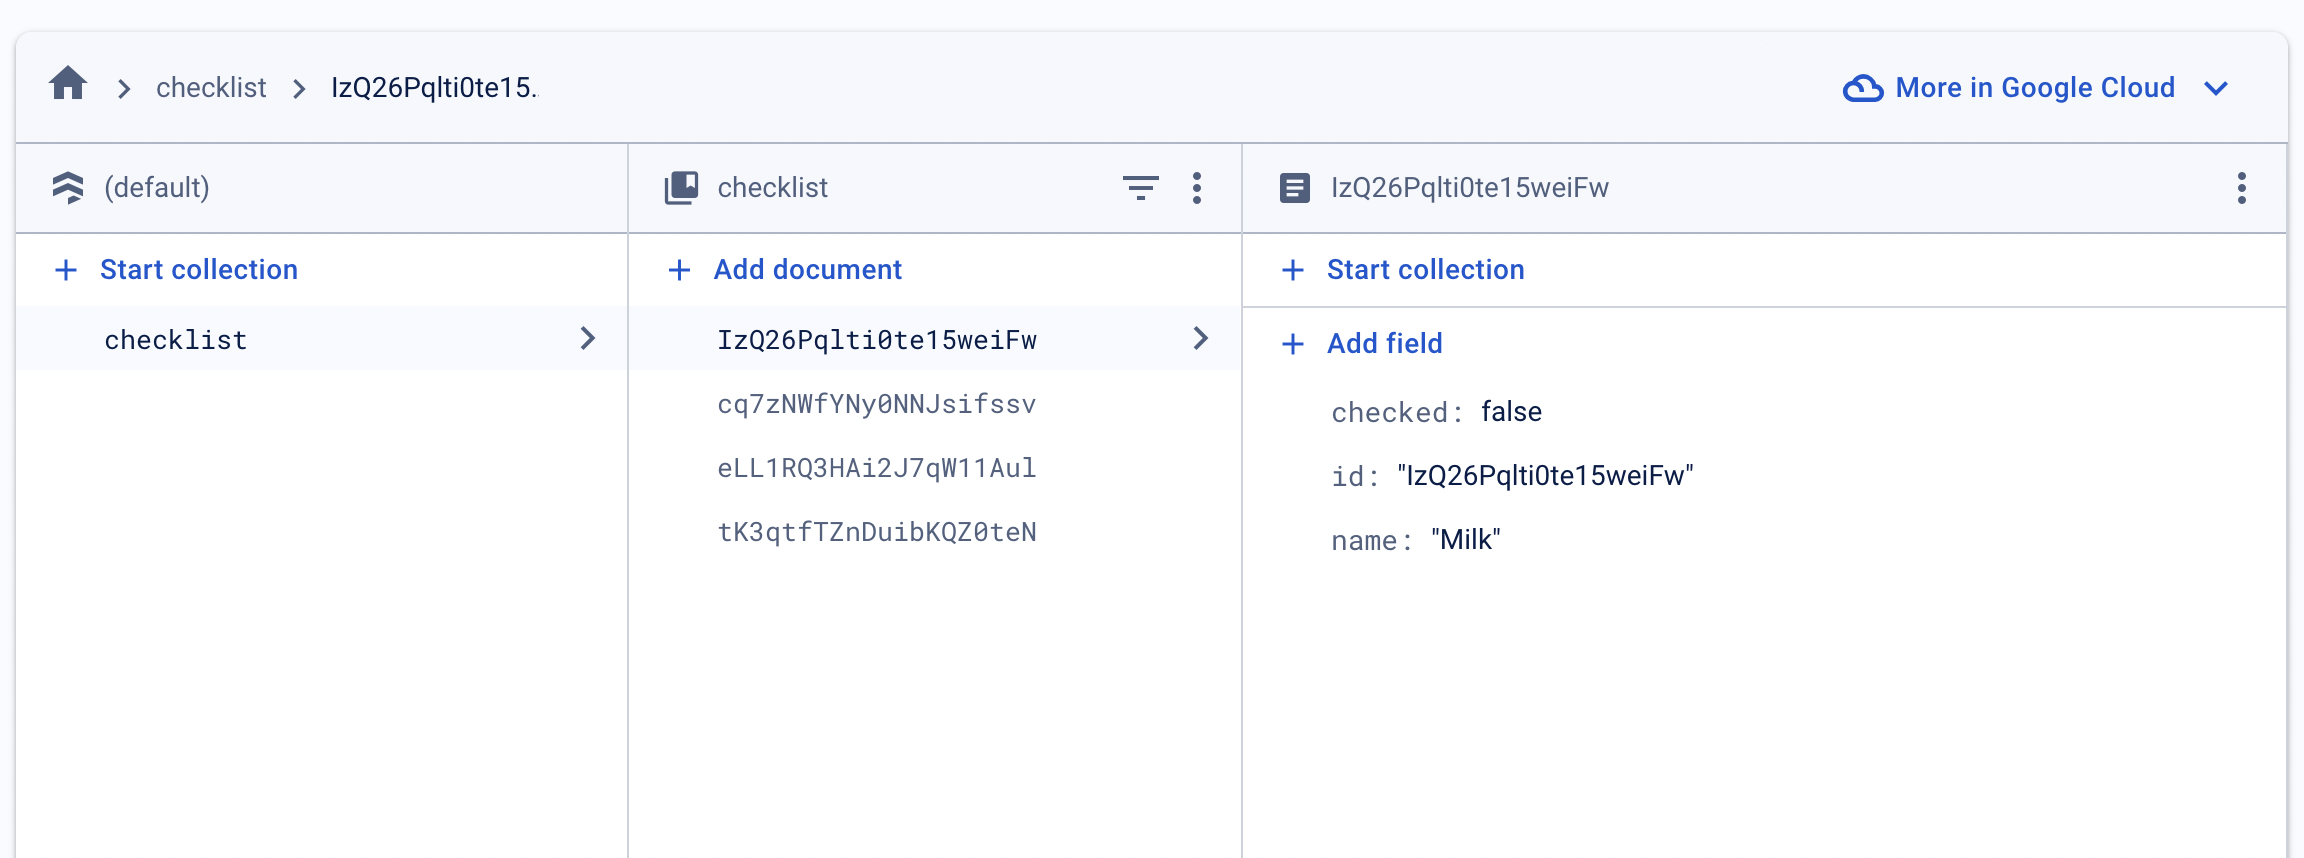
Here, instead of pushing our new checklist item to the local variable items, we will put it to firestore collection.
A collection like a container in the firestore database that can hold a list of documents. These documents are like json data.
Let's replace the code from lines 6-11.
function buttonClicked() {
  inputText = inputBox.value; // Put the content of input box to the variable

  addDoc(collection(db, "checklist"), {
    name: inputText,
    checked: false,
  }).then((data) => {
    console.log(`Checklist with id ${data.id} created successfully!`);
  });
}
Both addDoc and collection are firestore functions that are given to use and is imported on our setup. db object is the reference to our database and the string "checklist" is the name of our collection.
If the collection exists in our firestore database, this code will add the checklist item as document into that collection, however if the collection "checklist" does not yet exist, as like in our case because we just created an instance of our firebase app, it will create the new collection with the checklist item as it's first document.
On our code above, when the request to database pushes through, it prints something out to the browser console. You may improve this later on by showing a dialog alert to the user. But we will ignore it for now.
Now if you notice, from our original code, we call the renderItems function inside the buttonClicked. This time, we will call the renderItems function only if there is a change in our database. This means that other devices can make changes to our database when we use the app, and our app will automatically update!
In firestore, there is a function called onSnapshot which is fired when there are changes happened in the database collection, depending on what collection we listen to.
We will now add this to our code.
onSnapshot(collection(db, "checklist"), (snapShot) => {
  items = [];

  snapShot.forEach((doc) => {
    const item = {
      id: doc.id,
      ...doc.data(),
    };
    items.push(item);
  });

  renderItems();
});
Here, we are listening to the collection "checklist". First, on line 2, we are clearing the contents or out items array by setting it to []. And then we are using the new value result of snapshot in snapShot value which is an array. The items array will now be populated and the data is coming from the database.
After this, we then call the renderItems function.
With the code above, it should already be working for the saving of our data to database.
Next we will do is to update data in the database when the user check or uncheck an item.
Updating Firestore Document
Since from the previous chapters, we have put an itemClicked function that is called when our checkbox is clicked, we can use it to update the data on the cloud.
The code before is this.
// Call when a checkbox is clicked.
function itemClicked(id) {
  const item = items[id];

  // Change the checked property
  item.checked = !item.checked;

  renderItems();
}
We will change those to this
// Call when a checkbox is clicked.
function itemClicked(id) {
  let selectedItem = null;
  items.forEach((item) => {
    if (item.id === id) {
      selectedItem = item;
    }
  });

  const checklistRefs = collection(db, "checklist");
  setDoc(doc(checklistRefs, id), {
    name: selectedItem.name,
    id: selectedItem.id,
    checked: !selectedItem.checked,
  });

  renderItems();
}
On lines 2-9, we capture the selected item by checking the items array with the "id". If found, is sets the selectedItem variable to the object.
We then update the firestore document with the setDoc function. In this function, we will pass the "id" which the firestore will find from the collection. We will also pass the whole updated object because if we ommit other fields, they will be deleted on the document in the database.
Let's look now at the content of the collection in firebase.
Now that's it! Our app if finally saving and retrieving data from an online database!
To give you an updates on the, here are the code listing for the html and javascript files.
<!DOCTYPE html>
<html lang="en">
  <head>
    <meta charset="UTF-8" />
    <meta name="viewport" content="width=device-width, initial-scale=1.0" />
    <!-- Importing of css file -->
    <link rel="stylesheet" href="/style.css" />
    <!-- End of importing css file -->
    <title>Document</title>
  </head>
  <body>
    <h1>Checklist App</h1>

    <div id="checklist-form">
      <input type="text" id="item-text" placeholder="Enter text here..." />
      <button id="add-item">Add Item</button>
    </div>

    <ul id="checklist"></ul>

    <!-- Import javascript file -->
    <script type="module" src="/script.js"></script>
  </body>
</html>
// ================================================
// Firebase setting
// Import the functions you need from the SDKs you need
import { initializeApp } from "https://www.gstatic.com/firebasejs/10.10.0/firebase-app.js";
import {
  getFirestore,
  collection,
  addDoc,
  onSnapshot,
  setDoc,
  doc,
} from "https://www.gstatic.com/firebasejs/10.10.0/firebase-firestore.js";
// TODO: Add SDKs for Firebase products that you want to use
// https://firebase.google.com/docs/web/setup#available-libraries

// Your web app's Firebase configuration
// For Firebase JS SDK v7.20.0 and later, measurementId is optional
const firebaseConfig = {
  apiKey: "AIzaSyA63Acz0cHRsRQVKVfclTmxdLWsENSve0U",
  authDomain: "syncster-checklist.firebaseapp.com",
  projectId: "syncster-checklist",
  storageBucket: "syncster-checklist.appspot.com",
  messagingSenderId: "365577317602",
  appId: "1:365577317602:web:cd868f4ece6394ac0082bb",
  measurementId: "G-59FS80N3WF",
};

// Initialize Firebase
const app = initializeApp(firebaseConfig);
// const analytics = getAnalytics(app);
const db = getFirestore(app);

// ================================================
// End of firebase setting

const inputBox = document.getElementById("item-text");
const buttonAdd = document.getElementById("add-item");
let inputText = "";

// Create a constant that will hold our list element
const list = document.getElementById("checklist");

// Declare an empty array
let items = [];
let listHtml = "";

buttonAdd.addEventListener("click", buttonClicked);

// Function to be called when the button is clicked
function buttonClicked() {
  inputText = inputBox.value; // Put the content of input box to the variable

  // // Add item to the array using Array.push method
  // items.push({
  //   name: inputText,
  //   checked: false,
  // });

  addDoc(collection(db, "checklist"), {
    name: inputText,
    checked: false,
  }).then((data) => {
    console.log(`Checklist with id ${data.id} created successfully!`);
  });
}

onSnapshot(collection(db, "checklist"), (snapShot) => {
  items = [];

  snapShot.forEach((doc) => {
    const item = {
      id: doc.id,
      ...doc.data(),
    };
    items.push(item);
  });

  renderItems();
});

// Call when a checkbox is clicked.
function itemClicked(id) {
  let selectedItem = null;
  items.forEach((item) => {
    if (item.id === id) {
      selectedItem = item;
    }
  });

  const checklistRefs = collection(db, "checklist");
  setDoc(doc(checklistRefs, id), {
    name: selectedItem.name,
    id: selectedItem.id,
    checked: !selectedItem.checked,
  });

  renderItems();
}

// The render function to render the list
function renderItems() {
  listHtml = "";

  for (let i = 0; i < items.length; i++) {
    let className = "";

    if (items[i].checked) {
      className = "completed";
    }

    listHtml += `<li>
      <input type='checkbox' id='${items[i].id}'>
        <label for='${items[i].id}' class='${className}'>
          ${items[i].name}
        </label>
      </li>`;
  }

  list.innerHTML = listHtml;

  for (let i = 0; i < items.length; i++) {
    let checked = items[i].checked;

    document.getElementById(items[i].id).checked = checked;

    // Add eventlistener
    document.getElementById(items[i].id).addEventListener("click", function () {
      itemClicked(items[i].id);
    });
  }
}
Update Firestore Rule
Now that we have completed our code and when you run the app, we might get a permission denied error when we look at the browser console. This is due to the setting in our firestore rules.
Now go back to the firebase firestore console.
Select the "Rules" tab from above and we will see the code for the rule that is set by default in production.
And it is something like this.
rules_version = '2';

service cloud.firestore {
  match /databases/{database}/documents {
    match /{document=**} {
      allow read, write: if false;
    }
  }
}
Just change this line
allow read, write: if false;
to this
allow read, write: if true;
This will allow all requests from the clients and should be refined later when you are already in production. But for now, this should work.
Notice that when changing from false to true, you will get some suggestions as below.
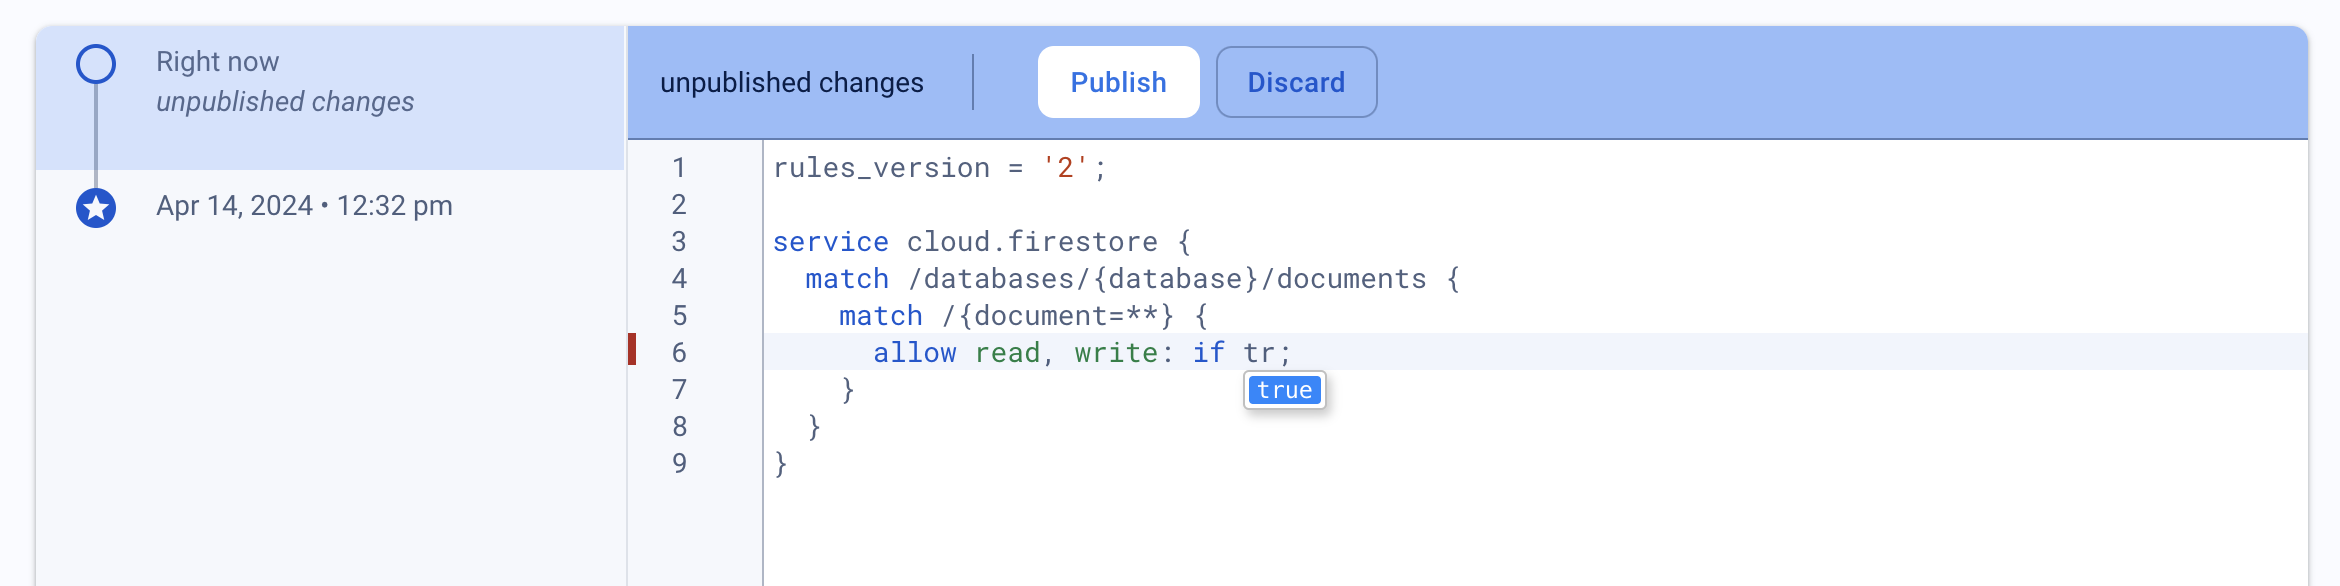
After changing the code, hit the "Publish" button and our new rule will be published.
For the next chapter, we will deploy our app to the cloud so that it can be accessed anywhere.
Thanks for reaching this point. For any questions, just leave a comment.