Upload Images
June 16, 2024
Reading Time: 8 minute/s
Recap
Up to the previous chapter, we are displaying images from a hardcoded list of objects. In the real application, users are going to be uploading their own photos to the app. In this article, we are going to allow users to upload images to the app.
Steps
The following are the basic steps that we are going to do in this post.
- Create
uploadfolder at the root of the app. - Add the route for the upload to be called when the user uploads images.
- Create the upload form for both selecting and dropping photos.
- Style the upload form for the drag zone.
- Update the javascript code to handle the drag and drop and the previewing of selected images.
1. uploads/ directory
First, let's create a new folder inside the root of our application. Name it uploads. Inside this directory, create an empty file named uploads.txt. Now, this file will not be used or we will not put anything inside it. It's just there for uploading purposed of our code to the server. This is because if a folder is empty, it will not be uploaded to the server.
2. The upload Route
In our python code, inside main.py, we have an existing route @app.route('/') for the main page. Now we will add a new route @app.route('/upload').
This will handle the event when the user clicks the Upload button in the page.
Let's add it now.
from flask import Flask, render_template
from flask import request, redirect, flash, url_for
from werkzeug.utils import secure_filename
import os

app = Flask(__name__)
app.config['UPLOAD_FOLDER'] = 'uploads'
app.config['MAX_CONTENT_LENGTH'] = 16 * 1024 * 1024  # 16 MB max-limit.
app.secret_key = 'some_secret_key_here'

ALLOWED_EXTENSIONS = {'png', 'jpg', 'jpeg', 'gif'}


def allowed_file(filename):
    return '.' in filename and filename.rsplit('.', 1)[1].lower() in ALLOWED_EXTENSIONS


@app.route("/")
def index():
    images = [
        {
            "name": "Calle Crisologo",
            "url": "https://ik.imagekit.io/tvlk/blog/2017/11/Calle-Crisologo-by-night-750x469.jpg?tr=dpr-2,w-675,",
            "latitude": 17.57278,
            "longitude": 120.38889
        },
        {
            "name": "Boracay",
            "url": "https://www.rappler.com/tachyon/2022/07/boracay.jpg",
            "latitude": 11.967222,
            "longitude": 121.924722
        },
        {
            "name": "Mayon Volcano",
            "url": "https://gttp.imgix.net/266095/x/0/guide-to-mayon-volcano-in-albay-bicol-world-s-most-perfect-volcanic-cone-4.jpg?auto=compress%2Cformat&ch=Width%2CDPR&dpr=1&ixlib=php-3.3.0&w=883",
            "latitude": 13.254722,
            "longitude": 123.685833
        },
        {
            "name": "Siargao Island",
            "url": "https://www.agoda.com/wp-content/uploads/2020/01/Things-to-do-in-Siargao-Island-Cloud-9-surfing-area-in-General-Luna.jpg",
            "latitude": 9.854167,
            "longitude": 126.040278
        },
        {
            "name": "Mt. Pinatubo",
            "url": "https://encrypted-tbn0.gstatic.com/images?q=tbn:ANd9GcQs5noQ1YdK7lM-h1KOfQ7opRjb90XSVD_s0Q&s",
            "latitude": 15.143056,
            "longitude": 120.349444
        }
    ]

    number_of_items = len(images)

    # Define empty lists
    latitudes = []
    longitudes = []

    # Loop through the images list
    for image in images:
        latitudes.append(image['latitude'])
        longitudes.append(image['longitude'])

    # Now calculate the averages of latitudes and longitudes
    lat_average = sum(latitudes) / number_of_items
    lon_average = sum(longitudes) / number_of_items

    return  render_template("hello.html",
                            images=images,
                            latitude=lat_average,
                            longitude=lon_average)


@app.route("/upload", methods=["POST"])
def upload():
    if 'files[]' not in request.files:
        flash("No images given.")
        return redirect(request.url)

    files = request.files.getlist('files[]')
    if not files:
        flash("No selected file.")
        return redirect(request.url)

    for file in files:
        if file and allowed_file(file.filename):
            filename = secure_filename(file.filename)
            file.save(os.path.join(app.config['UPLOAD_FOLDER'], filename))

    flash("Photos uploaded successfully!")
    return redirect(url_for('index'))
Take note of the highlighted codes for the changes from the previous one that we have.
Let's break it down.
Lines 2, 3, and 4 are imports that we need.
For lines 7-9, we are setting app variables. They are specific to our flask app.
Line 7 sets the name of the folder that we want our photos to reside when uploaded.
Line 8 sets that maximum size of a photo we will allow to be uploaded. We calculated it to be 16MB.
Line 9 is the app secret key for use in the app session. This is just for demonstration purposes, in production, it should be hidden somewhere. The usual place we will put this kind of information is in the environment variables.
Line 11 are the extensions that we will allow our app to accept.
For the lines 14-15, this is just to check if the given filename has extensions in one of our ALLOWED_EXTENSIONS. This was written in a short hand way, for easier understanding, we can convert it to this:
def is_file_allowed(filename):
    # Check if there is a dot in the filename
    if '.' in filename:
        # Split the filename at the last dot and get the extension
        extension = filename.split('.')[-1].lower()
        # Check if the extension is in the list of allowed extensions
        if extension in ALLOWED_EXTENSIONS:
            return True
    # If there is no dot or the extension is not allowed, return False
    return False
Lines 74-91 is our whole route for the upload. It has a route of /upload and accepts POST method.
POST is one of the popular http request methods that are normally used in the web. These are
- GET
- POST
- PUT, and
- DELETE
For the lines 76-78, it checks if our frontend sends a form input with name files[]. If not, it sends a message to the page saying "No images given.".
In line 80, it gets all the files inside that input and put them on a list named files.
Lines 81-83 checks if the input files contains something, if not, it returns a message.
Lines 85-88 iterates through the files list using for loop, uses a utility called secure_filename to sanitize the filename for any probable vulnerabilities or attacks, and then saves the files in the uploads directory.
Then on line 90, we show a success message informing the user of a successful upload.
3. Upload Form
And now for the upload form, let's visit our html template hello.html.
...
<div id="map"></div>

<div class="max-w-lg mx-auto bg-white p-8 rounded-lg shadow-lg my-10">
  <h2 class="text-2xl font-bold mb-6">Upload Files</h2>
    <form id="uploadForm" action="/upload" method="post" enctype="multipart/form-data" class="space-y-6">
      <div class="dropzone" id="dropzone">
        <p class="text-gray-500">Drag and drop files here or click to select files</p>
          <input type="file" id="fileInput" name="files[]" multiple class="hidden">
      </div>
      <div class="preview" id="preview"></div>
      <button type="submit" class="btn btn-primary w-full">Upload</button>
    </form>
</div>
We will put the upload form just below our map initially.
Make sure the ids and class names are the same as this because we will use them in both CSS and Javascript referencing.
On the route discussion above, what we are talking about the input element with files[] name is the one in line 9 above.
Then above our form, we will add a new loop, showing the messages that the flash() function in our route passes.
...
<div id="map"></div>

{% with messages = get_flashed_messages() %}
  {% if messages %}
    <div class="mb-4 mt-4 mx-4">
      {% for message in messages %}
        <div class="alert alert-success">{{ message }}</div>
      {% endfor %}
    </div>
  {% endif %}
{% endwith %}

<div class="max-w-lg mx-auto bg-white p-8 rounded-lg shadow-lg my-10">
  <h2 class="text-2xl font-bold mb-6">Upload Files</h2>
    <form id="uploadForm" action="/upload" method="post" enctype="multipart/form-data" class="space-y-6">
      <div class="dropzone" id="dropzone">
        <p class="text-gray-500">Drag and drop files here or click to select files</p>
          <input type="file" id="fileInput" name="files[]" multiple class="hidden">
      </div>
      <div class="preview" id="preview"></div>
      <button type="submit" class="btn btn-primary w-full">Upload</button>
    </form>
</div>
And now to style our upload form, let's add the following in our "styles.css" file.
#map {
    height: 350px;
}

.dropzone {
    border: 2px dashed #ccc;
    border-radius: 4px;
    background: #f9f9f9;
    padding: 20px;
    text-align: center;
    cursor: pointer;
}

.dropzone.dragover {
    border-color: #4CAF50;
}

.preview img {
    max-width: 100px;
    margin: 10px;
}
And finally for our javascript codes to handle the interactivity of the upload form, let's add the following code
...
map.fitBounds(bounds);

const dropzone = document.getElementById('dropzone');
    const fileInput = document.getElementById('fileInput');
        const preview = document.getElementById('preview');

        dropzone.addEventListener('click', () => fileInput.click());

        dropzone.addEventListener('dragover', (e) => {
            e.preventDefault();
            dropzone.classList.add('dragover');
        });

        dropzone.addEventListener('dragleave', () => dropzone.classList.remove('dragover'));

        dropzone.addEventListener('drop', (e) => {
            e.preventDefault();
            dropzone.classList.remove('dragover');
            const files = e.dataTransfer.files;
            fileInput.files = files; // Update the file input element
            handleFiles(files);
        });

        fileInput.addEventListener('change', (e) => {
            handleFiles(e.target.files);
        });

        function handleFiles(files) {
            preview.innerHTML = '';
            for (const file of files) {
                if (file.type.startsWith('image/')) {
                    const reader = new FileReader();
                    reader.onload = (e) => {
                        const img = document.createElement('img');
                        img.src = e.target.result;
                        preview.appendChild(img);
                    };
                    reader.readAsDataURL(file);
                }
            }
        }

...
The above is for the upload form to work it's interactivity. Making sure the drag and drop work. And that when selecting or dragging images, small previews are listed inside the form.
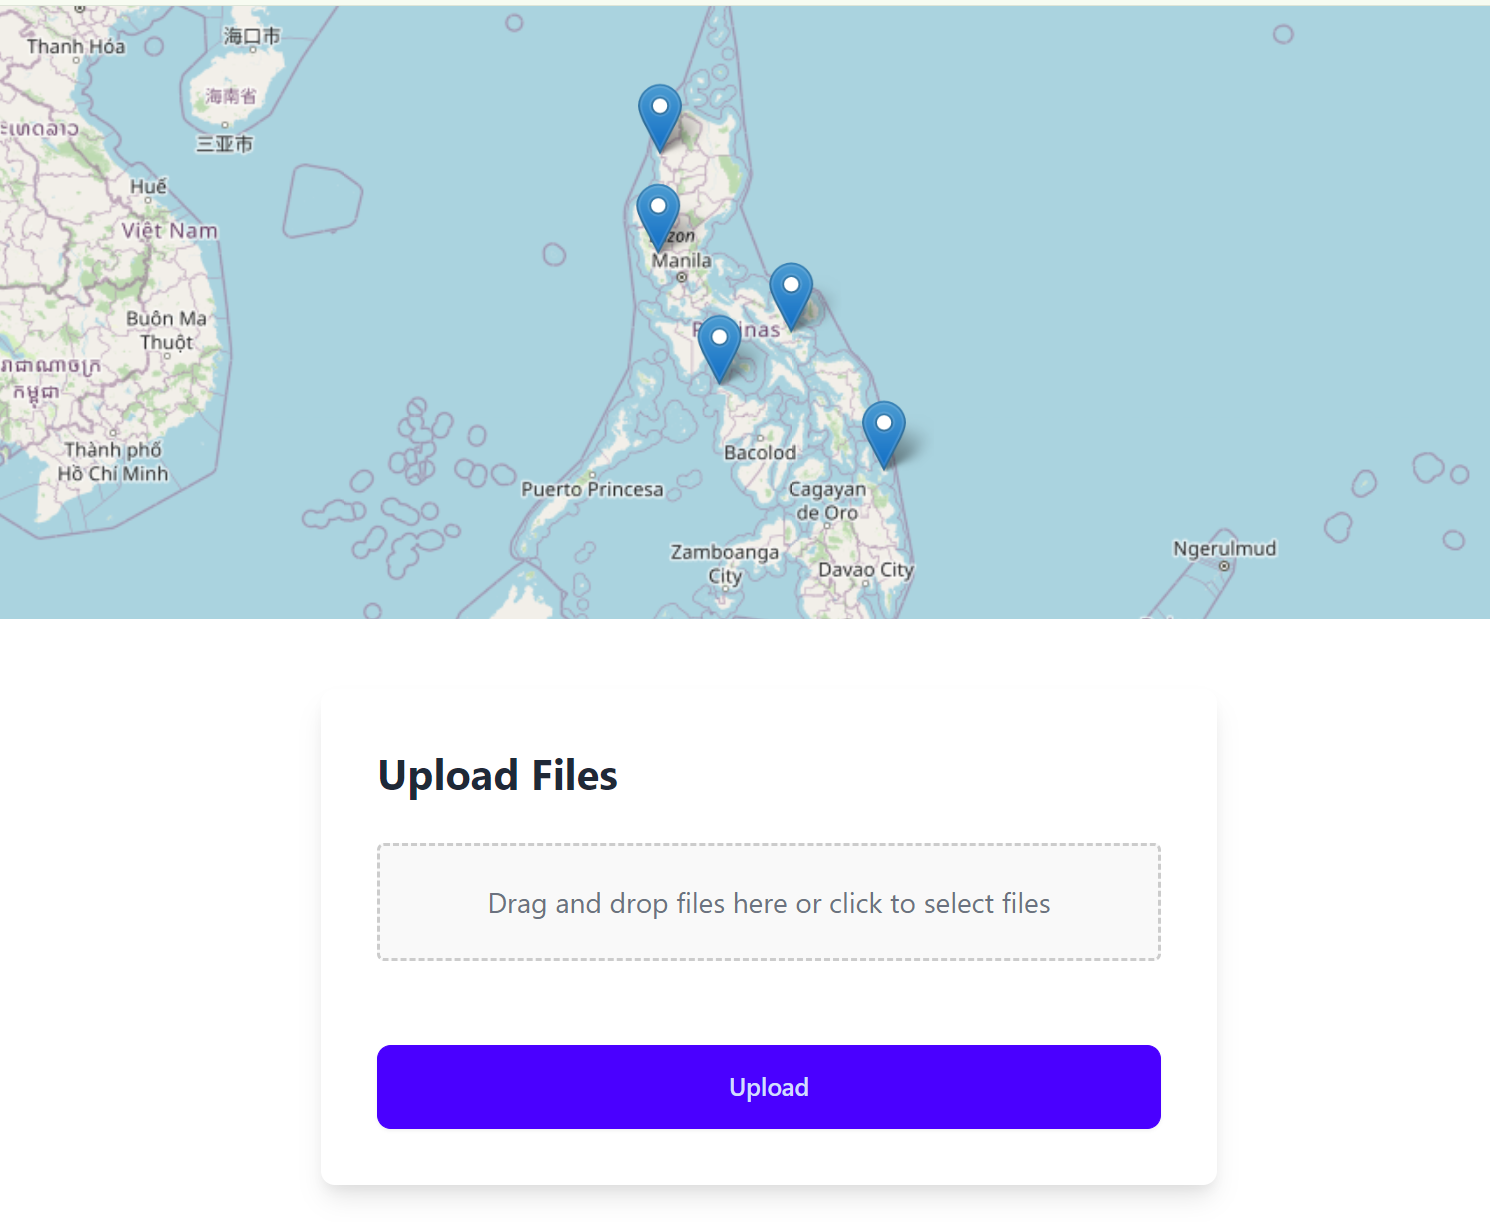
For the output of this page, we will have:
For the full source code up to this topic, visit https://github.com/alexiusacademia/geotag-album-tutorial/tree/10-upload-photos
This will show you all the codes so far of our project Geotag Album.
If you have any question, feel free to drop them in the comment below. Happy coding! 😄