Setting up a Python Project
Pre-requisite
Before starting with this lesson, you should have the following:
- Python installation. You should be able to call python from the terminal. You should be using Python 3.
- Code editor such as Visual Studio.
If you have not installed python yet, watch this video on installing python.
Python is a very flexible language and there are a lot of ways of starting or setting up a project. In this part, we are going to look at how to setup a project in python for any project.
Starting a project
As mentioned above, python is very easy to start with. You can just create a file with no specific name and start writing your code and you should be good to go. But in this lesson, we are going to try to be organized in our codebase.
Create a project folder
The first thing we'll do is create a project folder for our codebase.
I created one and called it geotag-album. Then changed to that directory.
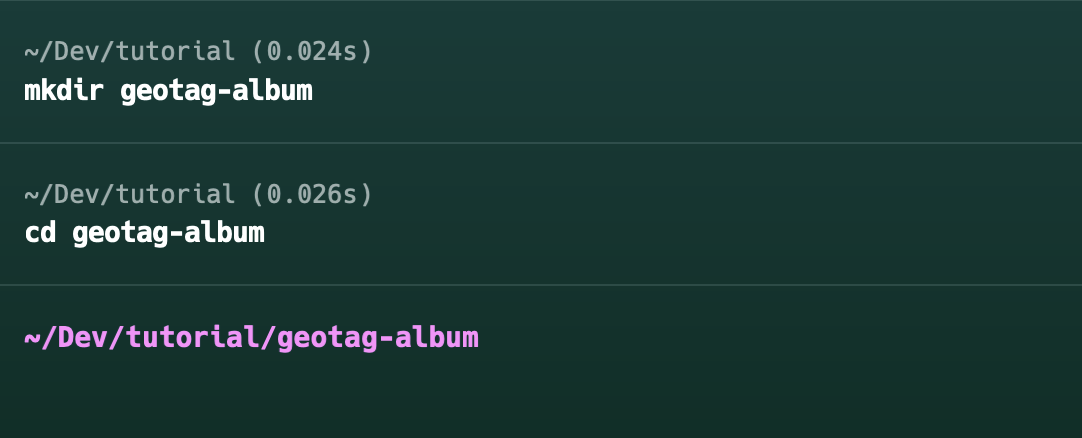
From here on, we will be putting all our codes in this directory.
Before we add any code files, we will create a virtual environment. So let's discuss it first.
Virtual Environment
In python, there is a package manager called PIP. It stands for "pip installs packages". This will be the one we will use in this project and other projects to come.
By default, PIP is installed with python starting from version 3.4.
If we install a package with PIP, it will be installed to the global python installation in our computer by default. Sometimes this is a good idea, but most of the time, if the package we will be installing is just for our current project, we should install it just for that project and not in the global python installation.
This is where virtual environments come in.
For our lessons, and what I prefer to use in my projects, we will be using virtualenv.
Python has a vast repository of packages and they reside inside the PyPI or Python Package Index. It can be accessed here.
You can search the virtualenv package in the homepage. Please select the latest updated virtualenv and not the virtualenv2.
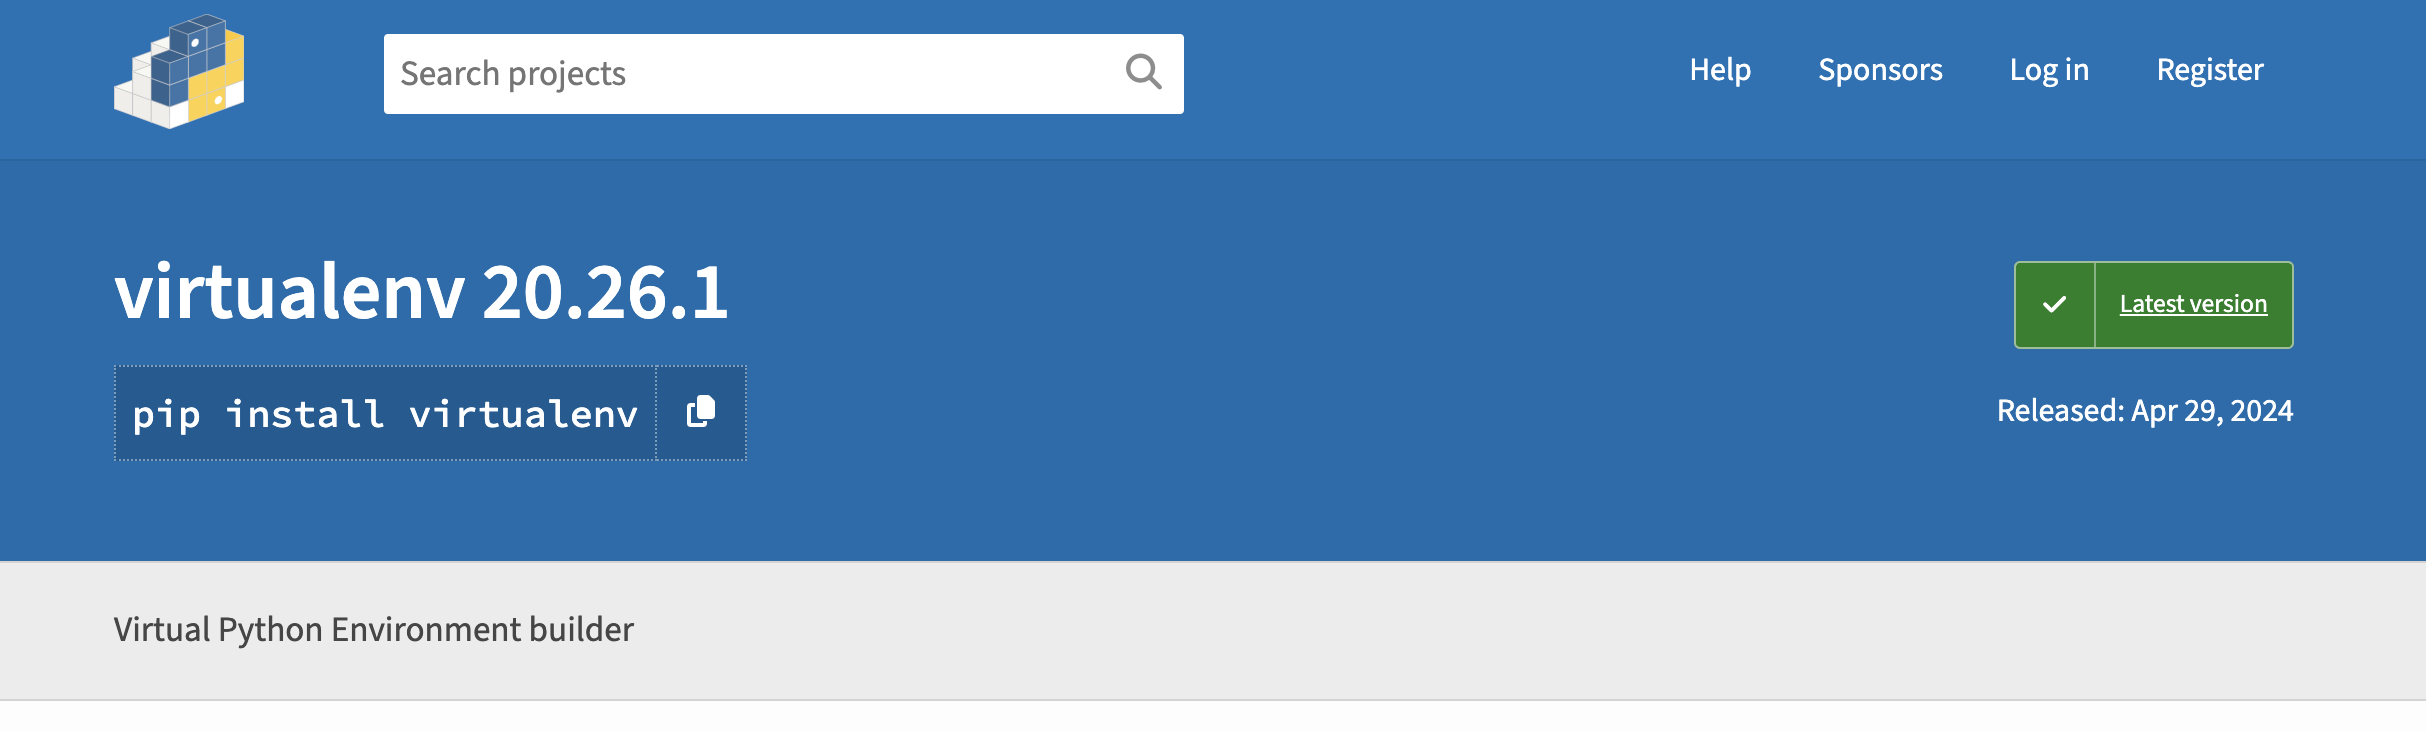
Below the package name is the command to install the package, in this case:
pip install virtualenv
This will install the virtualenv package in the computer globally.
For our project, we will create a virtual environment just for it. To do that, inside the root directory we created earlier, enter the following command.
virtualenv venv
This will create a new folder venv inside our root directory using the python version installed in our system.
You can choose whatever folder name for your virtual environment as long as it doesn't contain spaces.
Our project structure should now look something like this.
├── geotag-album
│   ├── venv
The venv directory contains it's own python runtime environment and all the packages that we will install after we activate it.
So to activate the virtual environment, enter the command below in the terminal/command prompt.
venv\Scripts\activate
source ./venv/bin/activate
Your terminal should show an indication that the virtual environment is activated. On most terminals, you should see the environment enclosed in parenthesis (venv).
Now I think that we are set with the project setup. On the next chapter, we will start creating python file to put in our code.
See you on the next one!