Show Multiple Images on the Page
Reading Time: 9.74 minutes
Recap
From the previous post, we have seen how to display a single image in the page and a marker on the map representing its location from the data given by our python backend.
In this post, we are going to try and display multiple images and show multiple markers on the map with those given images by looping using javascript.
Dummy Data
Let's say we have these dummy data.
- Calle Crisologo
URL: https://ik.imagekit.io/tvlk/blog/2017/11/Calle-Crisologo-by-night-750x469.jpg?tr=dpr-2,w-675,
Latitude: 17°34'22"N
Longitude: 120°23'20"E - Boracay
URL: https://www.rappler.com/tachyon/2022/07/boracay.jpg
Latitude: 11°58'02"N
Longitude: 121°55'29"E - Mayon Volcano
URL: https://gttp.imgix.net/266095/x/0/guide-to-mayon-volcano-in-albay-bicol-world-s-most-perfect-volcanic-cone-4.jpg?auto=compress%2Cformat&ch=Width%2CDPR&dpr=1&ixlib=php-3.3.0&w=883
Latitude: 13°15'17"N
Longitude: 123°41'09"E - Siargao Island
URL: https://www.agoda.com/wp-content/uploads/2020/01/Things-to-do-in-Siargao-Island-Cloud-9-surfing-area-in-General-Luna.jpg
Latitude: 9°51'15"N
Longitude: 126°02'25"E - Mt. Pinatubo
URL: https://encrypted-tbn0.gstatic.com/images?q=tbn:ANd9GcQs5noQ1YdK7lM-h1KOfQ7opRjb90XSVD_s0Q&s
Latitude: 15°08'35"N
Longitude: 120°20'58"E
Let's convert it to a python list.
Python List
Before converting the data into list, let's see what are lists in python.
In python, one of the collection data types is list. A list can hold a number of data of any type. We can have a list of numbers (floats or integers), a list of strings or a list of combination of any standard data type or a list of any data types and custom data types.
List Declaration
The following are sample of list declarations in python.
# List of integers
ages = [24, 54, 12, 34]

# List of strings
planets = ["Mercury", "Venus", "Earth", "Mars"]

# Combined data types
objects = ["Joseph", 31, True, False, 34.23]
Accessing a List Item
Lists and other collection data types in python are indexed starting from zero. This means that the first element will be at index 0.
To access the first element in the ages variable, we use
first_elem = ages[0]

print(first_elem)  # Prints out 24 in the terminal.
Iterating Through a List
We can use looping in python to iterate through a list. To do that
# Print the planets in each line
planets = ["Mercury", "Venus", "Earth", "Mars"]

for planet in planets:
    print(planet)
For each iteration, every element will be placed in the variable planet as declared in for planet in planets where planets here is the list.
Python Dictionary
Another data type in python is dictionary. It is a collection of key and value pairs.
Let's create a sample dictionary below to demonstrate.
person = {
    "name": "Alex",
    "gender": "Male",
    "age": 36
}
Accessing a Value from a Dictionary
Now to access a certain value in a dictionary, we need the key. For example, to access the name in the dictionary above
person = {
    "name": "Alex",
    "gender": "Male",
    "age": 36
}

name = person["name"]
print(name)  # Prints out "Alex"
We just put the key inside either a single or double quotation marks pair inside a square braket after the dictionary name.
List of Dictionaries
Now with those knowledge, let's get back to our app. Let's create a list of dictionaries that represents the list of our geotagged images (or rather, list of processed images because we already extracted the coordinates).
images = [
    {
        "name": "Calle Crisologo",
        "url": "https://ik.imagekit.io/tvlk/blog/2017/11/Calle-Crisologo-by-night-750x469.jpg?tr=dpr-2,w-675,",
        "latitude": 17.57278,
        "longitude": 120.38889
    },
    {
        "name": "Boracay",
        "url": "https://www.rappler.com/tachyon/2022/07/boracay.jpg",
        "latitude": 11.967222,
        "longitude": 121.924722
    },
    {
        "name": "Mayon Volcano",
        "url": "https://gttp.imgix.net/266095/x/0/guide-to-mayon-volcano-in-albay-bicol-world-s-most-perfect-volcanic-cone-4.jpg?auto=compress%2Cformat&ch=Width%2CDPR&dpr=1&ixlib=php-3.3.0&w=883",
        "latitude": 13.254722,
        "longitude": 123.685833
    },
    {
        "name": "Siargao Island",
        "url": "https://www.agoda.com/wp-content/uploads/2020/01/Things-to-do-in-Siargao-Island-Cloud-9-surfing-area-in-General-Luna.jpg",
        "latitude": 9.854167,
        "longitude": 126.040278
    },
    {
        "name": "Mt. Pinatubo",
        "url": "https://encrypted-tbn0.gstatic.com/images?q=tbn:ANd9GcQs5noQ1YdK7lM-h1KOfQ7opRjb90XSVD_s0Q&s",
        "latitude": 15.143056,
        "longitude": 120.349444
    }
]
From our previous flask code,
from flask import Flask, render_template


app = Flask(__name__)

@app.route('/')
def index():
    name = 'London Bridge'
    url = 'https://www.geoimgr.com/images/samples/england-london-bridge-225.jpg'
    latitude = 51.504105
    longitude = -0.074575
    return render_template('hello.html',
                           name=name,
                           url=url,
                           latitude=latitude,
                           longitude=longitude)
Let's insert our code and replace the single image we had previously
from flask import Flask, render_template


app = Flask(__name__)

@app.route('/')
def index():
    images = [
        {
            "name": "Calle Crisologo",
            "url": "https://ik.imagekit.io/tvlk/blog/2017/11/Calle-Crisologo-by-night-750x469.jpg?tr=dpr-2,w-675,",
            "latitude": 17.57278,
            "longitude": 120.38889
        },
        {
            "name": "Boracay",
            "url": "https://www.rappler.com/tachyon/2022/07/boracay.jpg",
            "latitude": 11.967222,
            "longitude": 121.924722
        },
        {
            "name": "Mayon Volcano",
            "url": "https://gttp.imgix.net/266095/x/0/guide-to-mayon-volcano-in-albay-bicol-world-s-most-perfect-volcanic-cone-4.jpg?auto=compress%2Cformat&ch=Width%2CDPR&dpr=1&ixlib=php-3.3.0&w=883",
            "latitude": 13.254722,
            "longitude": 123.685833
        },
        {
            "name": "Siargao Island",
            "url": "https://www.agoda.com/wp-content/uploads/2020/01/Things-to-do-in-Siargao-Island-Cloud-9-surfing-area-in-General-Luna.jpg",
            "latitude": 9.854167,
            "longitude": 126.040278
        },
        {
            "name": "Mt. Pinatubo",
            "url": "https://encrypted-tbn0.gstatic.com/images?q=tbn:ANd9GcQs5noQ1YdK7lM-h1KOfQ7opRjb90XSVD_s0Q&s",
            "latitude": 15.143056,
            "longitude": 120.349444
        }
    ]

    return render_template('hello.html',
                           images=images)
Now notice that instead of passing the name, url, latitude, and longitude variables, we passed in the variable for the list of our dictionaries. This is wha twe will parse in our template now.
Inside our html template, we have this code:
<img src="{{ url }}" alt="{{ name }}" />

<table>
  <tr>
    <td>Name</td>
    <td>{{ name }}</td>
  </tr>
</table>
We will put this inside a loop in our template so that we can iterate through the list that we now have from our backend.
Looping in flask template is a little different than what we have seen in python.
In our template, we do looping like
{% for image in images %}

{% endfor %}
where the images is an array or a list if we are talking about python.
Let's replace our html code with the following.
<!DOCTYPE html>
<html lang="en">
<head>
<meta charset="UTF-8" />
<meta name="viewport" content="width=device-width, initial-scale=1.0" />
<link rel="stylesheet" href="/static/styles.css">
<link
rel="stylesheet"
href="https://unpkg.com/leaflet@1.9.4/dist/leaflet.css"
integrity="sha256-p4NxAoJBhIIN+hmNHrzRCf9tD/miZyoHS5obTRR9BMY="
crossorigin=""
/>
<script
src="https://unpkg.com/leaflet@1.9.4/dist/leaflet.js"
integrity="sha256-20nQCchB9co0qIjJZRGuk2/Z9VM+kNiyxNV1lvTlZBo="
crossorigin=""
></script>
<title>Hello</title>
</head>
<body>
<div id="map""></div>
{% for image in images %}
<div>
<img src="{{ image.url }}" alt="{{ image.name }}">
<table>
<tr>
<td>Name</td>
<td>{{ image.name }}</td>
</tr>
</table>
</div>
{% endfor %}
<script>
var map = L.map("map").setView([{{ images[0].latitude }}, {{ images[0].longitude }}], 13);
L.tileLayer("https://tile.openstreetmap.org/{z}/{x}/{y}.png", {
maxZoom: 19,
attribution:
'© <a href="http://www.openstreetmap.org/copyright">OpenStreetMap</a>',
}).addTo(map);
const images = {{ images | tojson }};
images.forEach(image => {
var marker = L.marker([image.latitude, image.longitude]).addTo(map);
});
</script>
</body>
</html>
If we ran the app, it should look something like this.
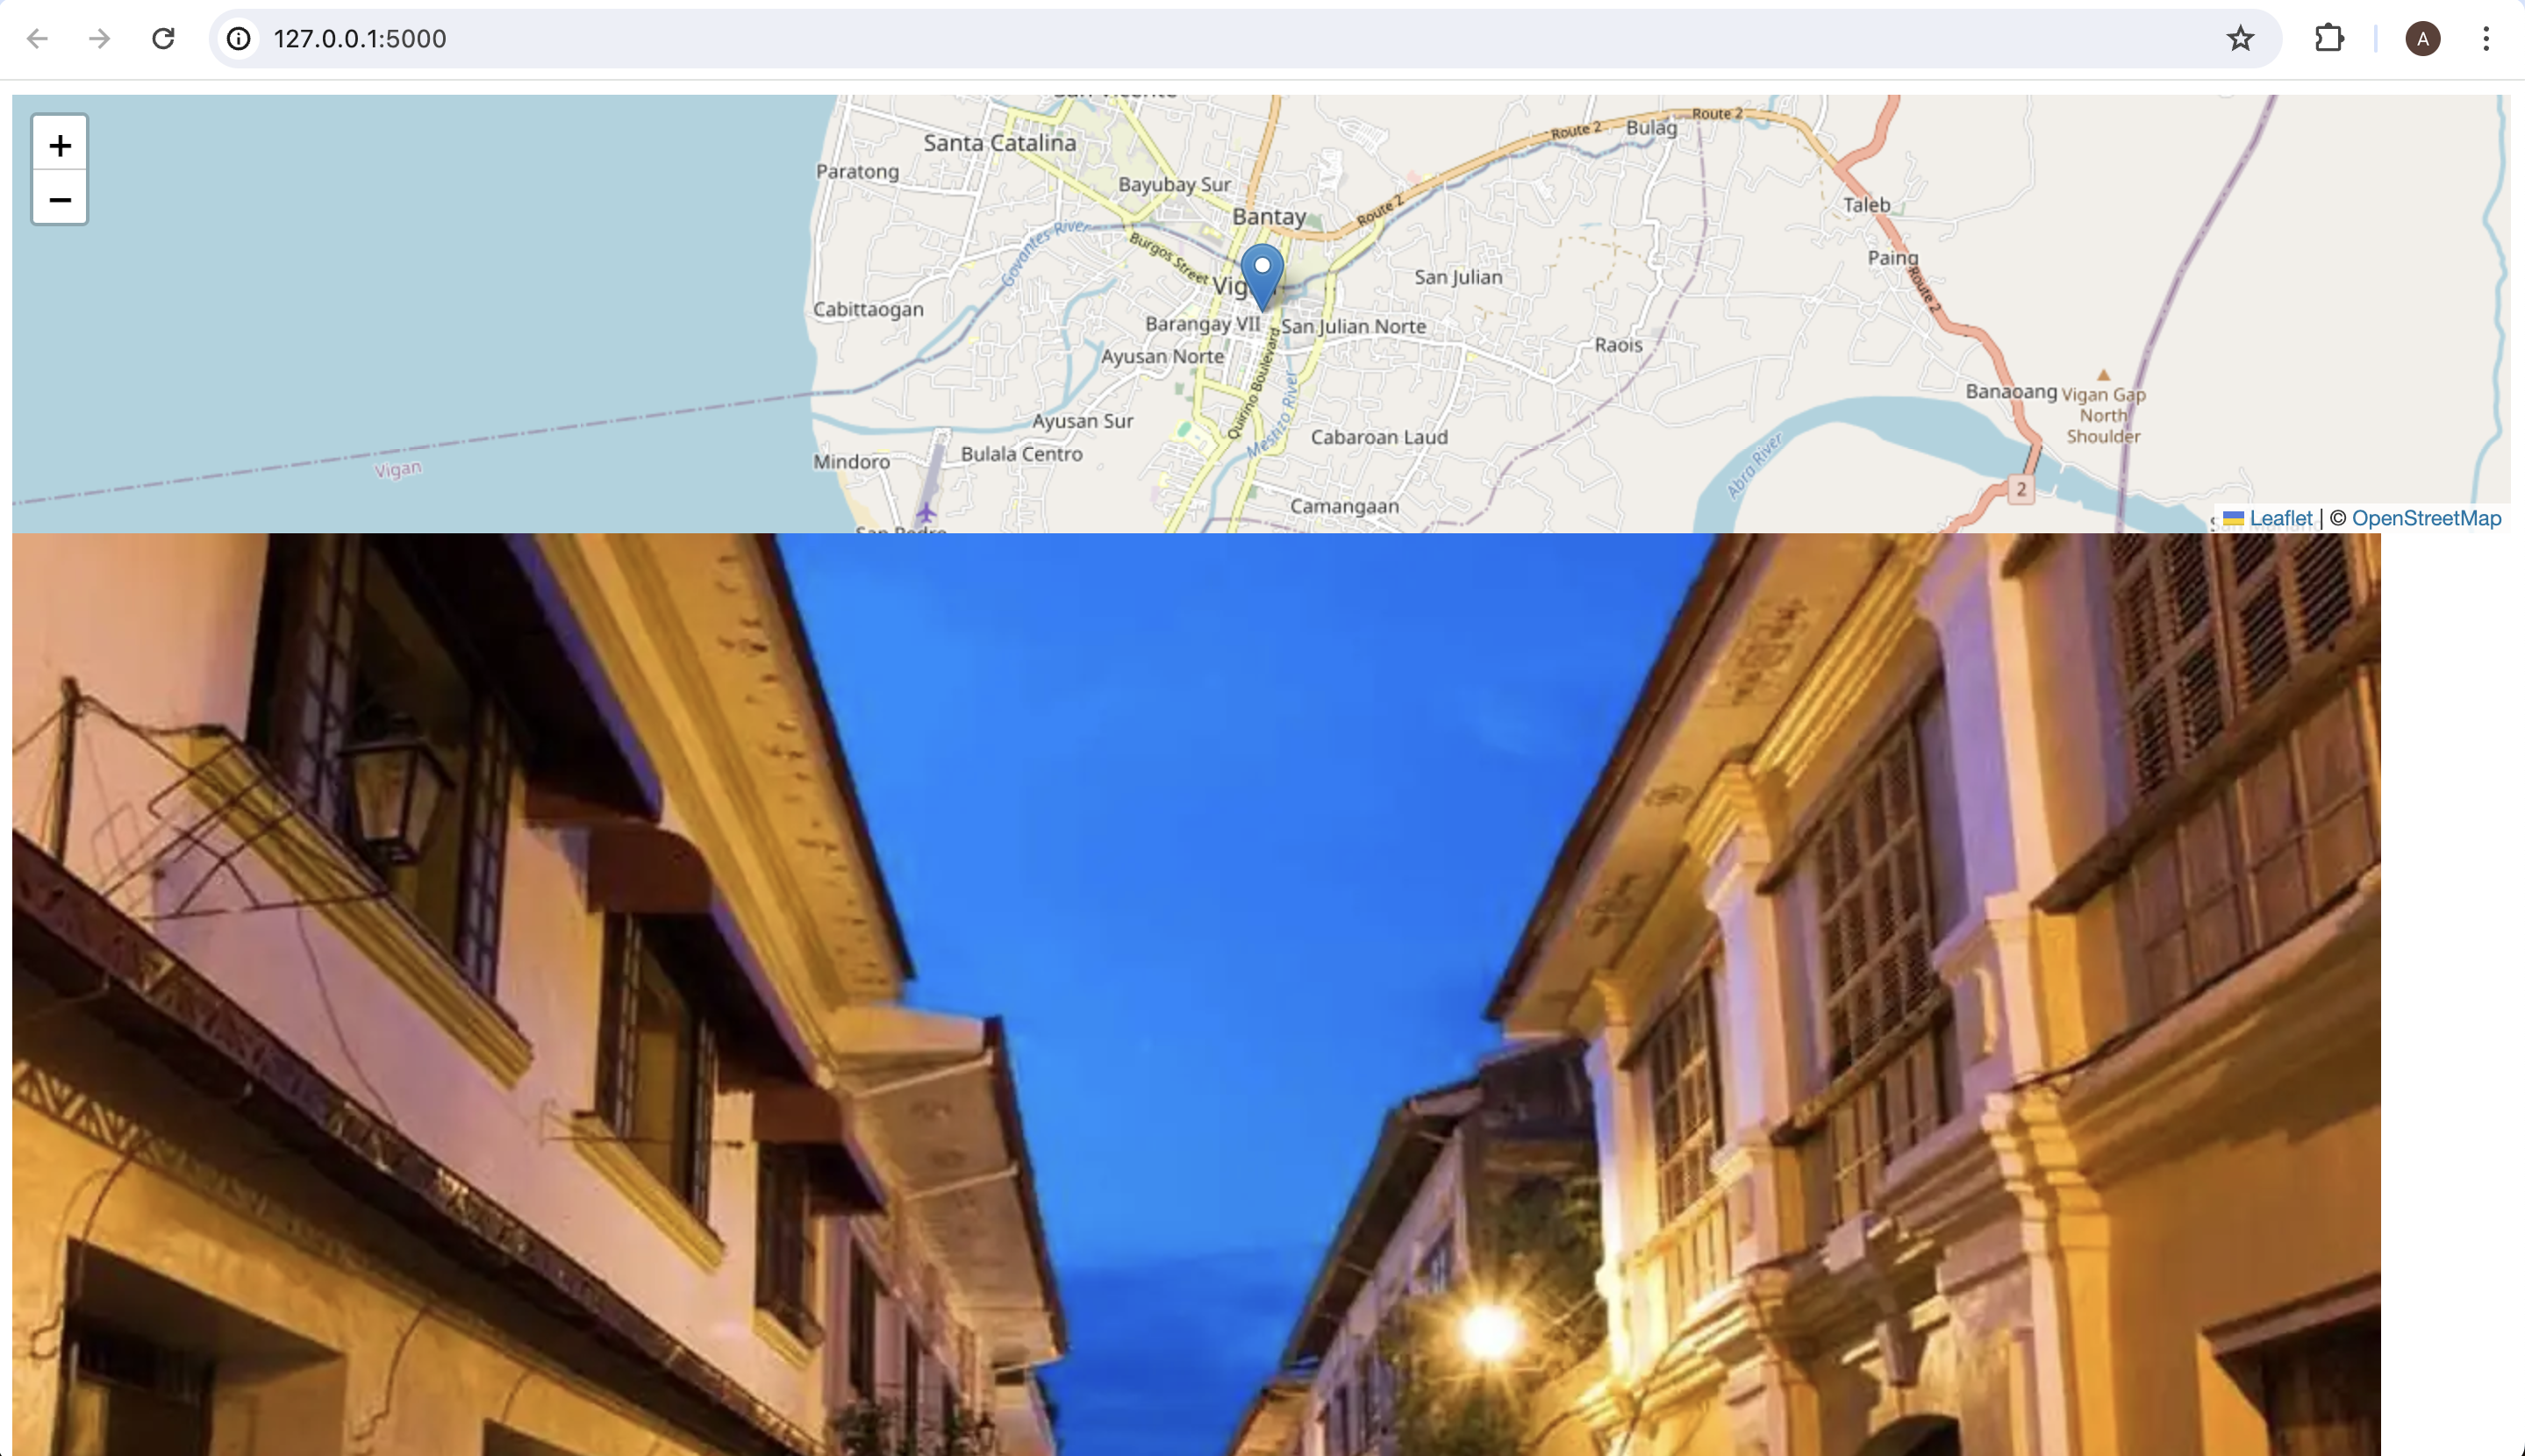
We can see one marker and a big image right.
Well the second would be obvious. Maybe the original size of the image we have is big. Let's modify the image by setting a width attribute.
<img src="{{ image.url }}" alt="{{ image.name }}" width="200" />
We added the width="200" to set each image a 200 pixel width.
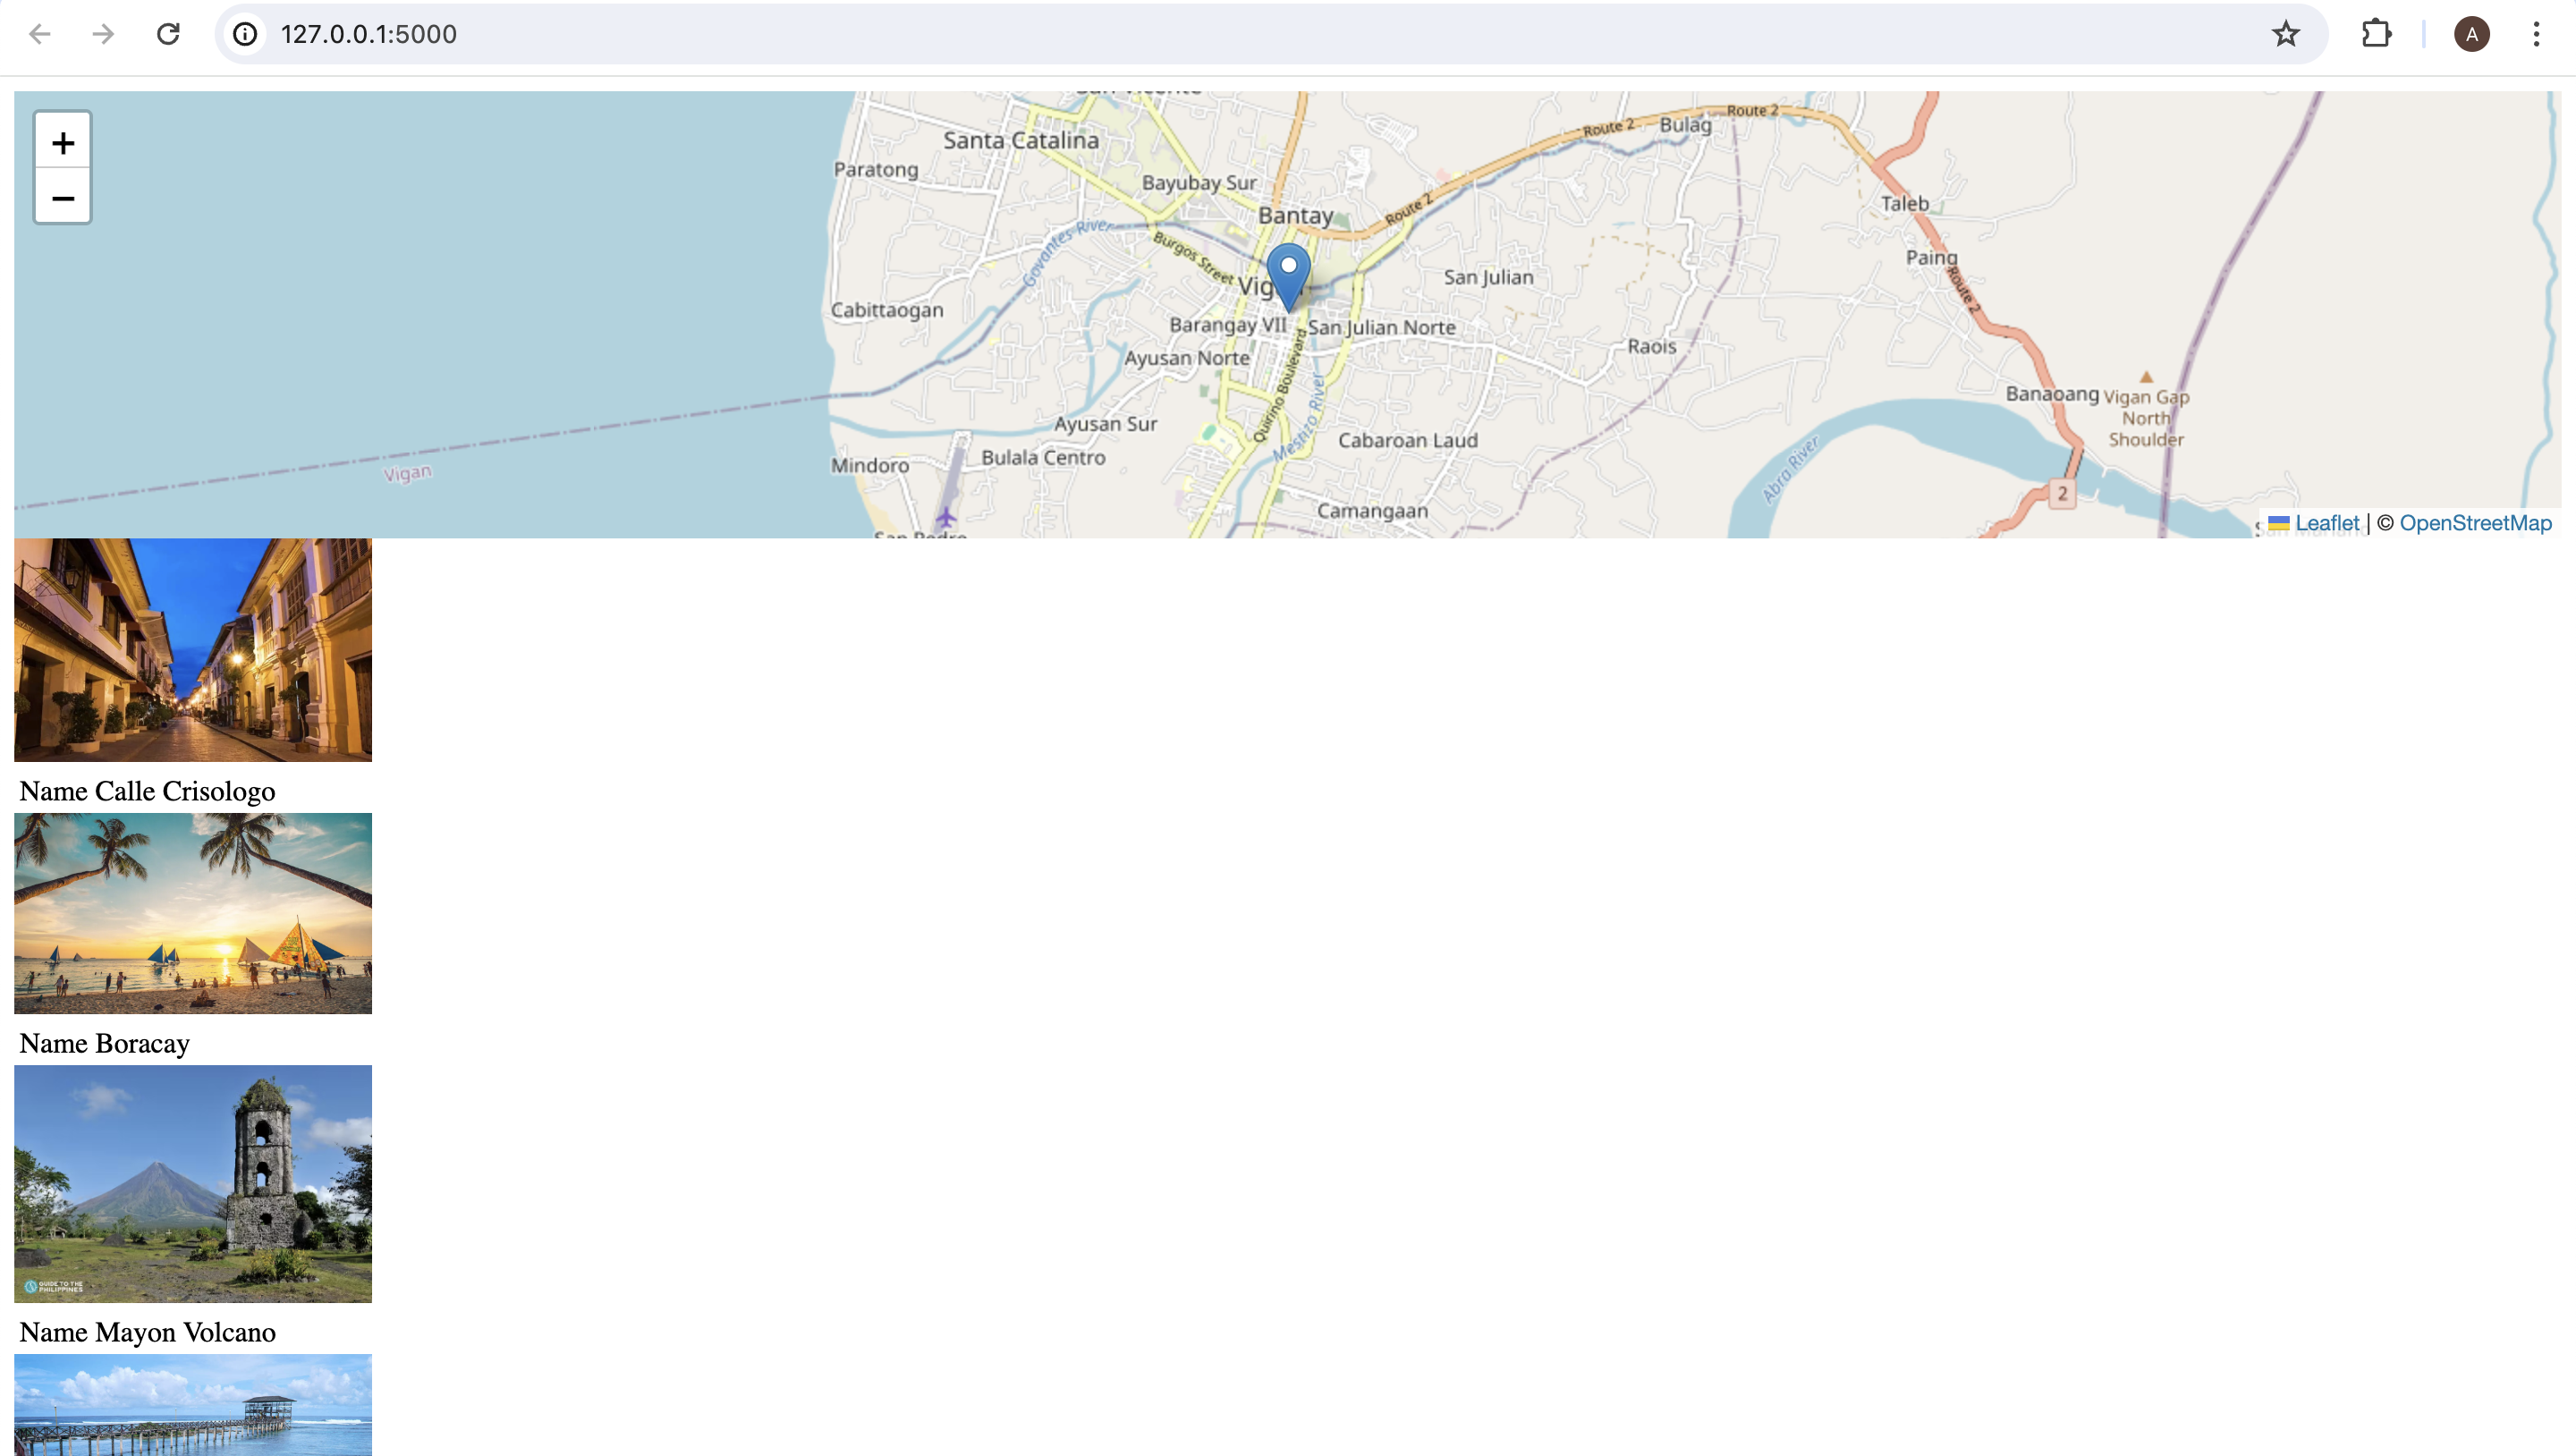
Now that the images are sized smaller, we can see another issue with the app. The map shows the location in Vigan which is the first element in our list. This is because we set the center of the map using
var map = L.map("map").setView([{{ images[0].latitude }}, {{ images[0].longitude }}], 13);
where we took the first element by using the zero index in the initialization of our map.
Calculate the Center
To center the map properly considering all the markers, we have to get the average latitude and longitude of the image dictionaries. To do this, we will just compute them either in the backend or the frontend. Either way, they are both acceptable solutions.
For this lesson, I want to do it in the backend using python.
In order to get the average of a series of numbers, we need two things, the number of numbers and their sum. Luckily in python, there is a built-in function sum() for getting the sum of a list of numbers and len to get the number of elements in a list.
Let's work out the easy one. Let's get the number of items in images variable.
images = [
    ...
]...

number_of_items = len(images)
We will just put it after the declaration of out list of images.
Next, we need a list of latitudes and longitudes. For that, we can use two new lists to hold them. Then loop through the images list to populate those two lists. Let's see what it looks like.
images = [
    ...
]...

number_of_items = len(images)

# Define empty lists
latitudes = []
longitudes = []

# Loop through the images list
for image in images:
    latitudes.append(image['latitude'])
    longitudes.append(image['longitude'])

# Now calculate the averages of latitudes and longitudes
lat_average = sum(latitudes) / number_of_items
lon_average = sum(longitudes) / number_of_items

# And then let's pass the averages to the template
return render_template('hello.html',
                           images=images,
                           latitude=lat_average,
                           longitude=lon_average)
If we run the app now, we have:
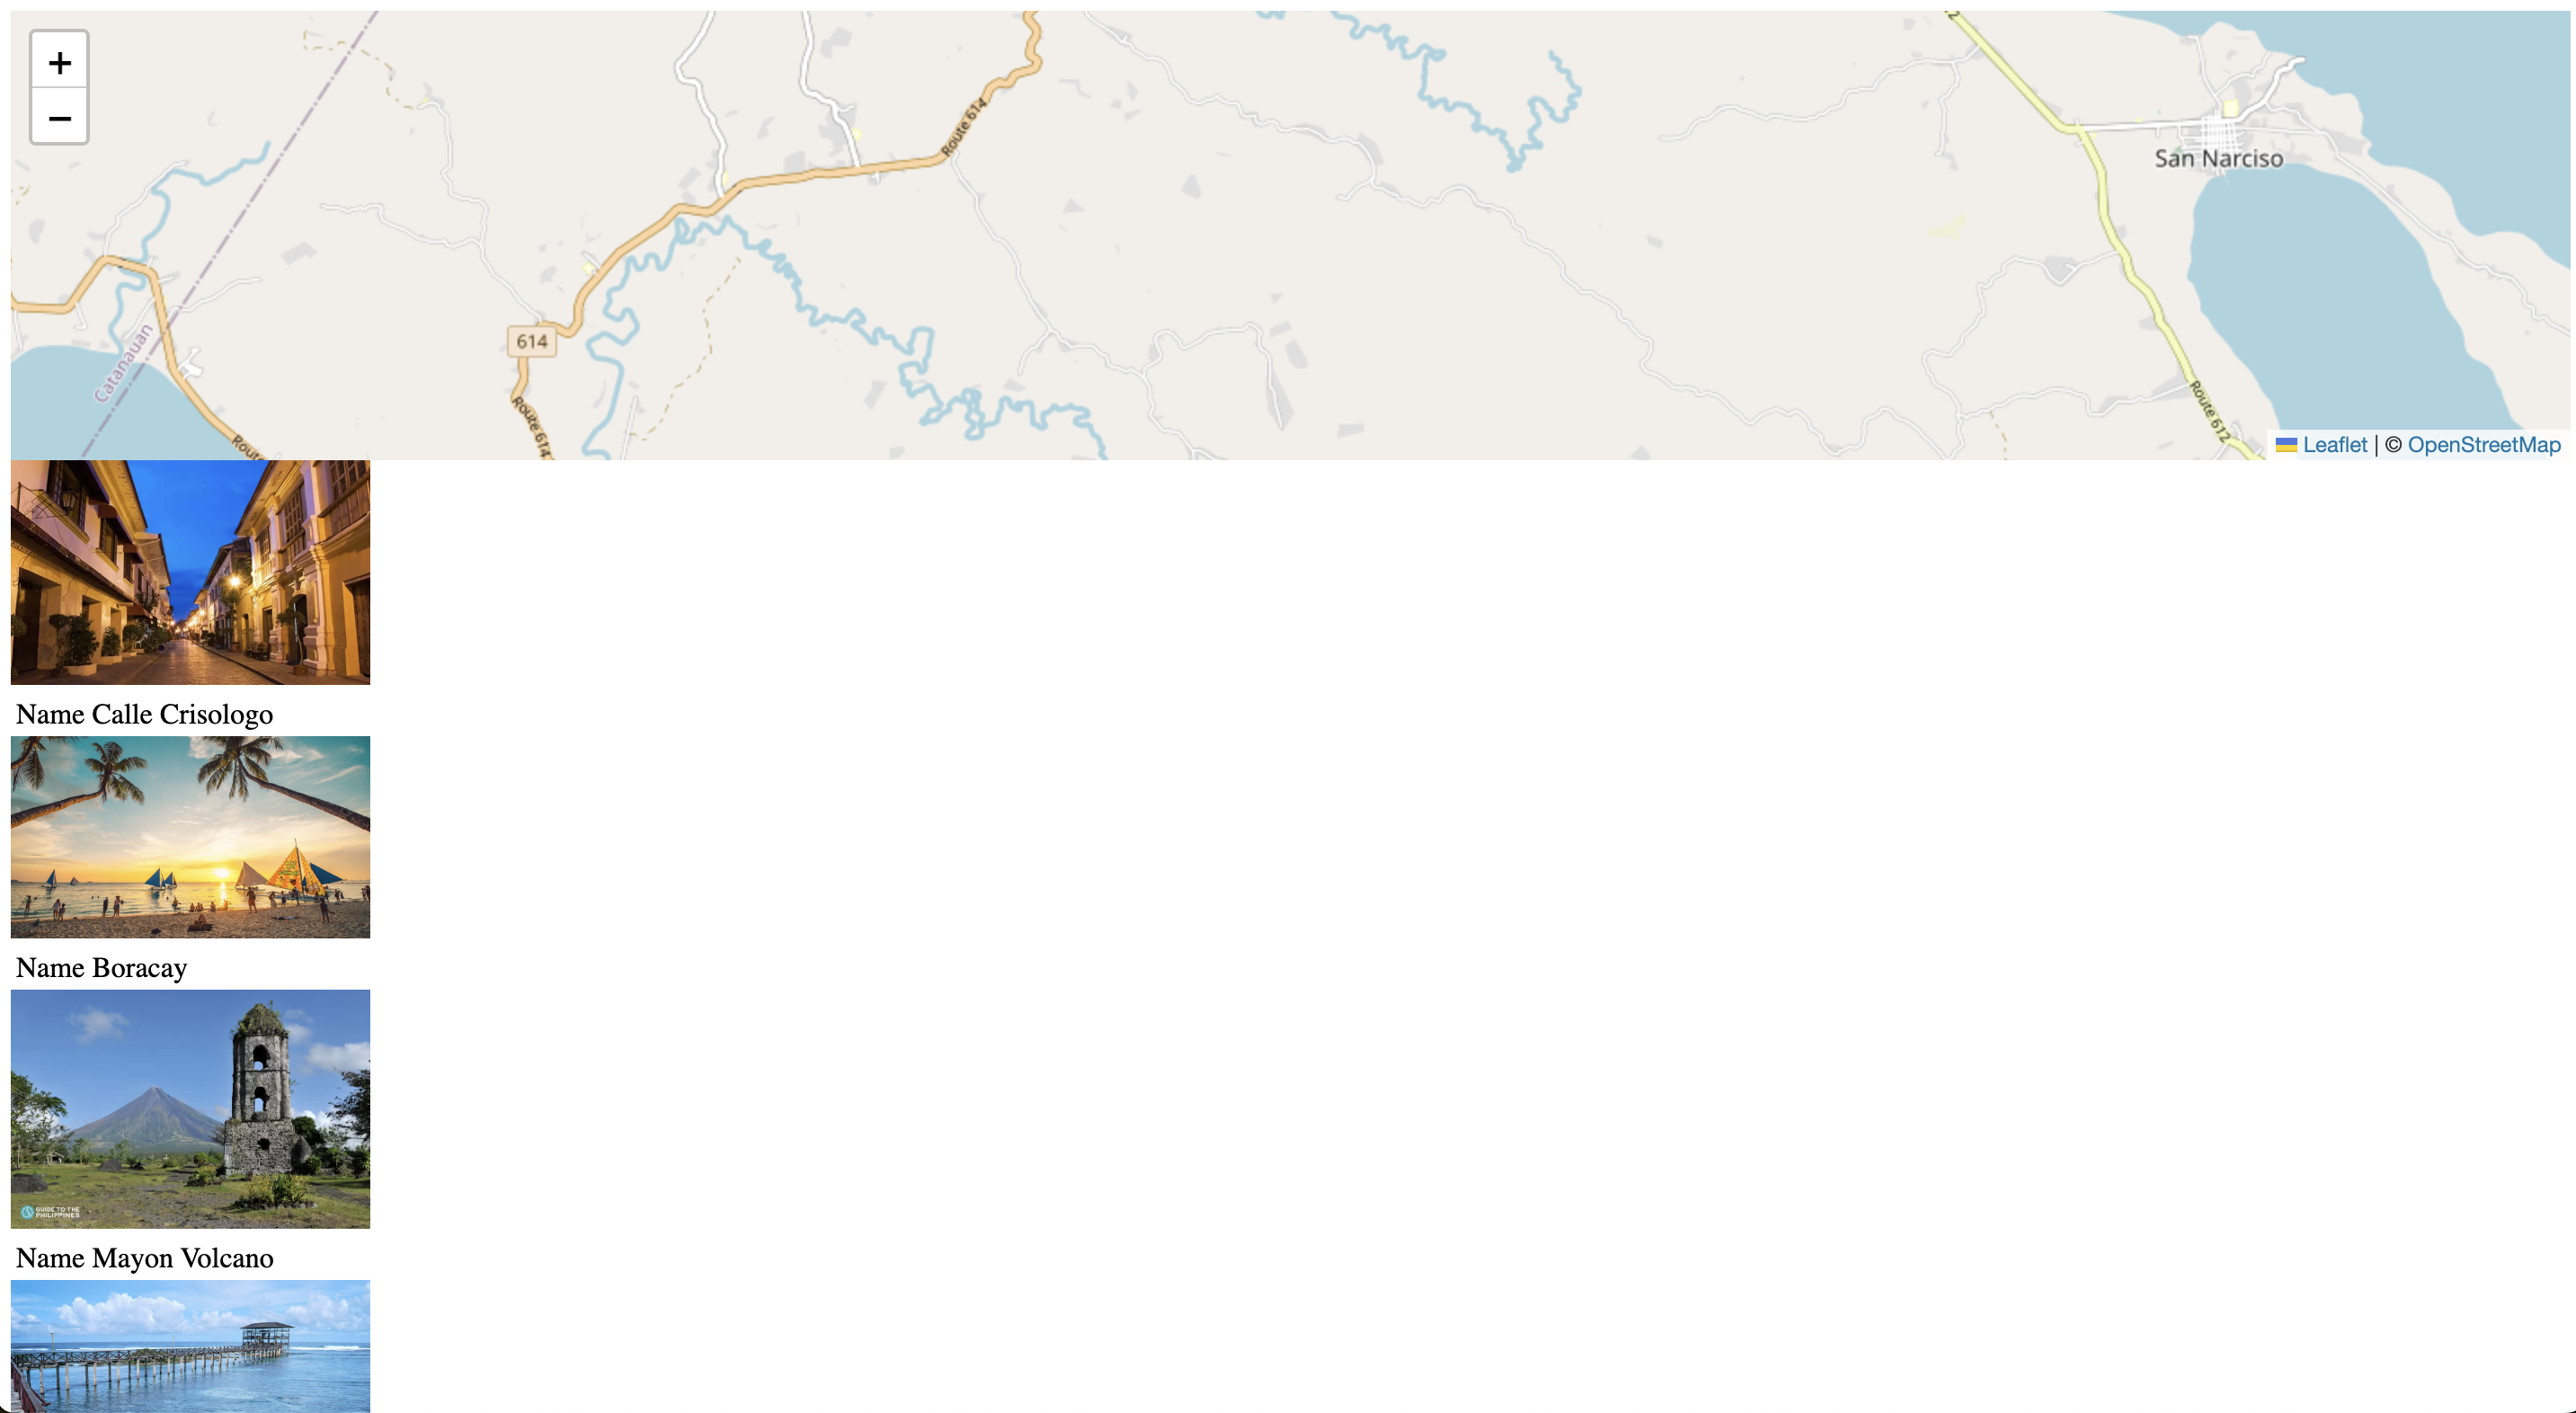
We can see that there are no longer markers visible. This just means that no marker is within the center of the map. However, we would want to set the map zoom level so that all markers are visible. This way, it would be nicer to look at 😄.
We can do it in our javascript inside our template.
<!DOCTYPE html>
<html lang="en">
<head>
<meta charset="UTF-8" />
<meta name="viewport" content="width=device-width, initial-scale=1.0" />
<link rel="stylesheet" href="/static/styles.css">
<link
rel="stylesheet"
href="https://unpkg.com/leaflet@1.9.4/dist/leaflet.css"
integrity="sha256-p4NxAoJBhIIN+hmNHrzRCf9tD/miZyoHS5obTRR9BMY="
crossorigin=""
/>
<script
src="https://unpkg.com/leaflet@1.9.4/dist/leaflet.js"
integrity="sha256-20nQCchB9co0qIjJZRGuk2/Z9VM+kNiyxNV1lvTlZBo="
crossorigin=""
></script>
<title>Hello</title>
</head>
<body>
<div id="map""></div>
{% for image in images %}
<div>
<img src="{{ image.url }}" alt="{{ image.name }}" width="200">
<table>
<tr>
<td>Name</td>
<td>{{ image.name }}</td>
</tr>
</table>
</div>
{% endfor %}
<script>
var map = L.map("map").setView([{{ latitude }}, {{ longitude }}], 13);
L.tileLayer("https://tile.openstreetmap.org/{z}/{x}/{y}.png", {
maxZoom: 19,
attribution:
'© <a href="http://www.openstreetmap.org/copyright">OpenStreetMap</a>',
}).addTo(map);
// Create a bounds object
var bounds = L.latLngBounds();
const images = {{ images | tojson }};
images.forEach(image => {
var marker = L.marker([image.latitude, image.longitude]).addTo(map);
bounds.extend(marker.getLatLng());
});
map.fitBounds(bounds);
</script>
</body>
</html>
We have added lines 50, 51, 56, and 59.
These are specific to the leaflet library. If we want to manipulate the zoom level from the backend, it would be another set of calculations but still doable.
After this, run the app and we got this.

Summary
Let's summarize what we learned in this post.
- List in python
- Looping using for loop in python
- Looping using forEach on javascript
- Populating and accessing list elements in python.
On the next lesson, we will use a css library for formatting the list of images so that it becomes more presentable in our app.
That's it for this post! See you on the next one...